How to Macrame | a beginners guide
Have you ever wondered how to macrame a plant holder, keychain, or other home item? I used to macrame all the time when I was a child. It was a common project in art classes, and summer camps, when I was growing up in Marin. When rewardStyle announced they were going to host a How to Macrame workshop in San Francisco, I immediately RSVP-ed yes!
Macrame brings back fond childhood memories for me; and about year ago, those macrame projects from my childhood fell back into my hands. My Mom moved a couple of years ago, and she had boxed up some of my childhood memories which I forgot to box up and take with me into my adult life. I cleaned out my room at the home I grew up in before she moved, but there were art projects, and other odds and ends that had ended up with my Mom’s things, and in kitchen cabinets; who knew! So, she boxed them up and they moved with her to her new home.
One year ago, my Mom sorted out these odds and ends she had found when unpacking in her new home. She gave me a box filled with them. Inside the box were a few of my old macrame projects I had made for our house. My middle child thought these macrame projects were “pretty” and she snapped them up, immediately asking if she could keep them. I said yes of course, and they now decorate her room.
She is extremely artistic, and asked me how to macrame so she could make more macrame items to decorate her room with. I was stumped! How could I have forgotten how to macrame when it was such an integral part of my childhood?! So, when this class popped up, I was beyond thrilled to take a refresher course in how to macrame; now I can teach my daughter how to make her own macrame decorations!

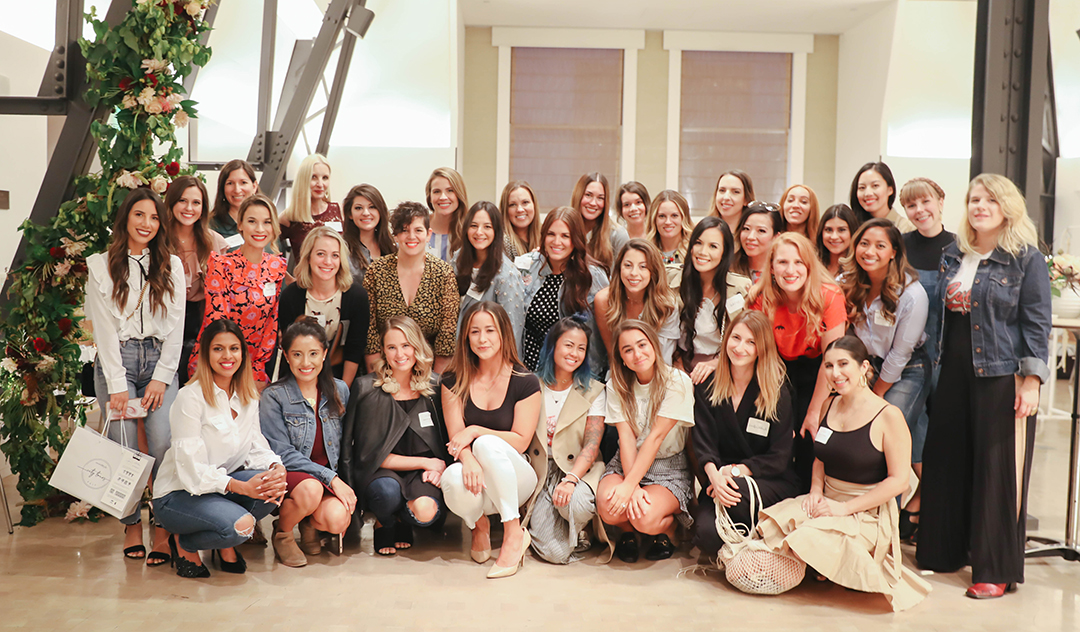
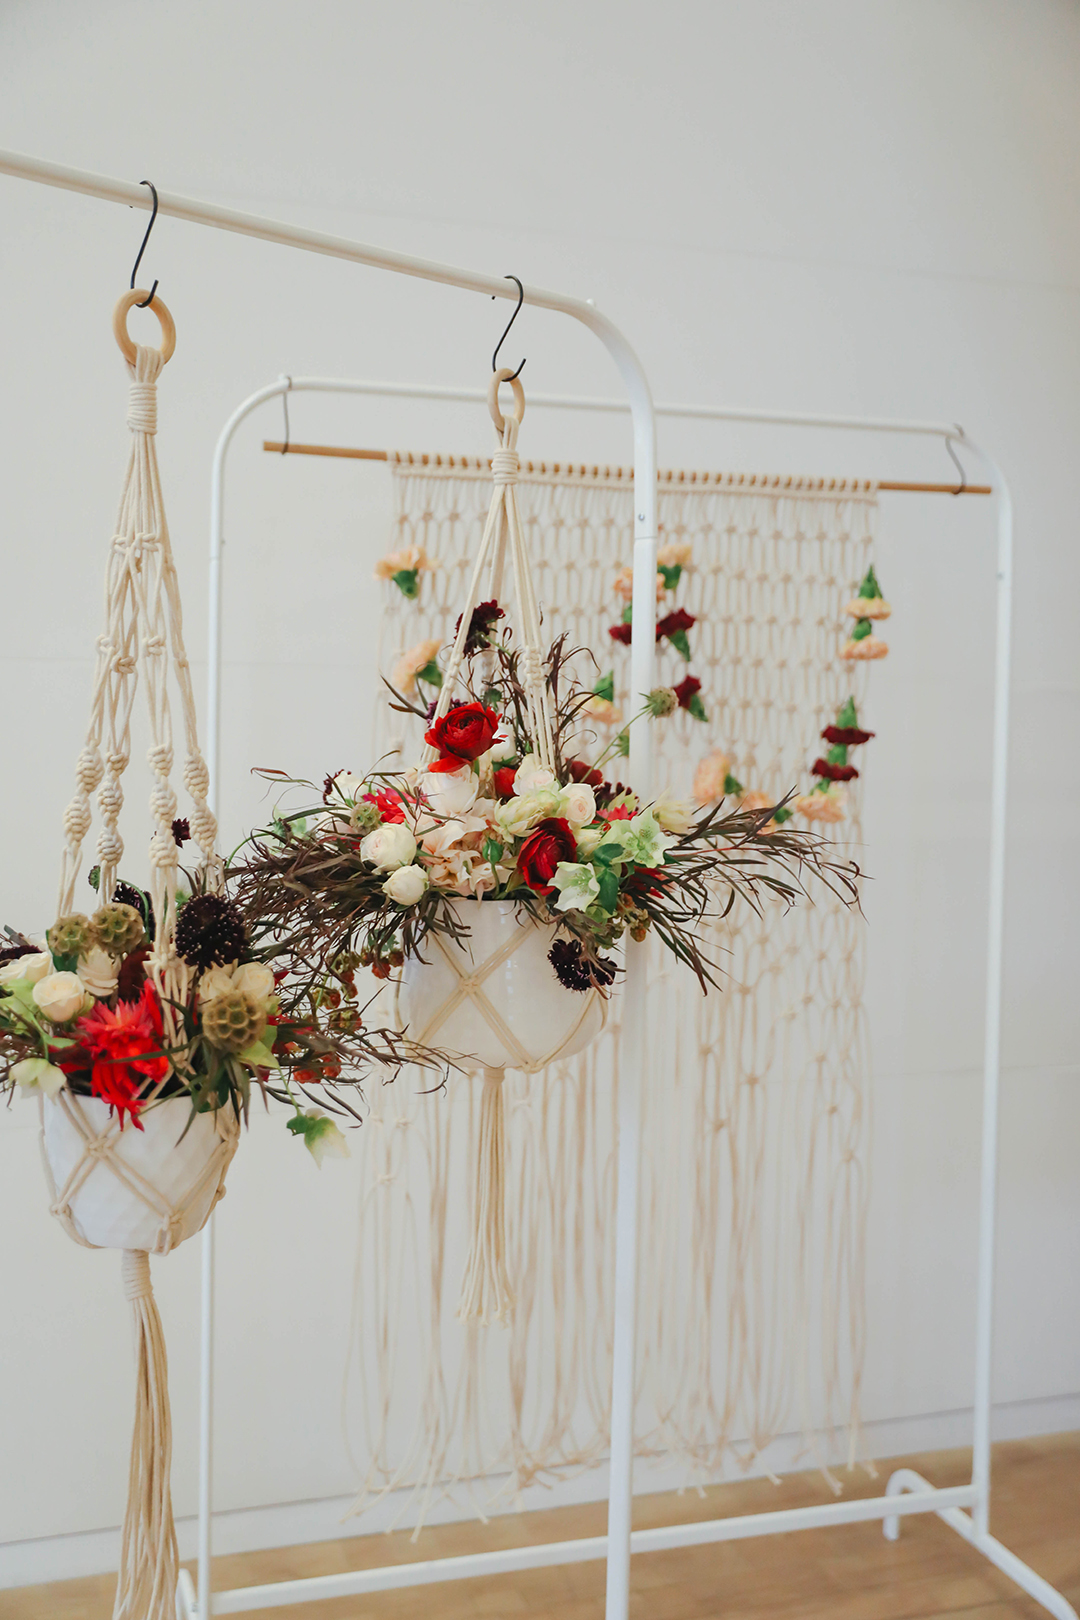
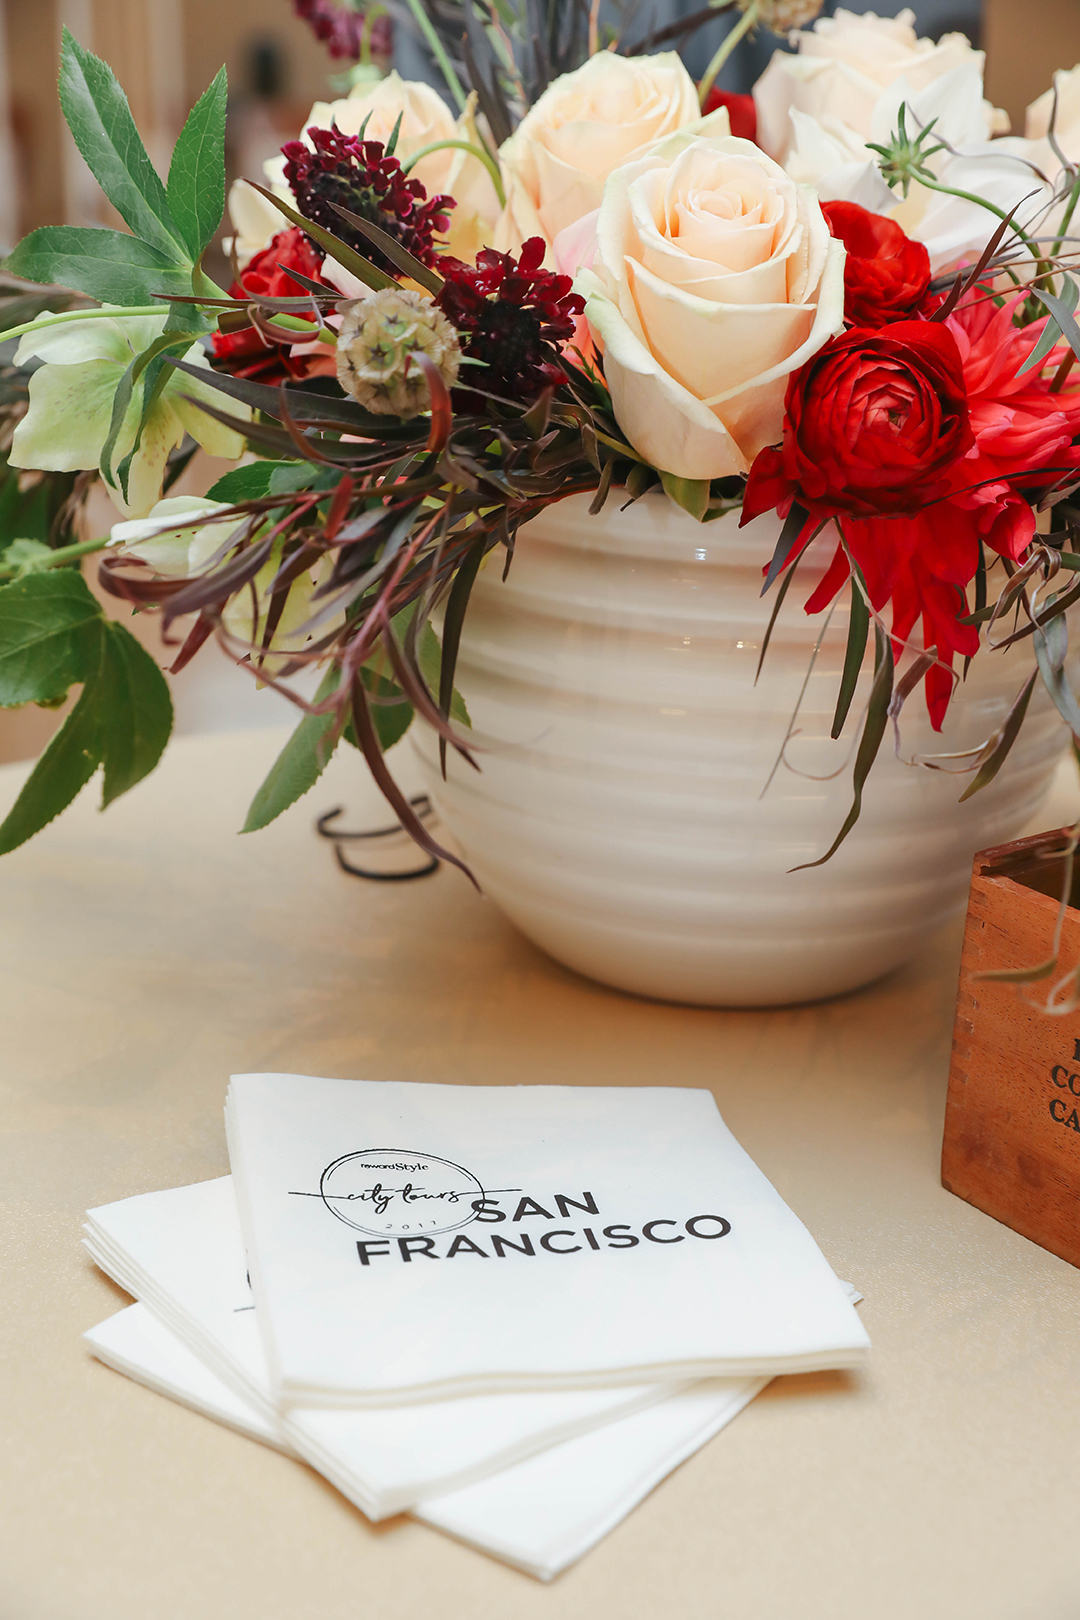
The How to Macrame class was held at One Kearny Club on Geary Street in San Francisco. It was so much fun to attend and see all the local bloggers I mostly interact with online. rewardStyle planned a fabulous and fun event. The event space was decorated with macrame and so many pretty flowers. There were passed appetizers, which were absolutely delicious, as well as an open bar.
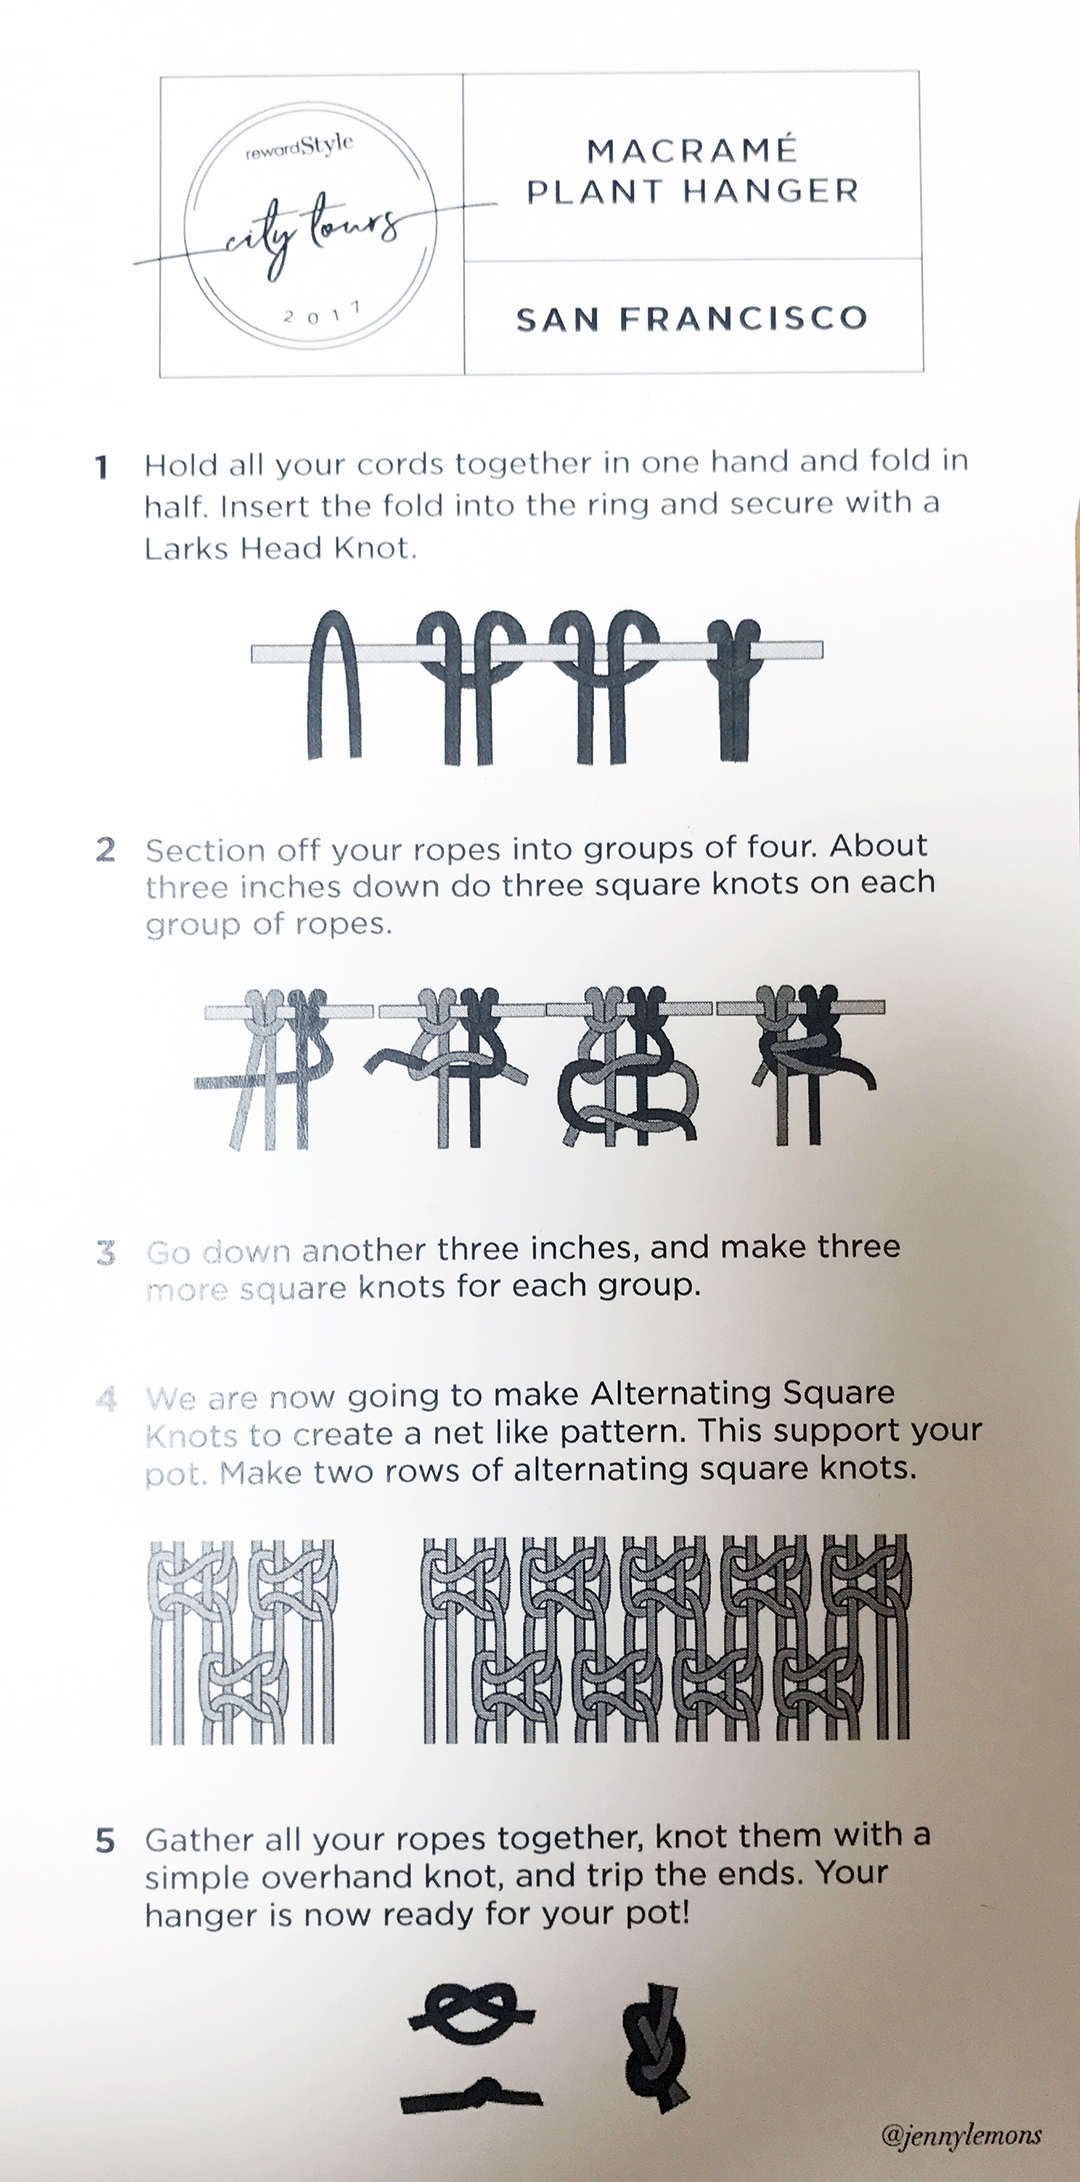
After we socialized for a bit, our macrame class began! We all grabbed a chair, and then stood up in front of a wooden ring with sixteen ropes; ready to be turned into a macrame design. Out teacher, Jenny Lemons, gave us step-by-step instructions on how to macrame, and she walked around the room helping us with our knots, and our overall design. Our mission was to macrame a plant hanger. Later on, Dawn from Fashion Should Be Fun and I decided our plant hangers could double as iPhone carriers. More about that later on in this post.
Here are the steps for our macrame project:
Here is a little photo journal of the steps for making a macrame knot so you can see the steps in action. They are in order, steps one, two, then three.
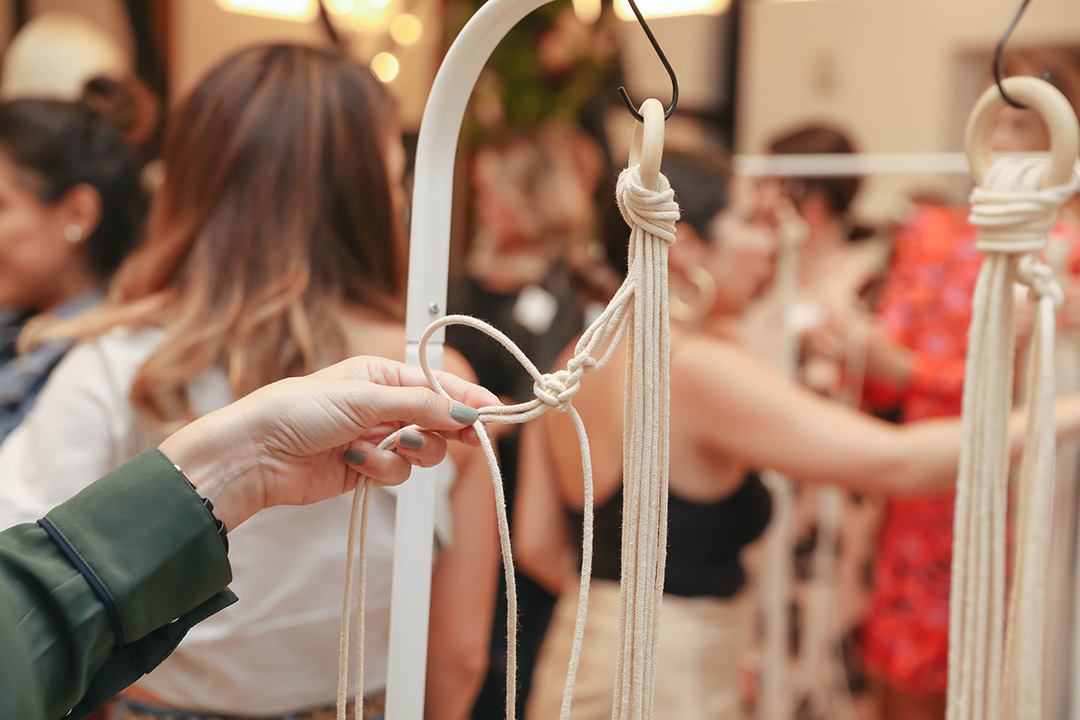


When you get to this point, step three, pull the knot tight and wiggle it with your fingers to make sure it is symmetrical. I ended up making single knots on the top half of my plant holder, and then I went to alternating doubles knots on the bottom half of my plant holder. I think I defaulted to the single knot at first because it is the one I did most often when I was growing up. The single knot turns while the alternating double knot stays flat.
Below you can see my finished plant holder, and Dawn’s; which we found also makes a great iPhone case! Who knew?
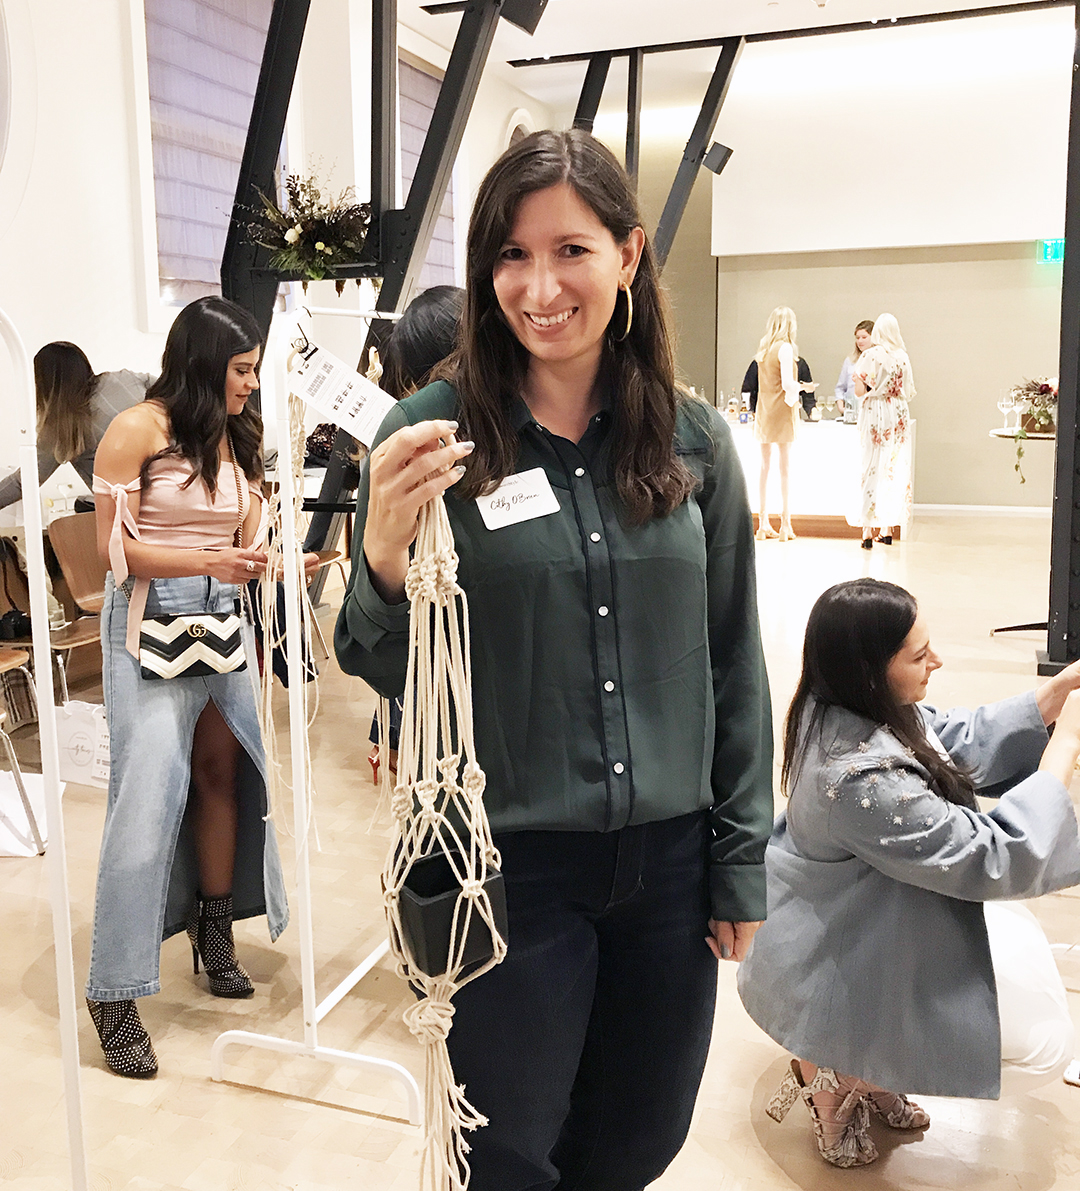
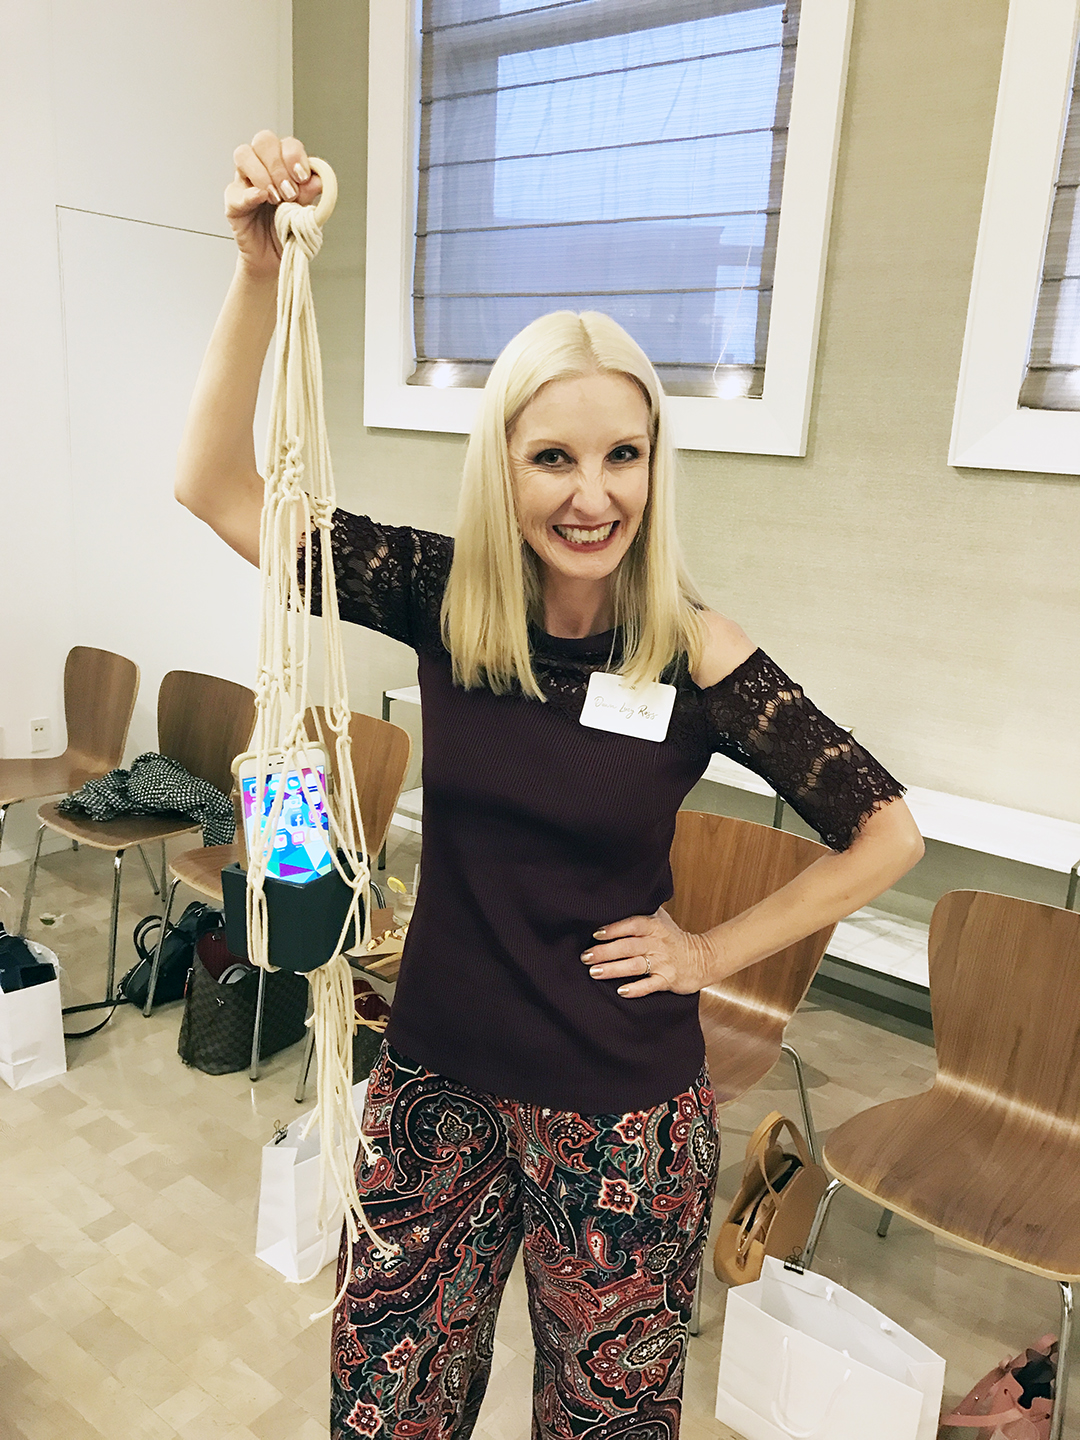
It was a fun event, and it was great to take a refresher course on how to macrame. Now, I can show my daughter how to macrame, and she can create her own home decor! I also plan to show her how to integrate beads into macrame. Love that!
Shop macrame supplies:
Do you know how to macrame? If so, what types of items do you like to make?
Thanks for stopping by!
XOXO
Cathy
*photo credits: some photos taken with my iPhone, some were taken by Andrea Posadas (hers are the good ones!!)
