Hair Care


L’Oreal Professionnel at Pamella Roland Fall 2016 NYFW

hair by loreal paris at pamella roland nyfw fw16 hair by loreal paris at pamella roland nyfw fw16hair by loreal paris at pamella roland nyfw fw16hair by loreal paris at pamella roland nyfw fw16hair by loreal paris at pamella roland nyfw fw16hair by loreal paris at pamella roland nyfw fw16 hair by loreal paris at pamella roland nyfw fw16hair by loreal paris at pamella roland nyfw fw16hair by loreal paris at pamella roland nyfw fw16hair by loreal paris at pamella roland nyfw fw16hair by loreal paris at pamella roland nyfw fw16hair by loreal paris at pamella roland nyfw fw16look board backstage pamella roland nyfw fw16
hair by loreal paris at pamella roland nyfw fw16

Photos: Cathy OBrien/Bay Area Fashionista 2016©

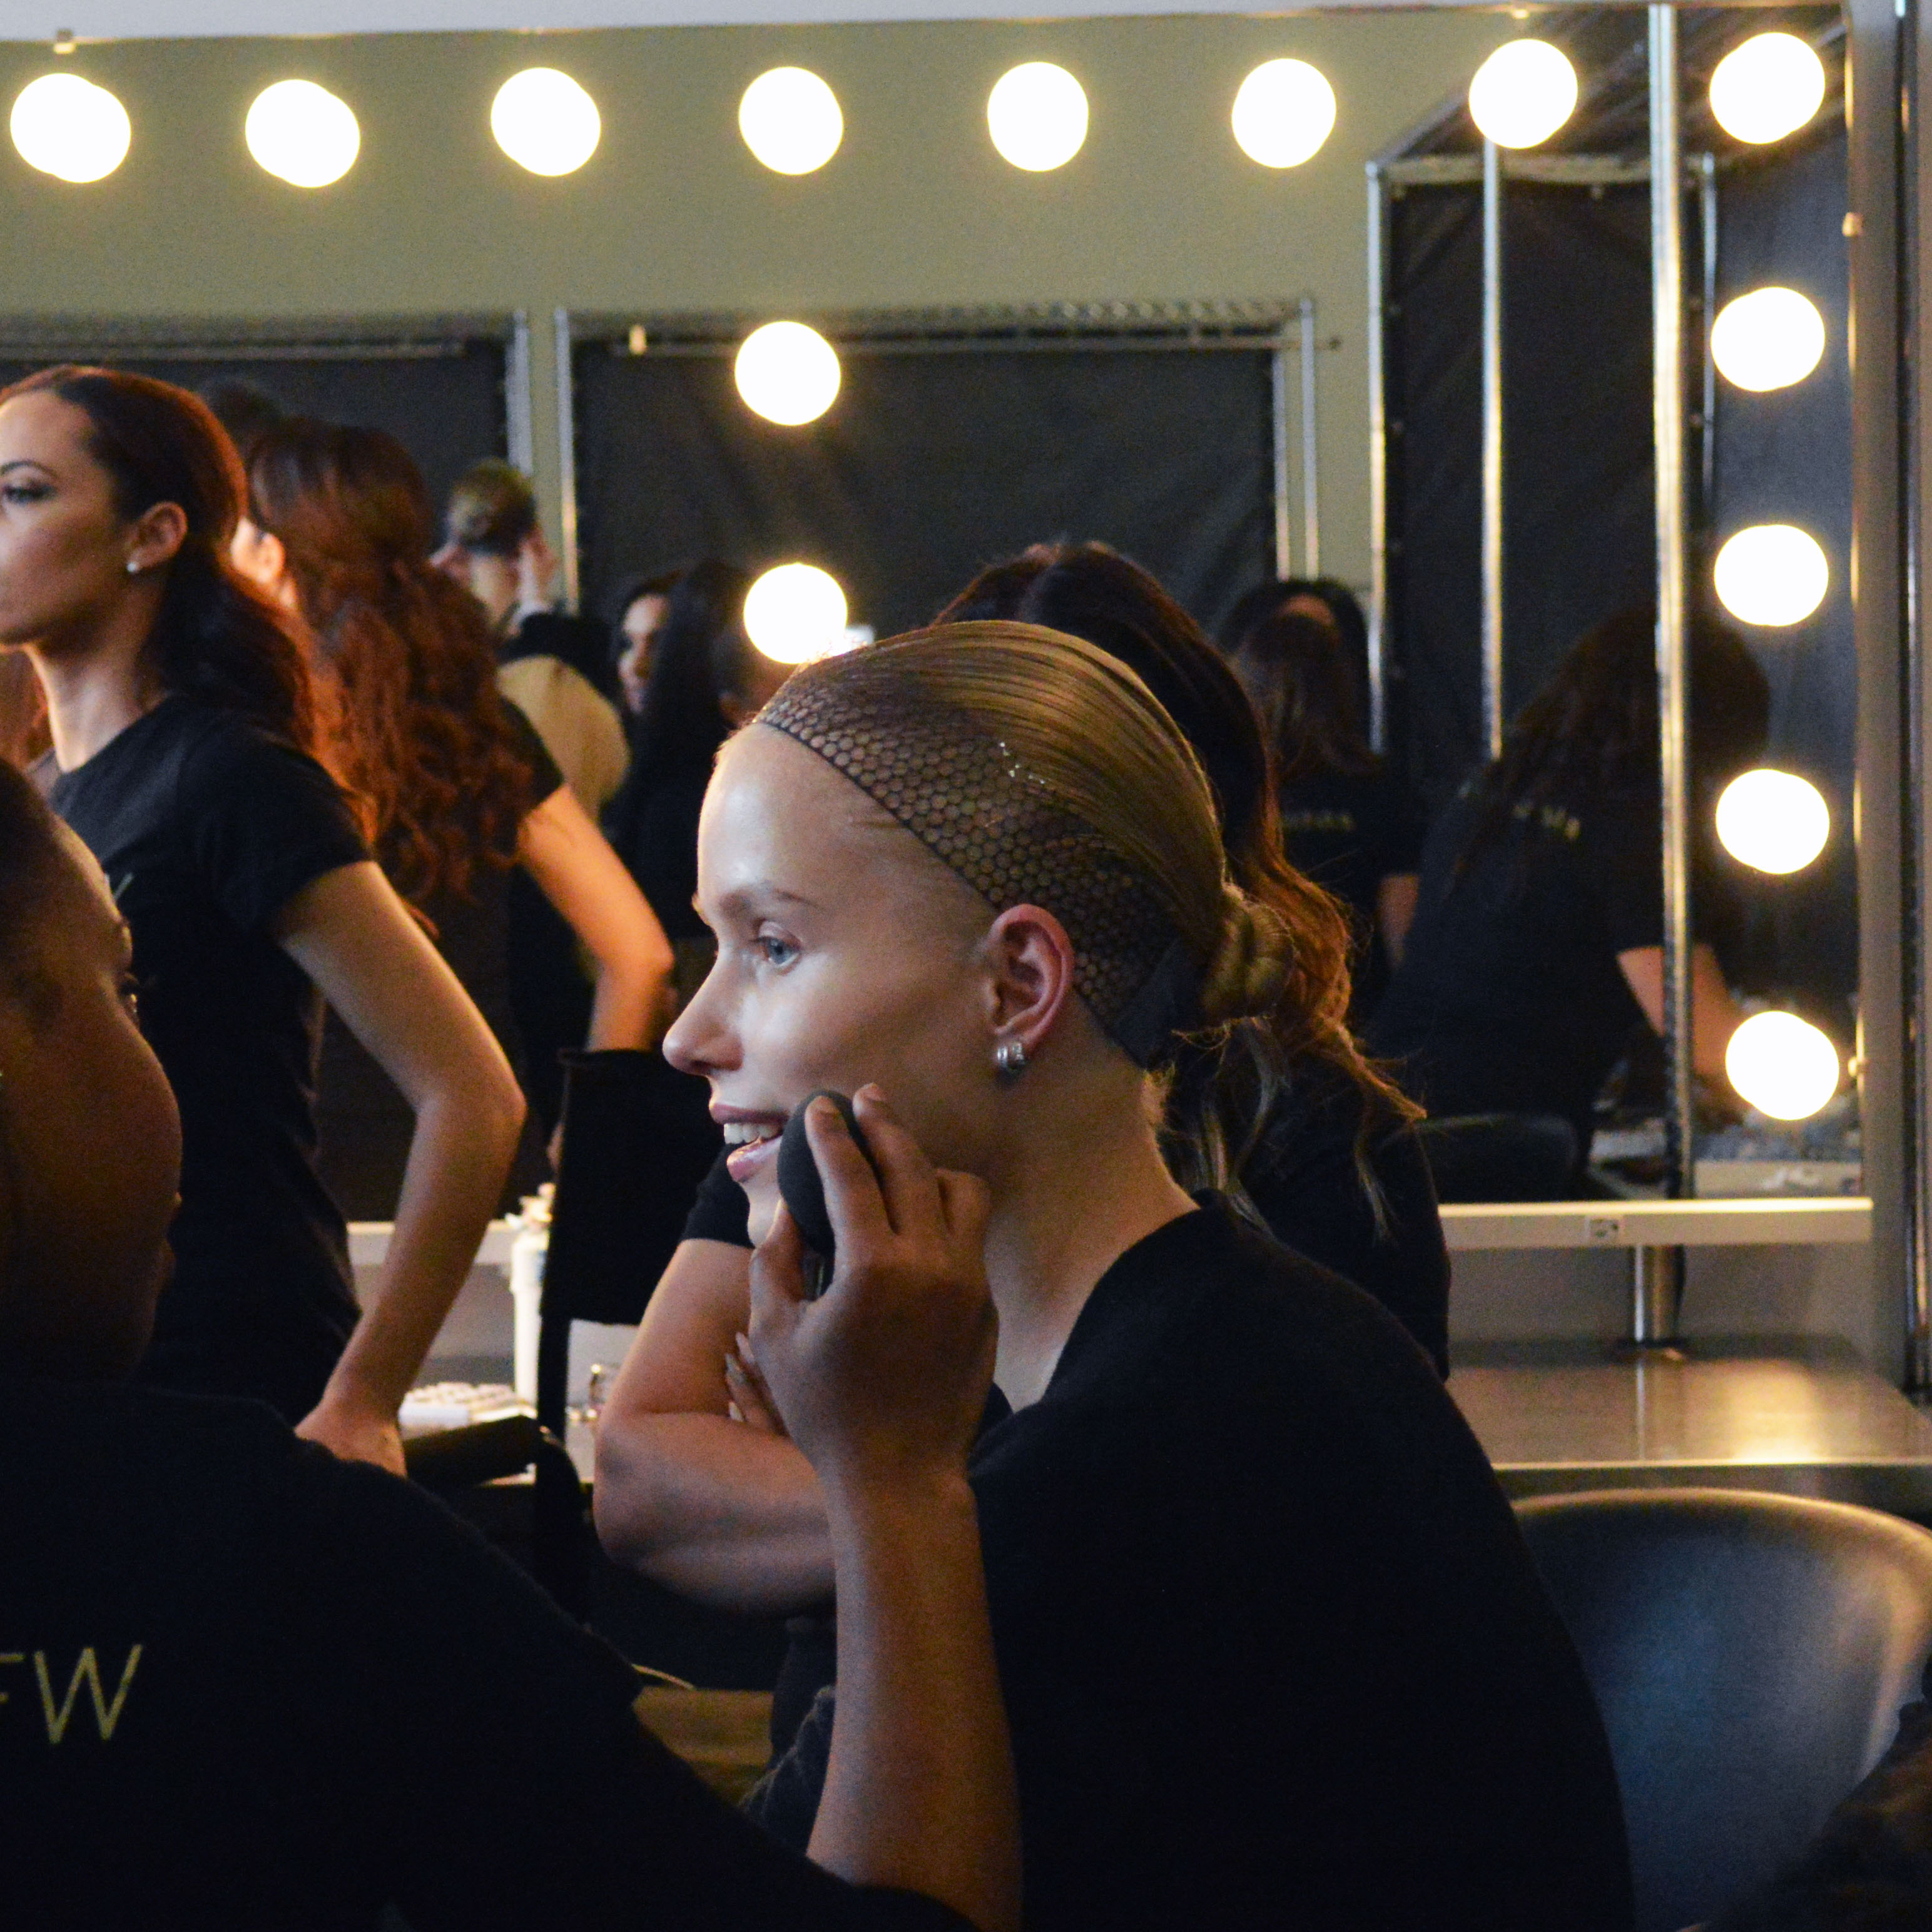
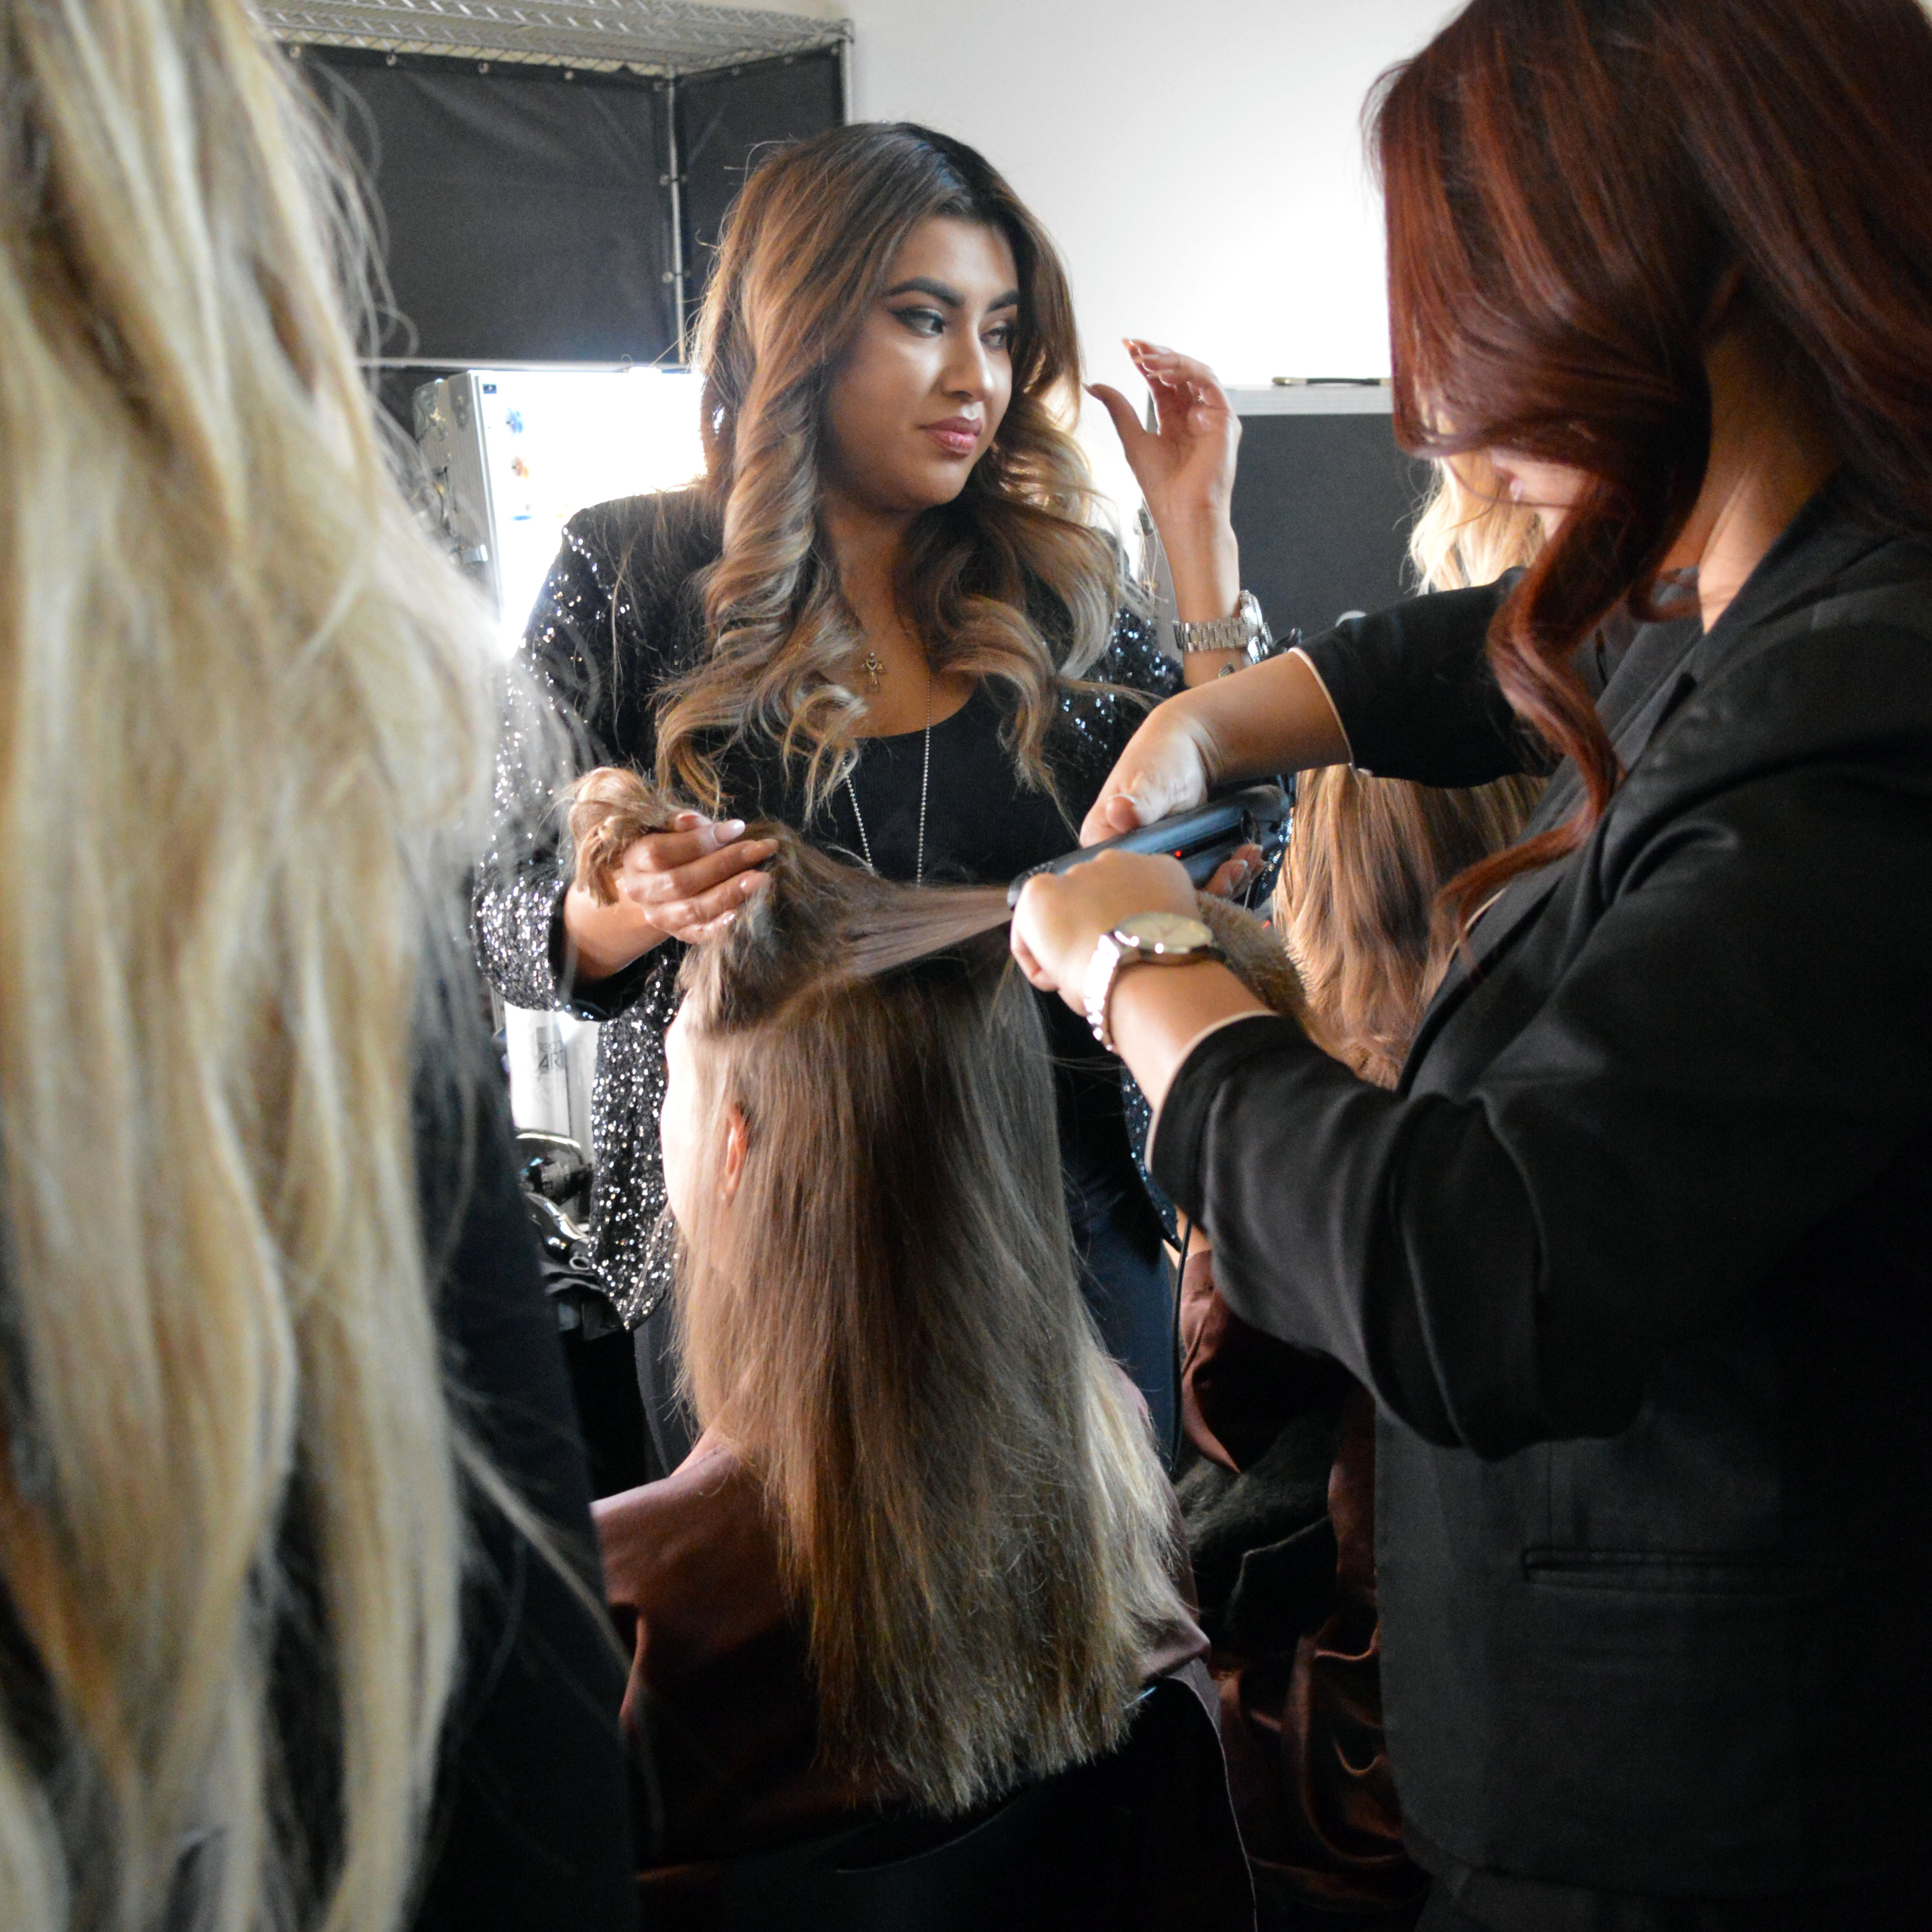
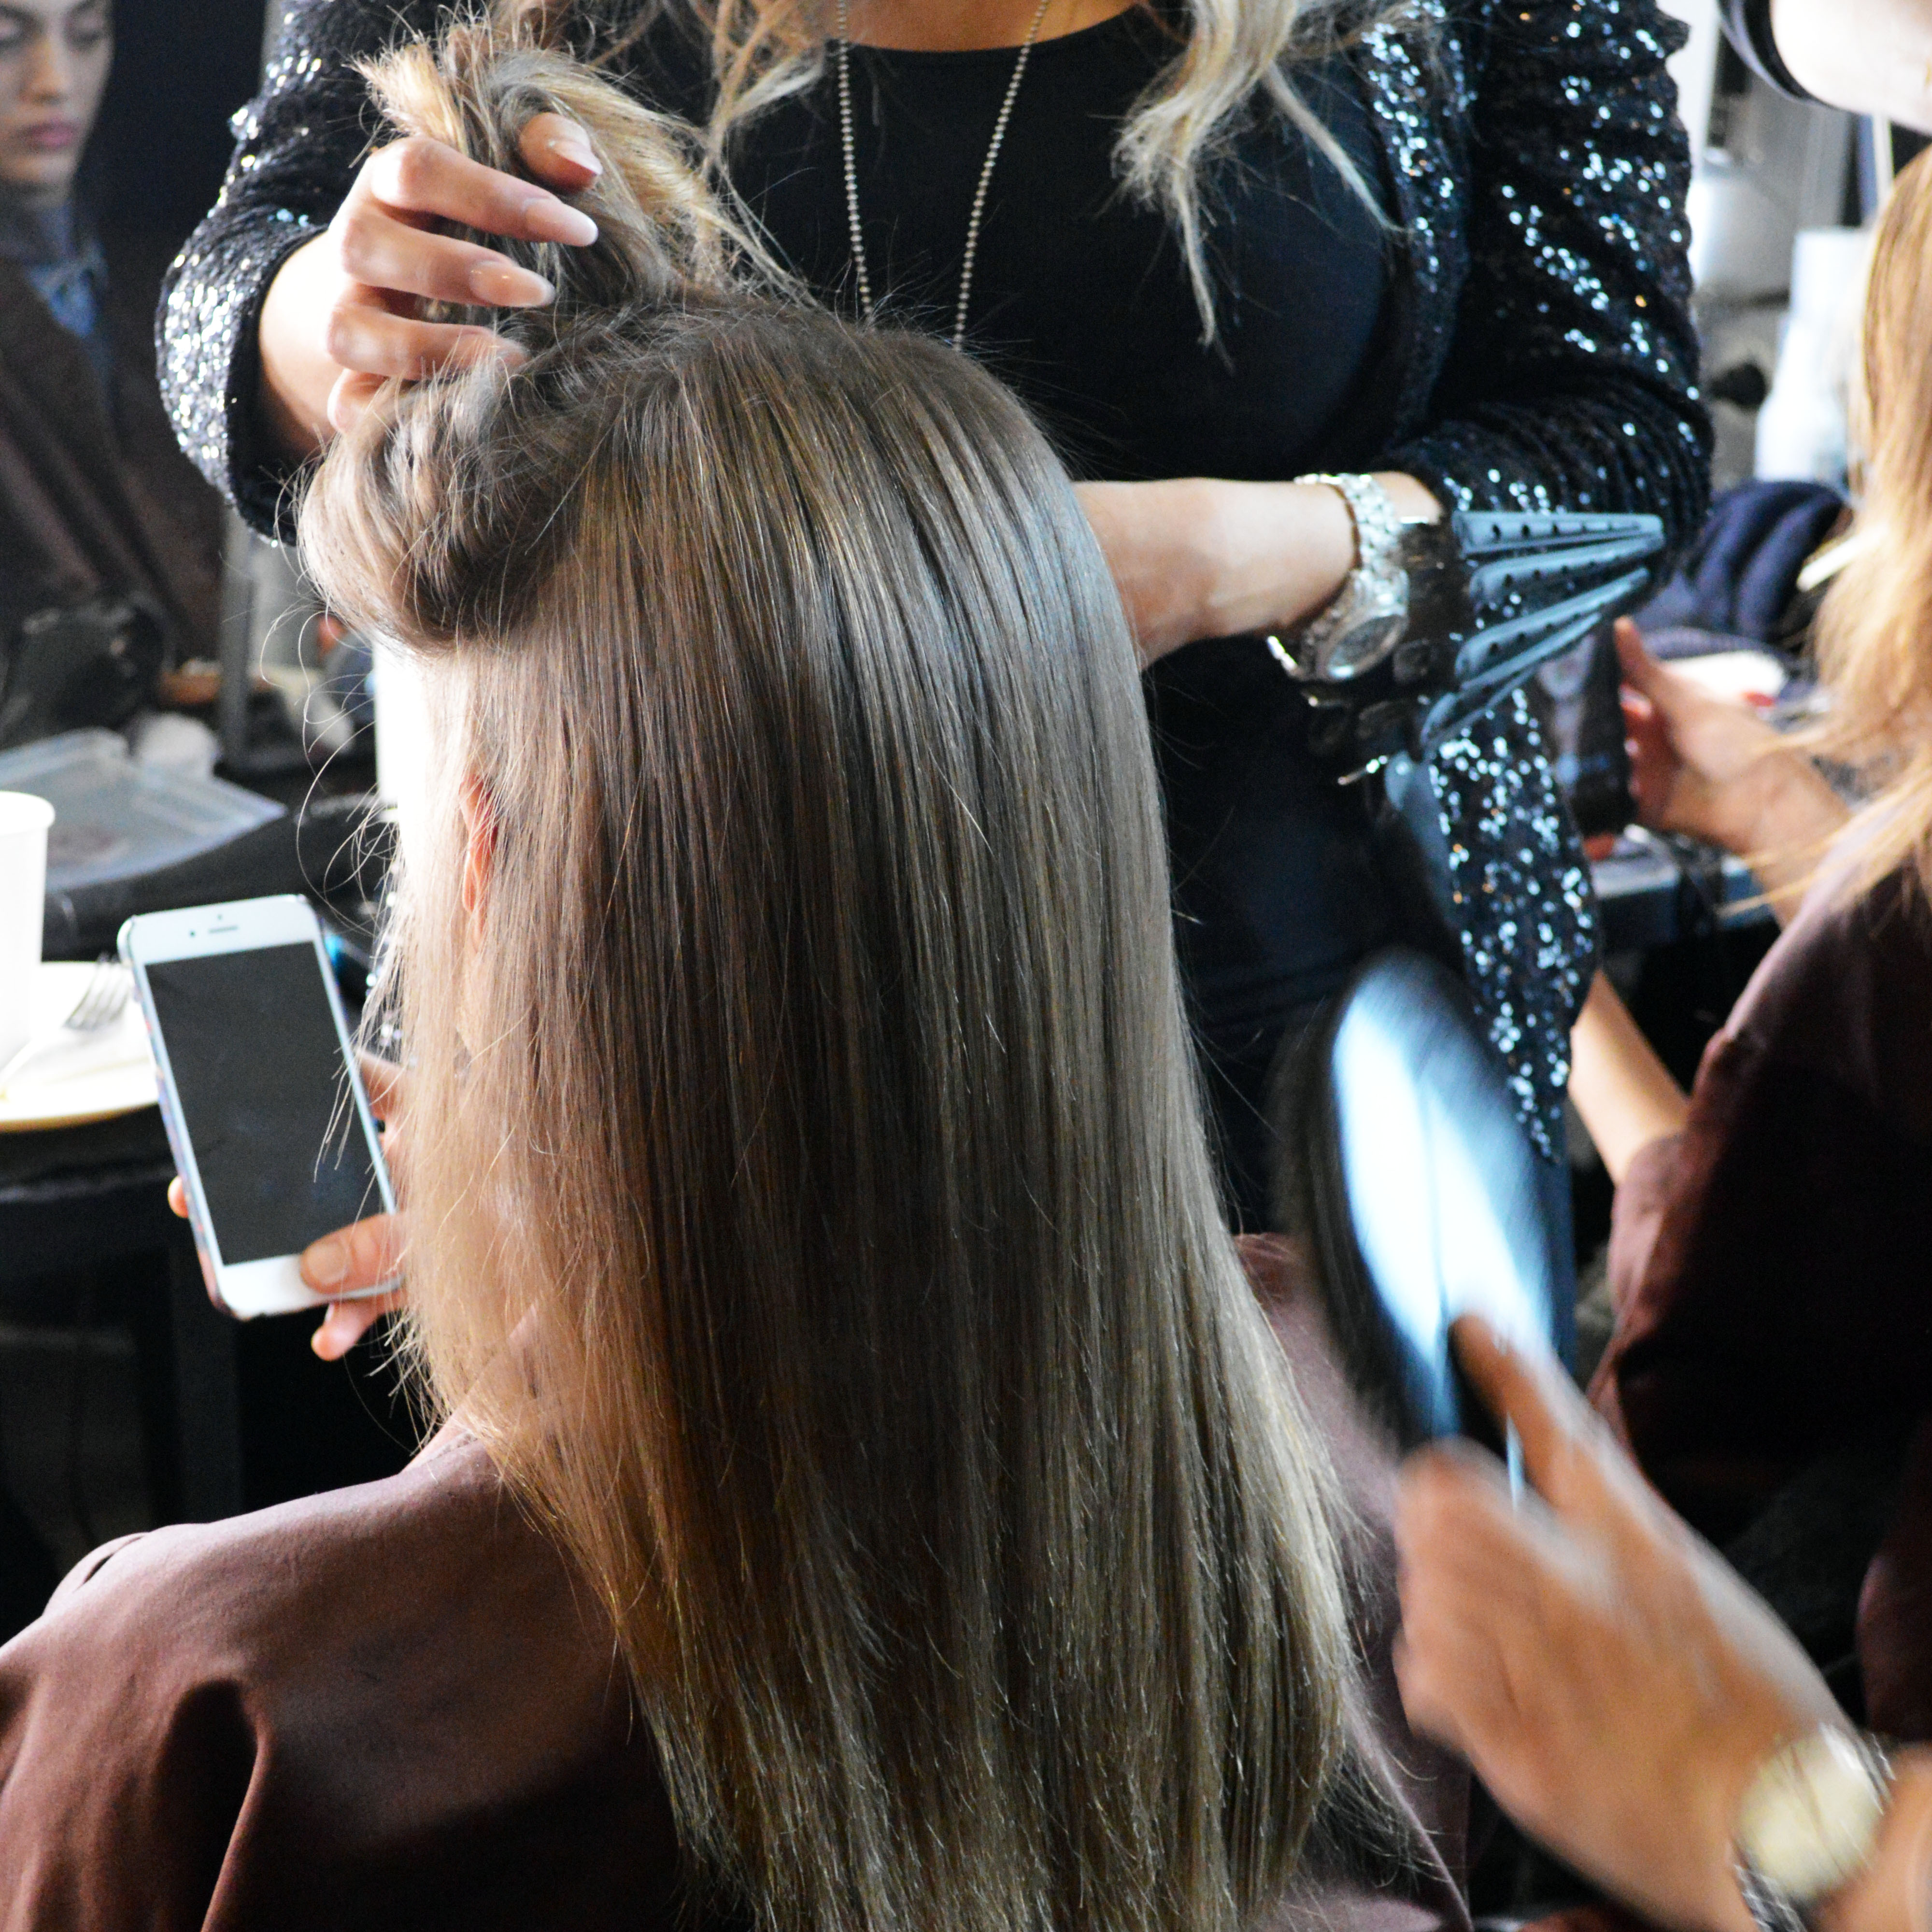
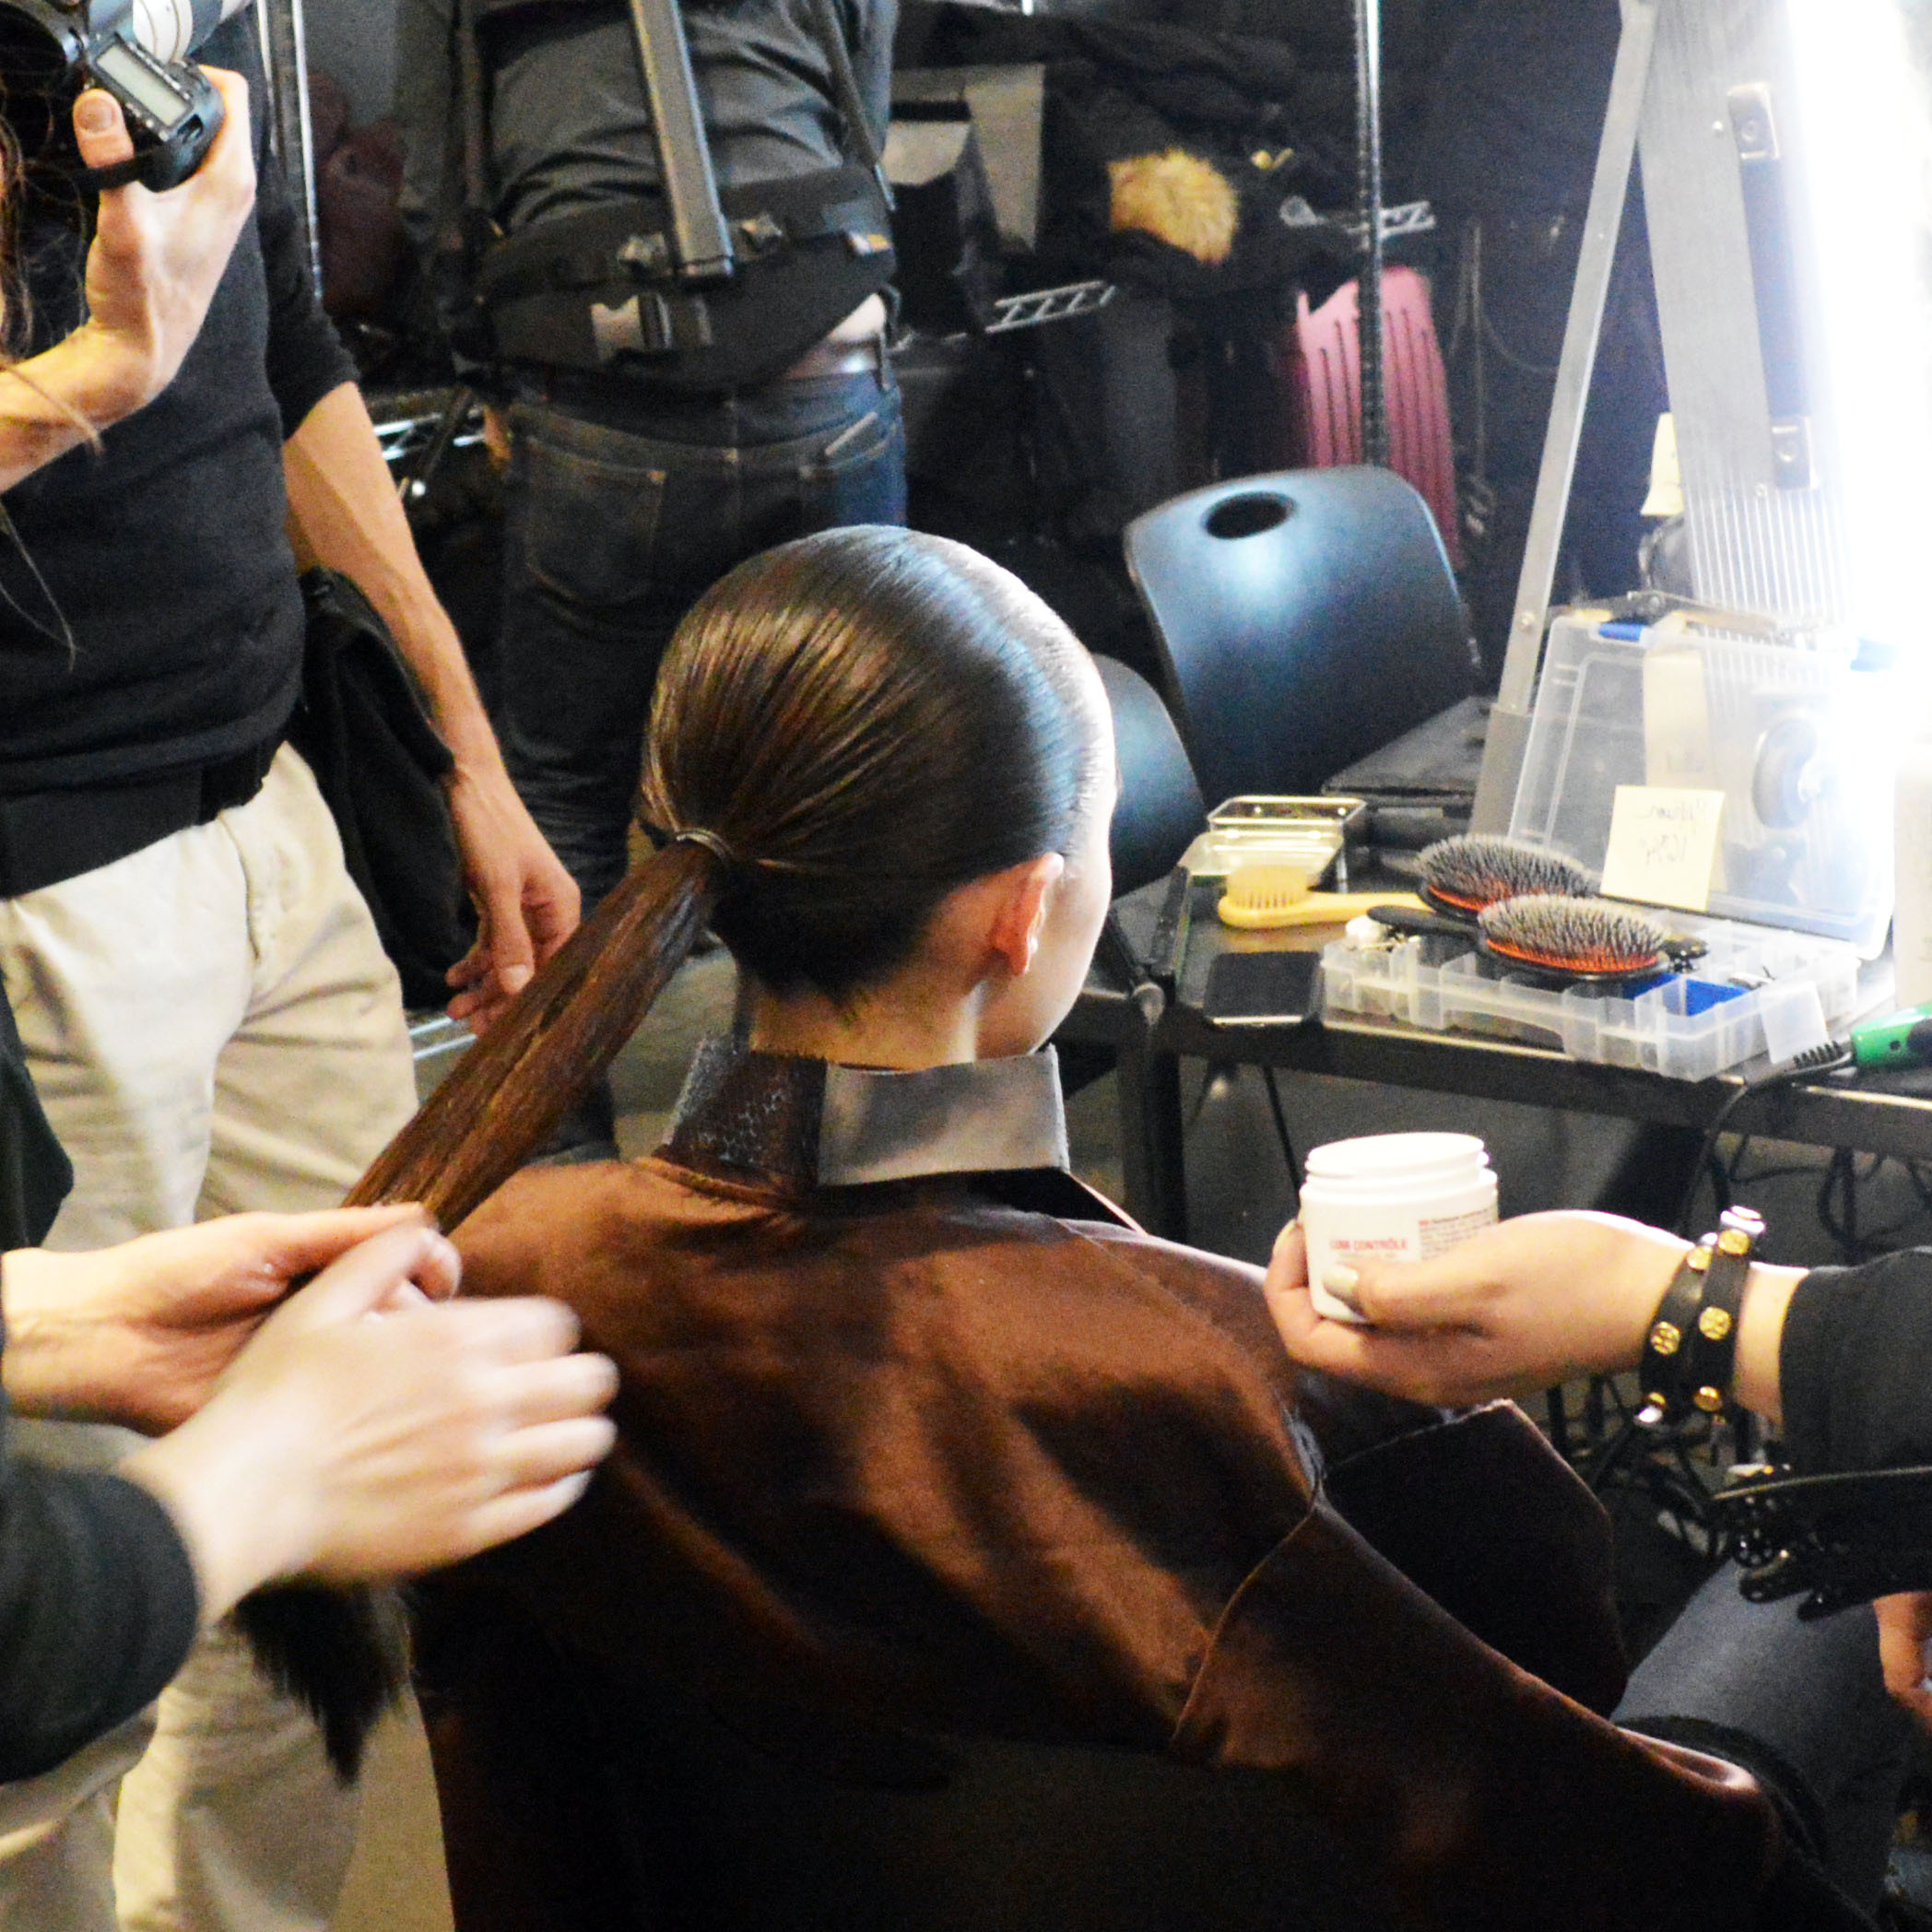
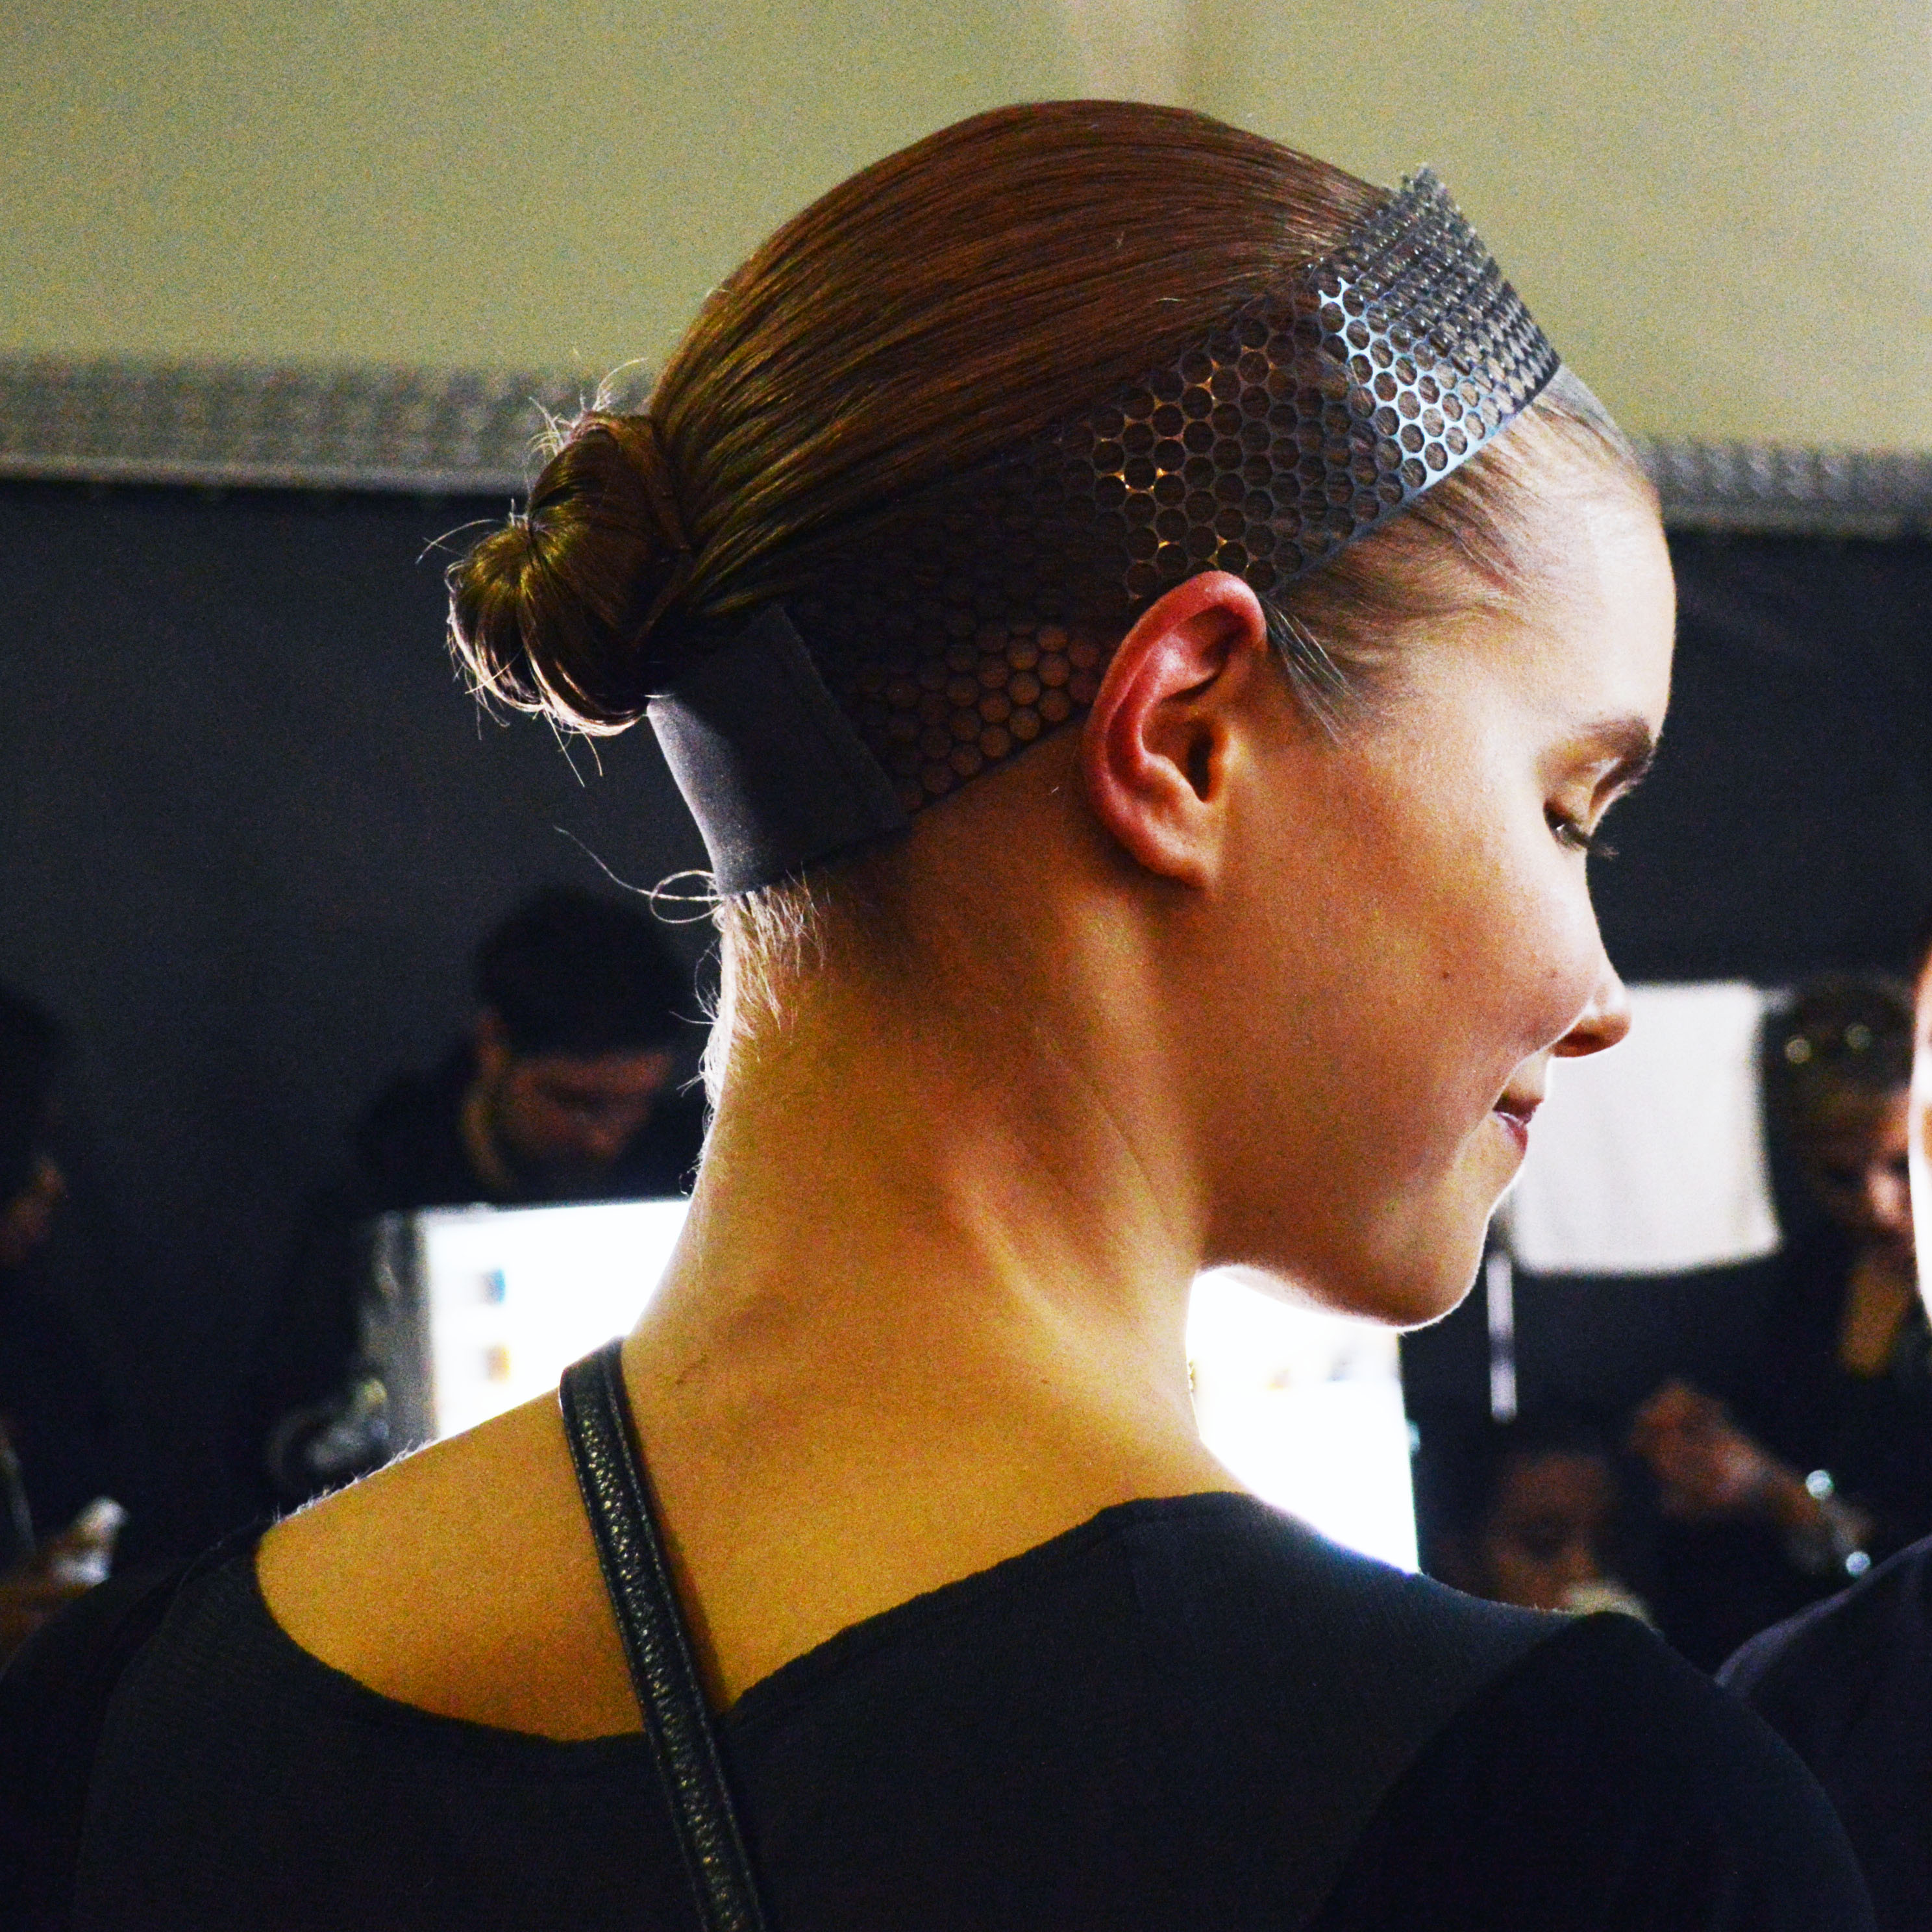
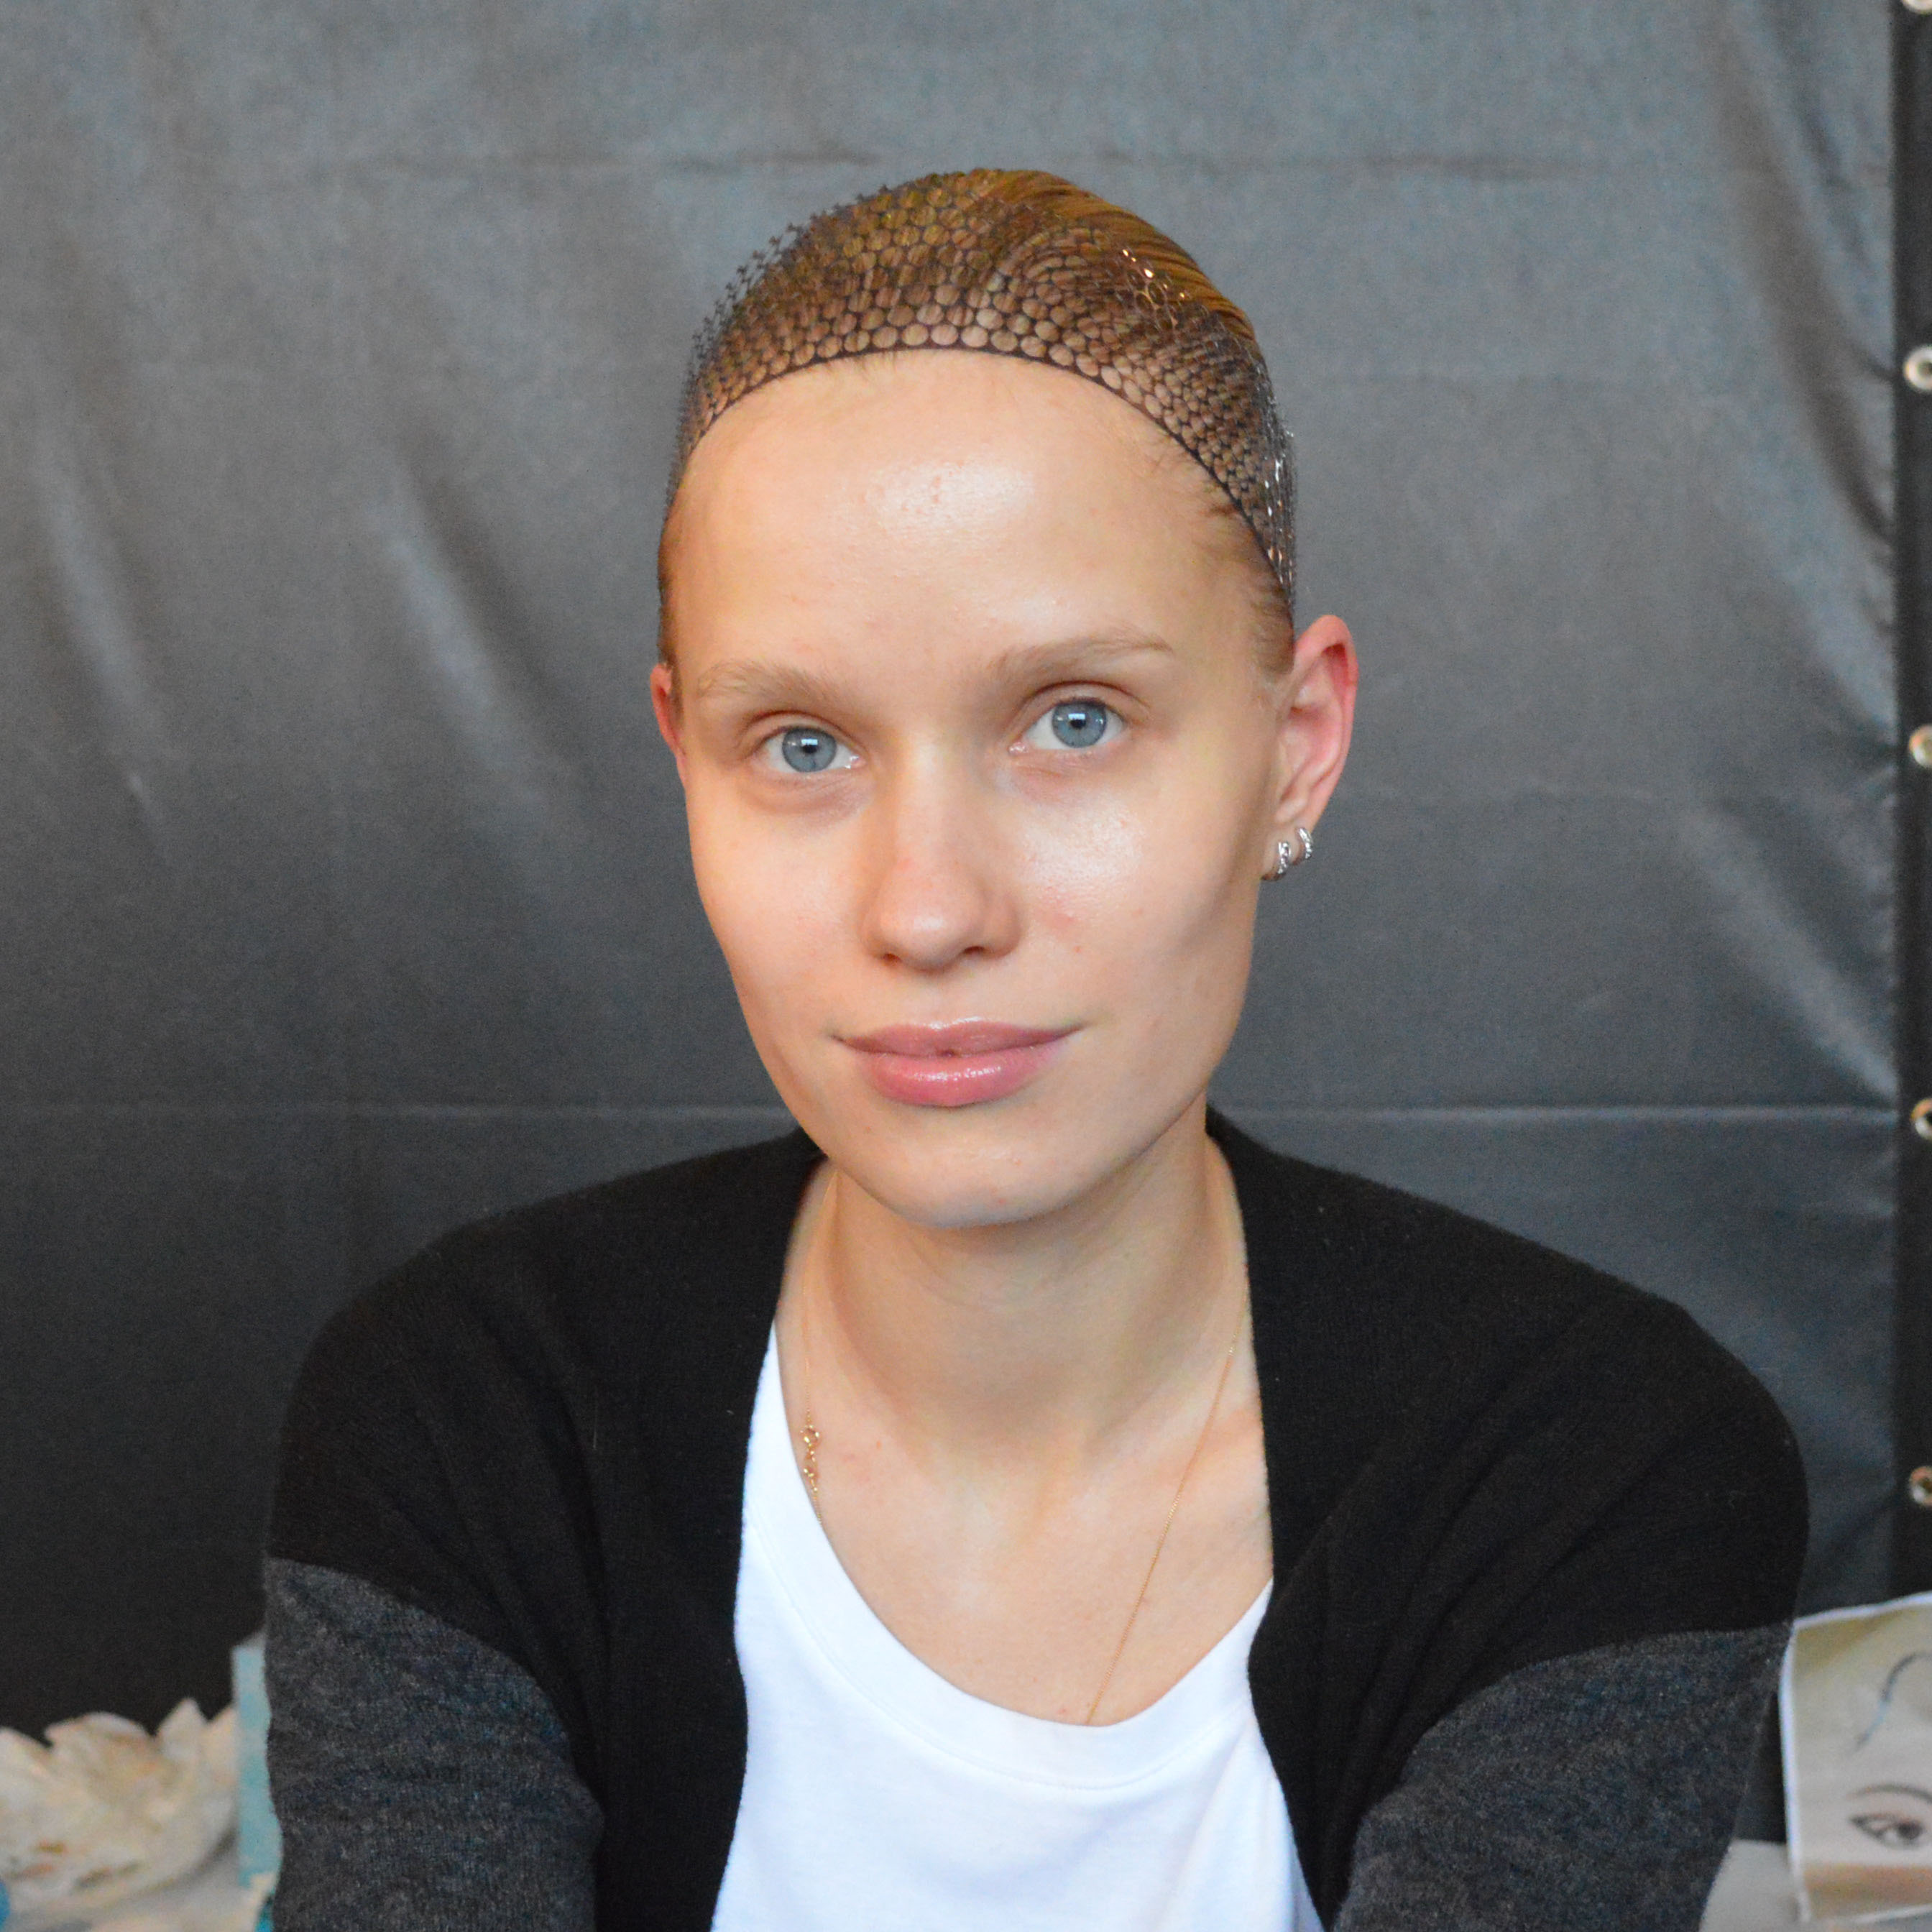
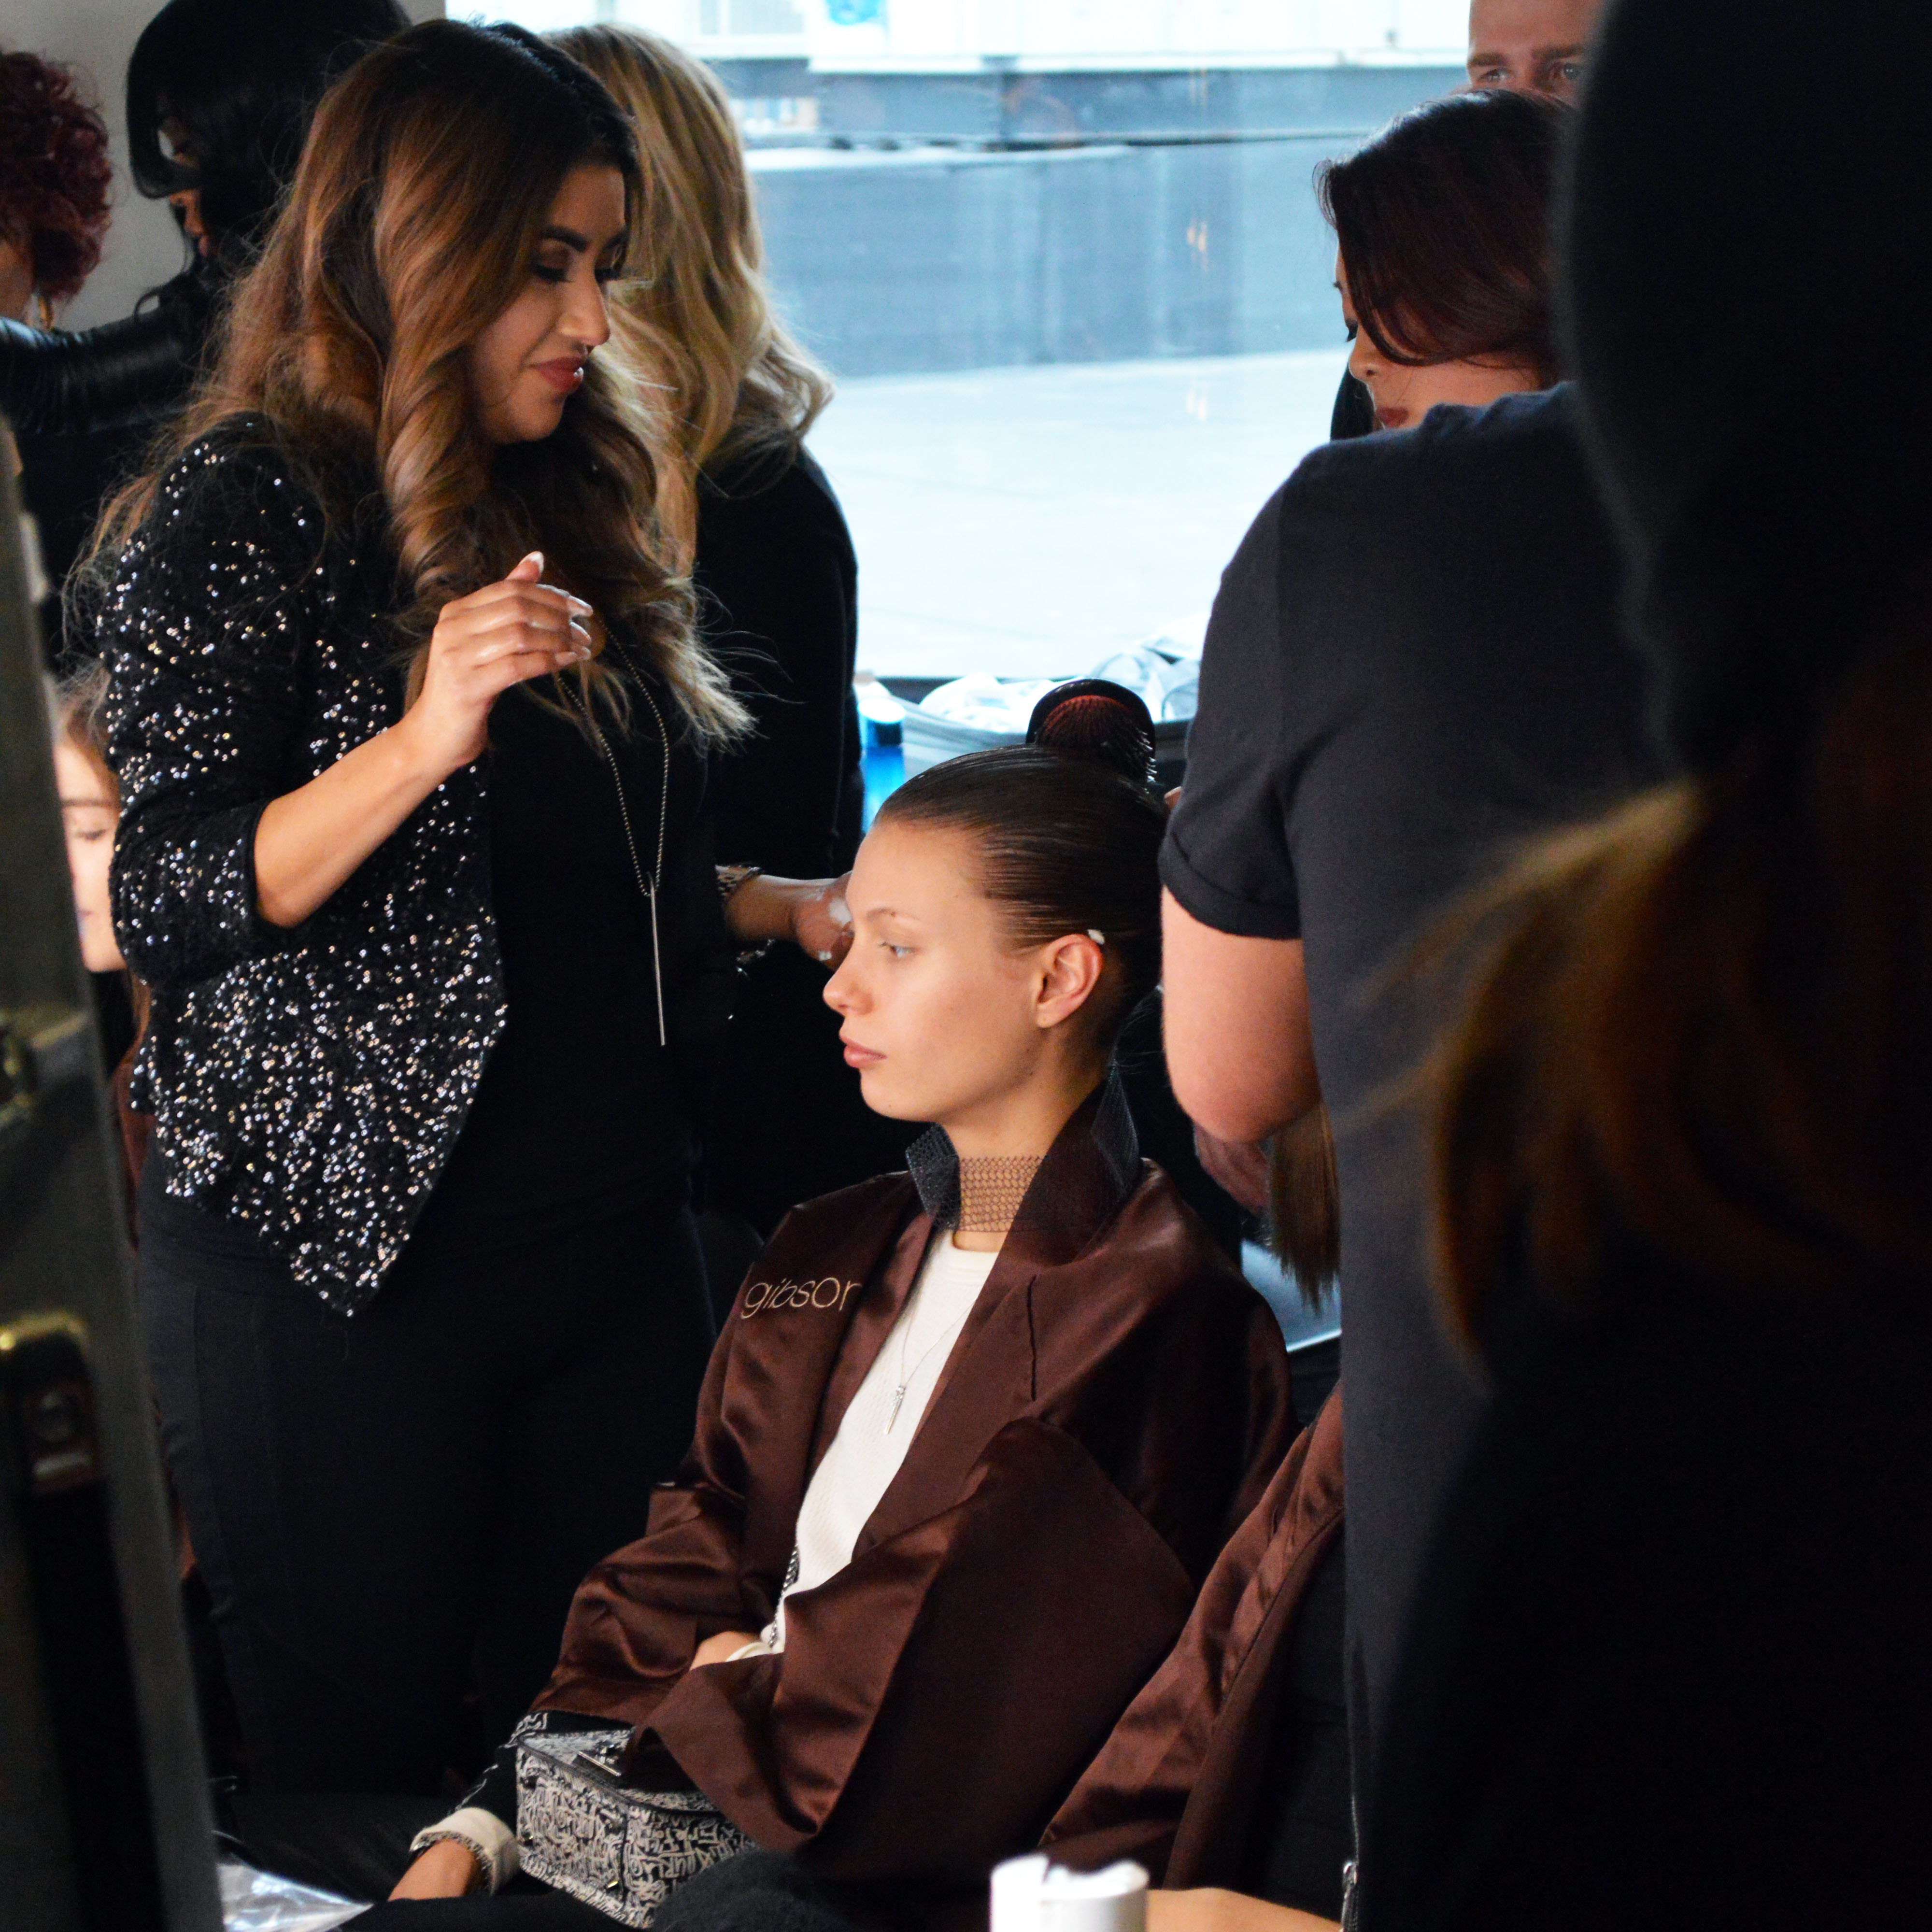
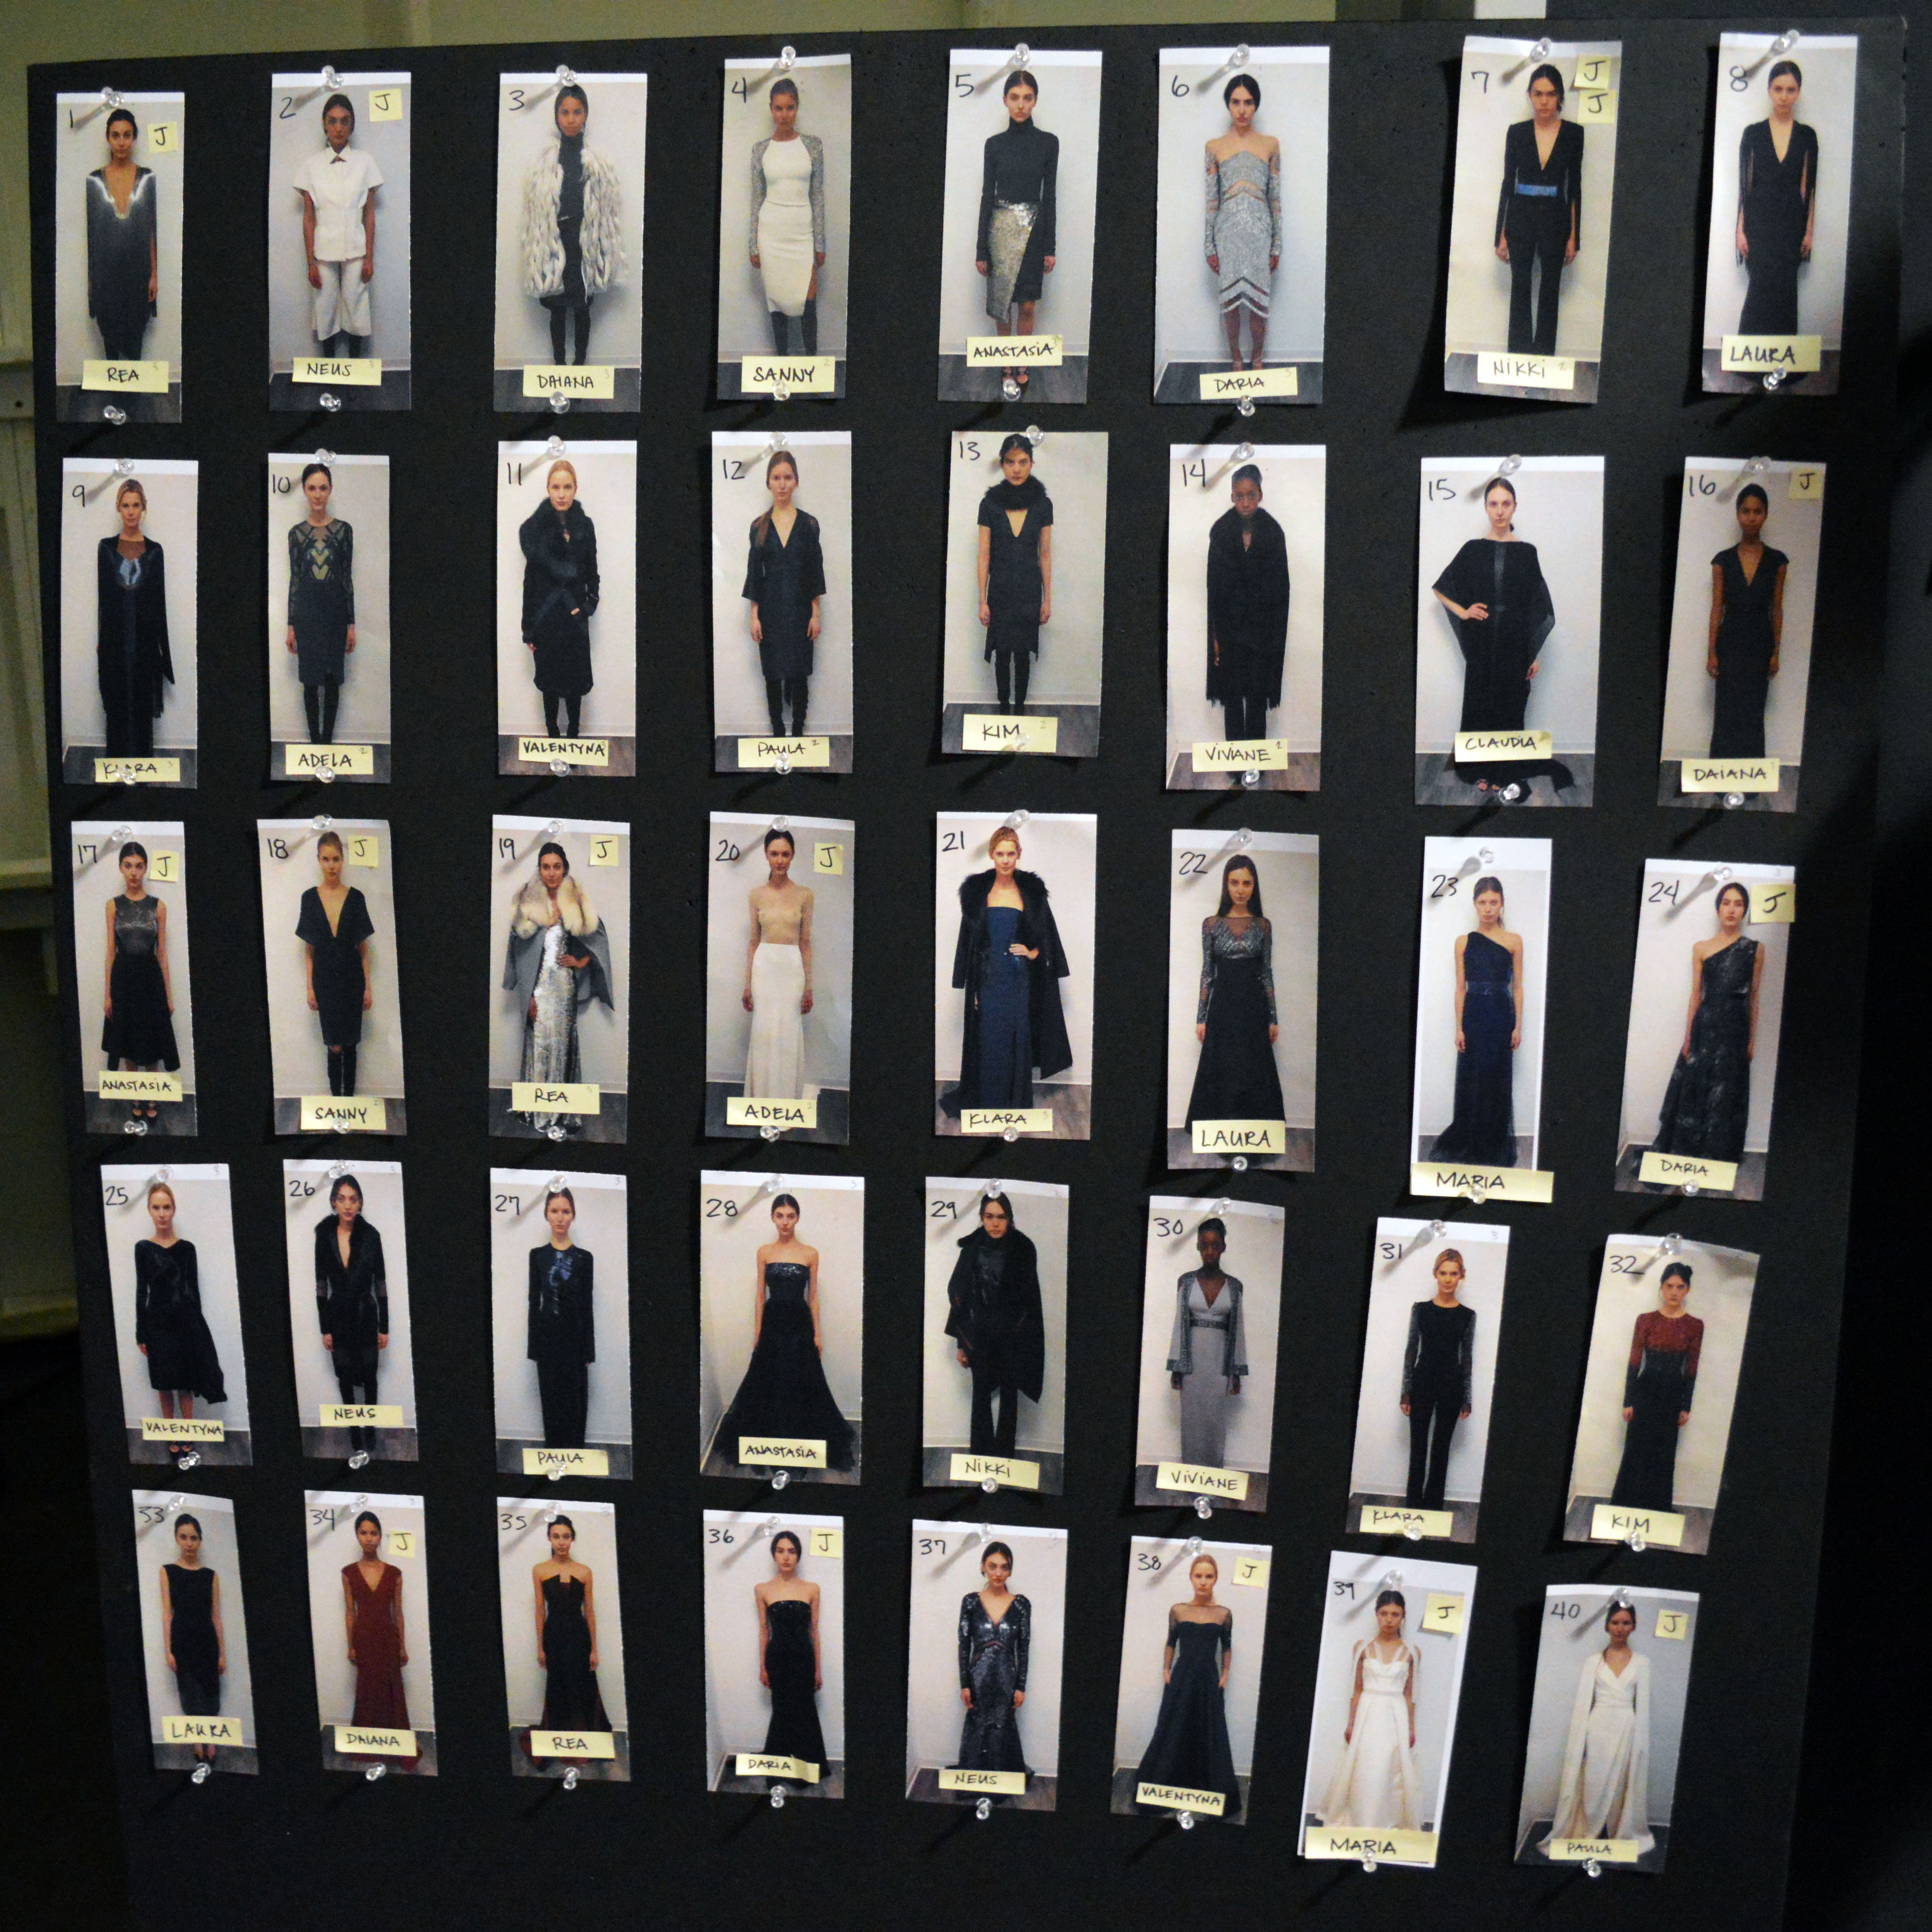
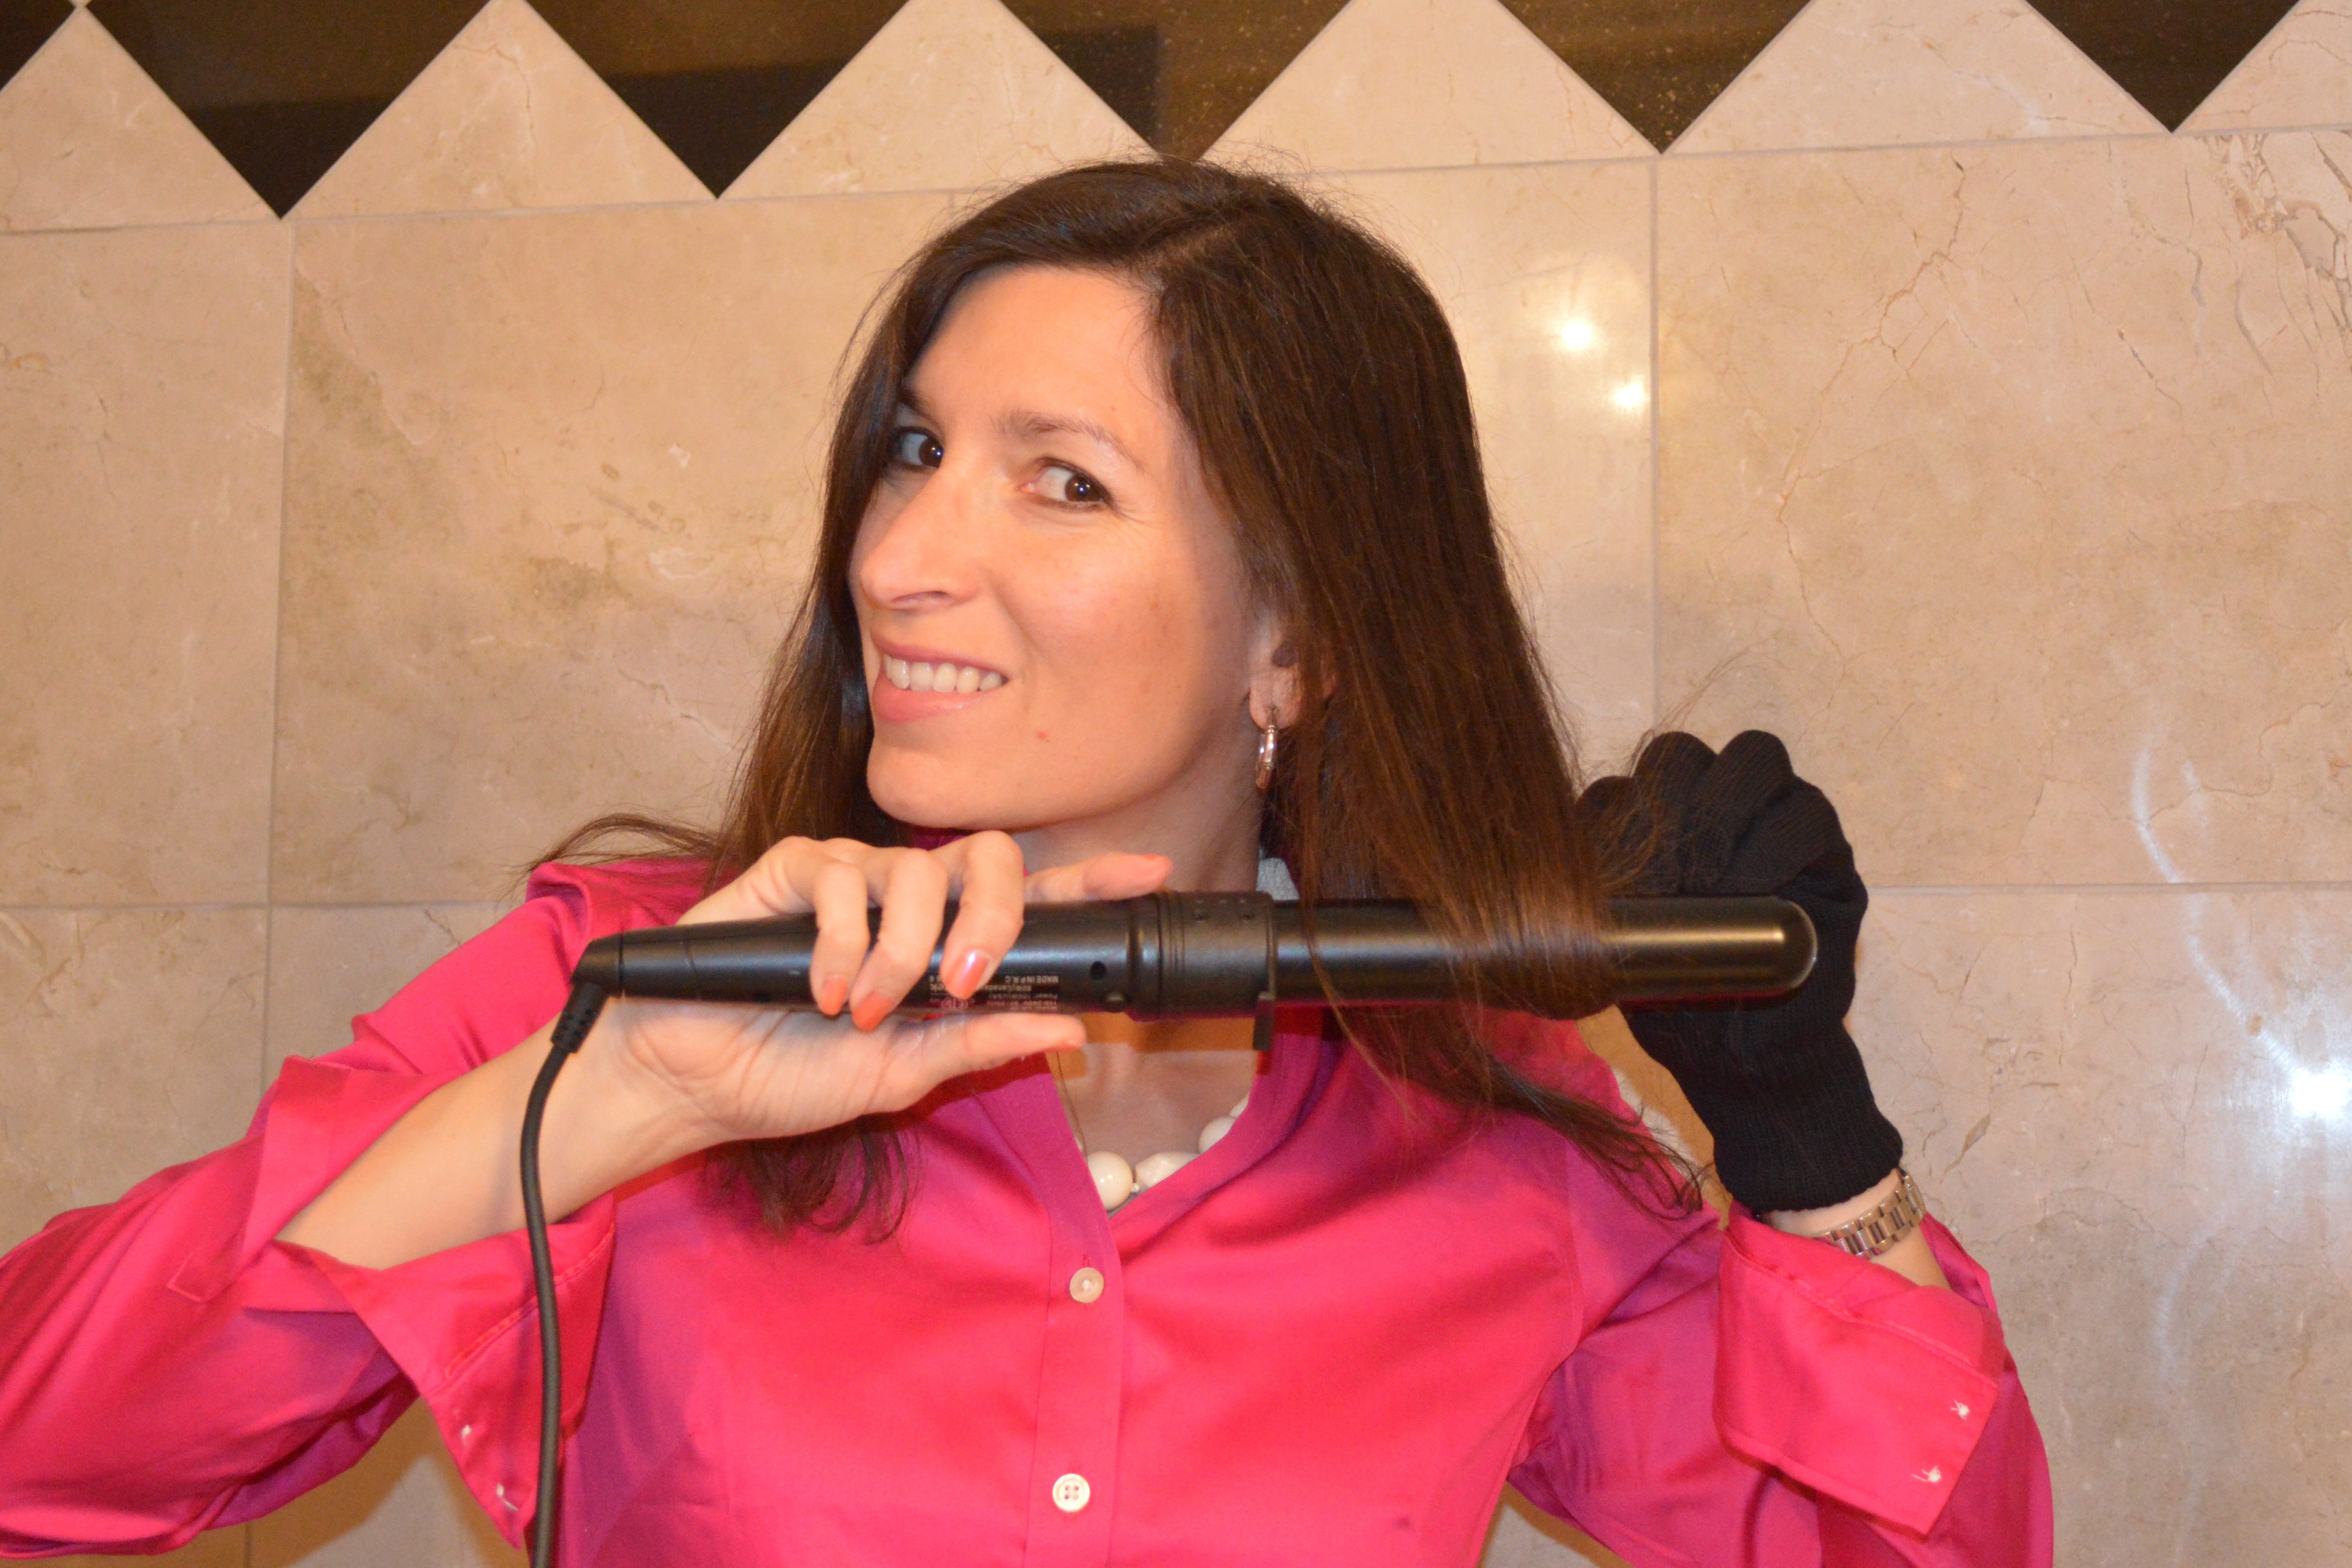
Pamella Roland showed her fall/winter 2016 collection at New York Fashion Week on February 12, 2016 at Pier 59 Studios. I had the opportunity to go backstage before the show and check out the fabulous hairstyles being created by Ted Gibson using L’Oreal Professionnel hair care products. The hairstyles were sleek, sophisticated, and modern. Loved them!

The hairstyles were designed in line with Pamella Roland’s inspiration for her fall 2016 runway collection. In order to achieve this, Ted Gibson, Celebrity Stylist and Owner of Ted Gibson Salon stated: “This season we were inspired by modern architecture and the city of Tokyo. We wanted the models to look as if they had just traveled through Japan.”

I am in love with this timeless yet modern hairstyle; and it looked amazing with Pamella Roland’s fall 2016 collection! I loved being able to see the process from start to finish when I was backstage with L’Oreal Professionnel at Pamella Roland. This is an easy hairstyle to replicate in five easy steps using L’Oreal products.

Here is how you can get the Pamella Roland runway hairstyle at home! All you need to do is buy a fabulous headband, such as this one online here.

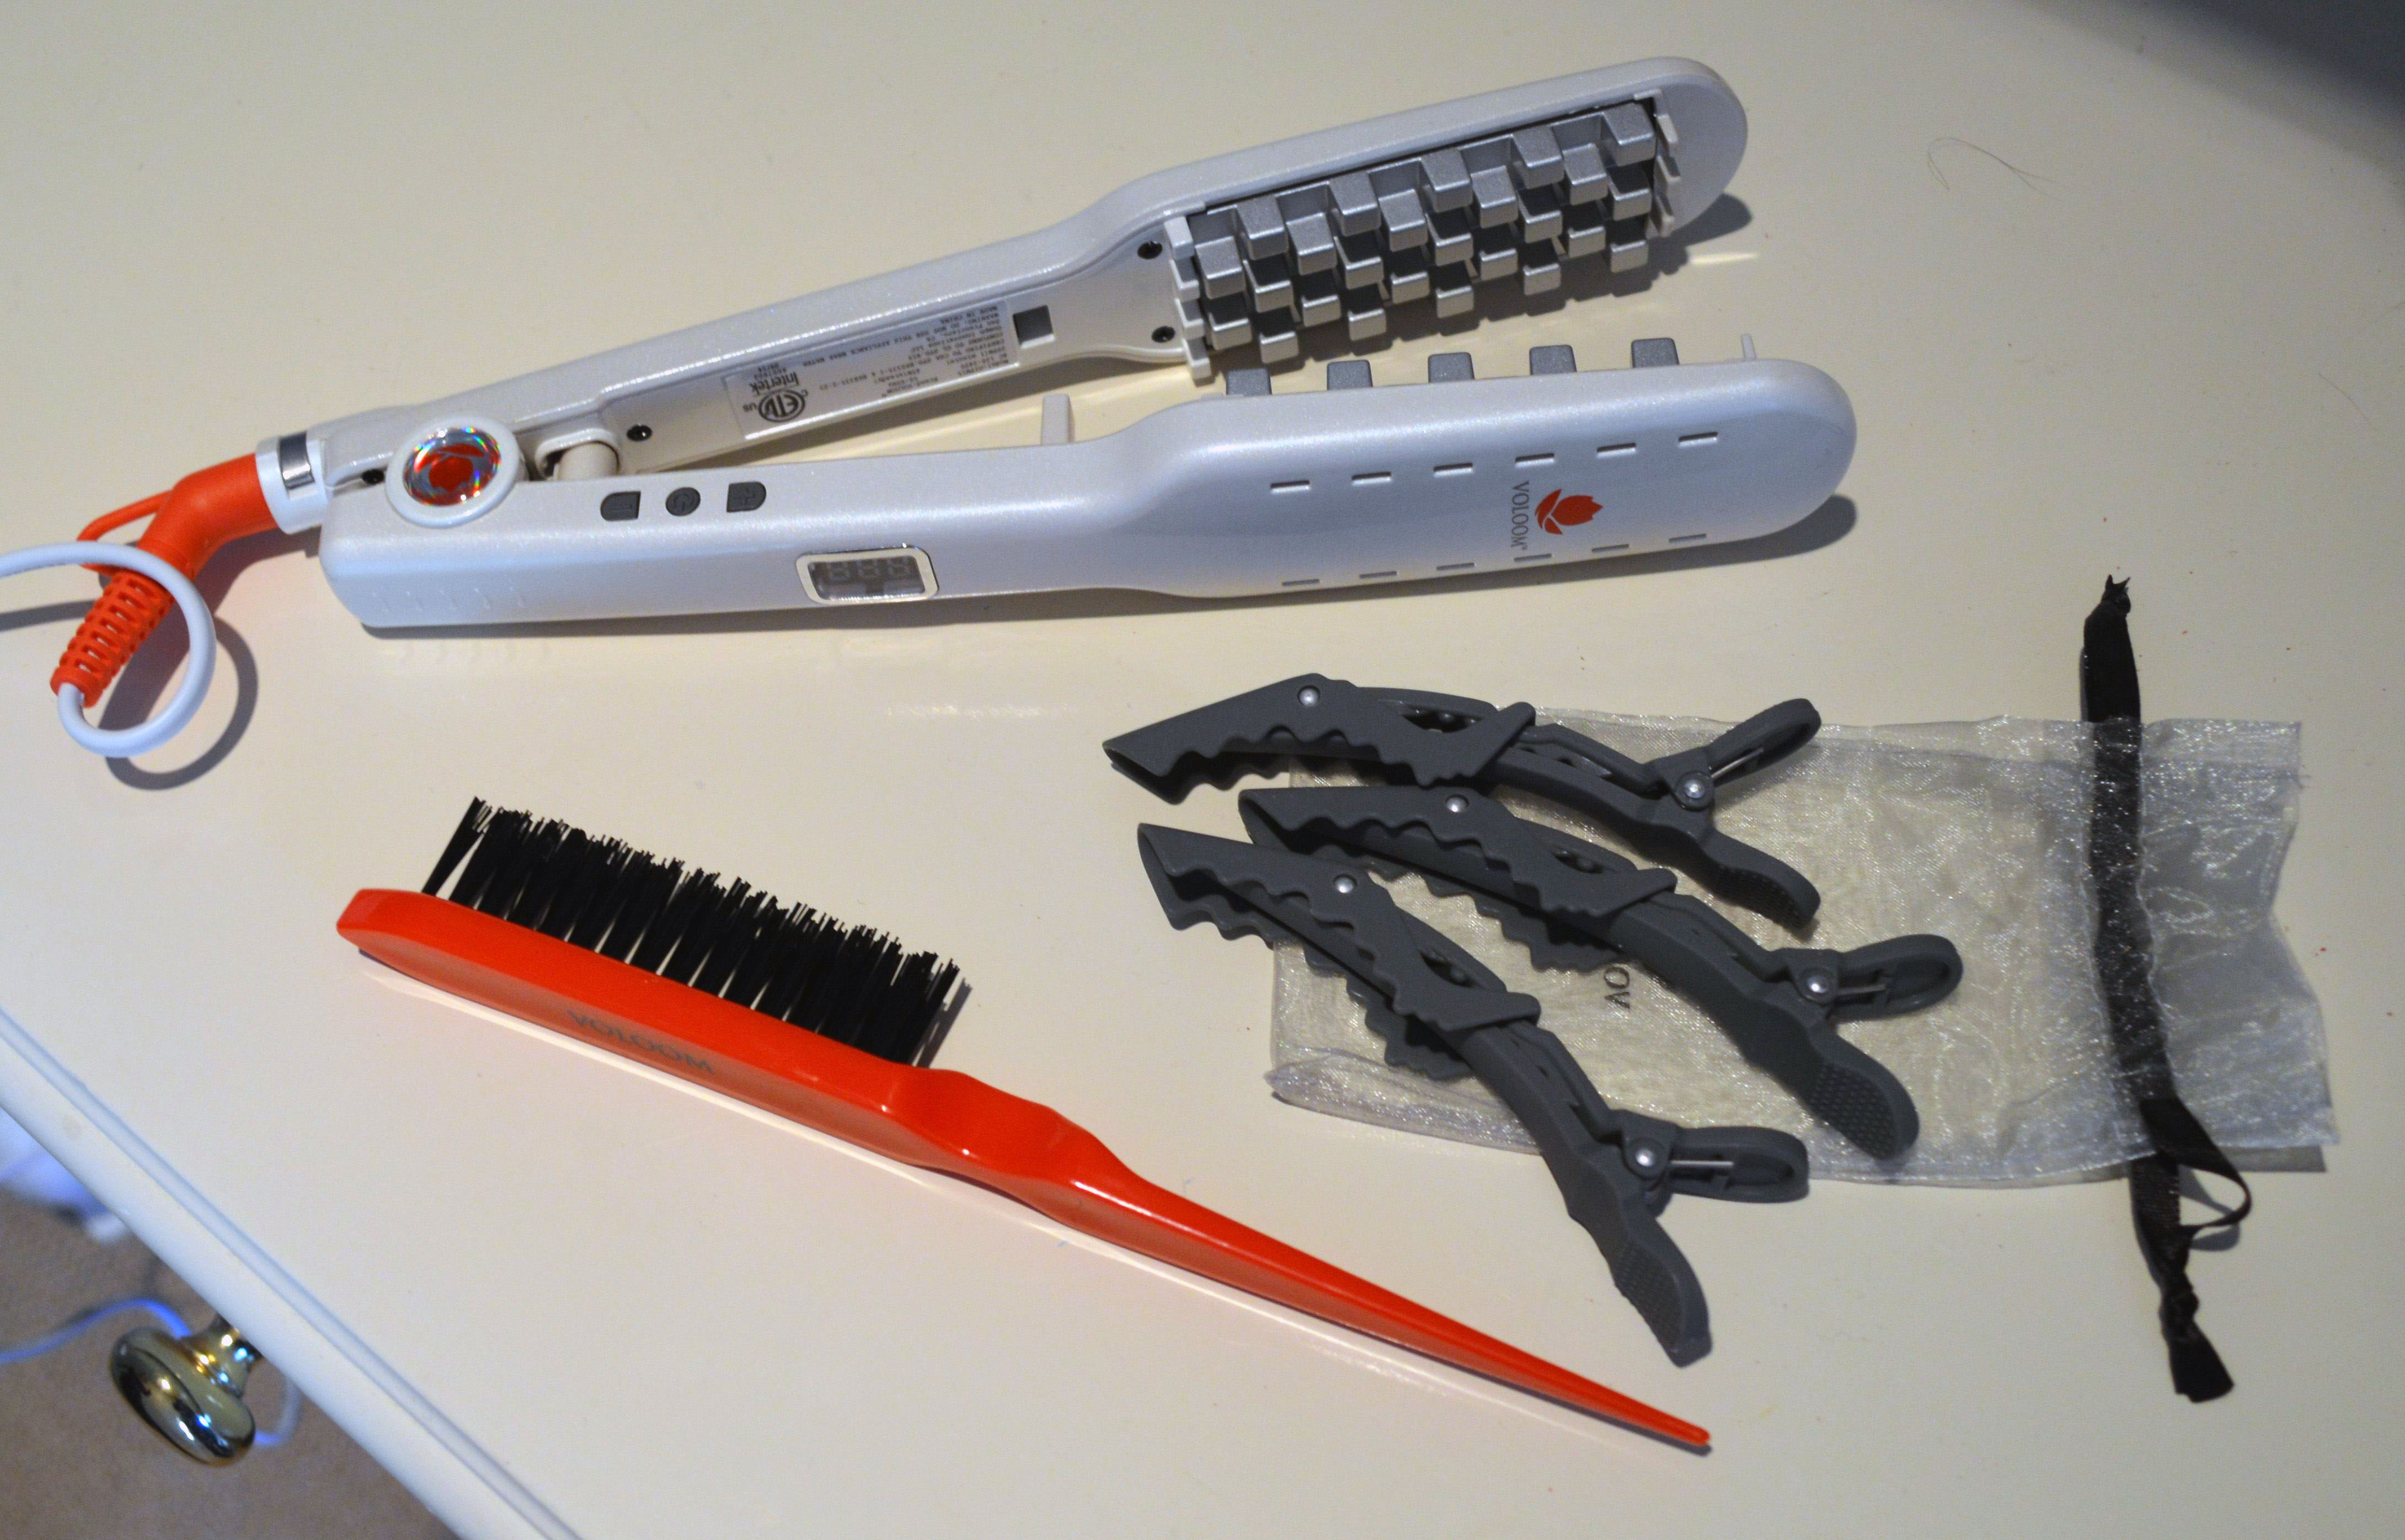
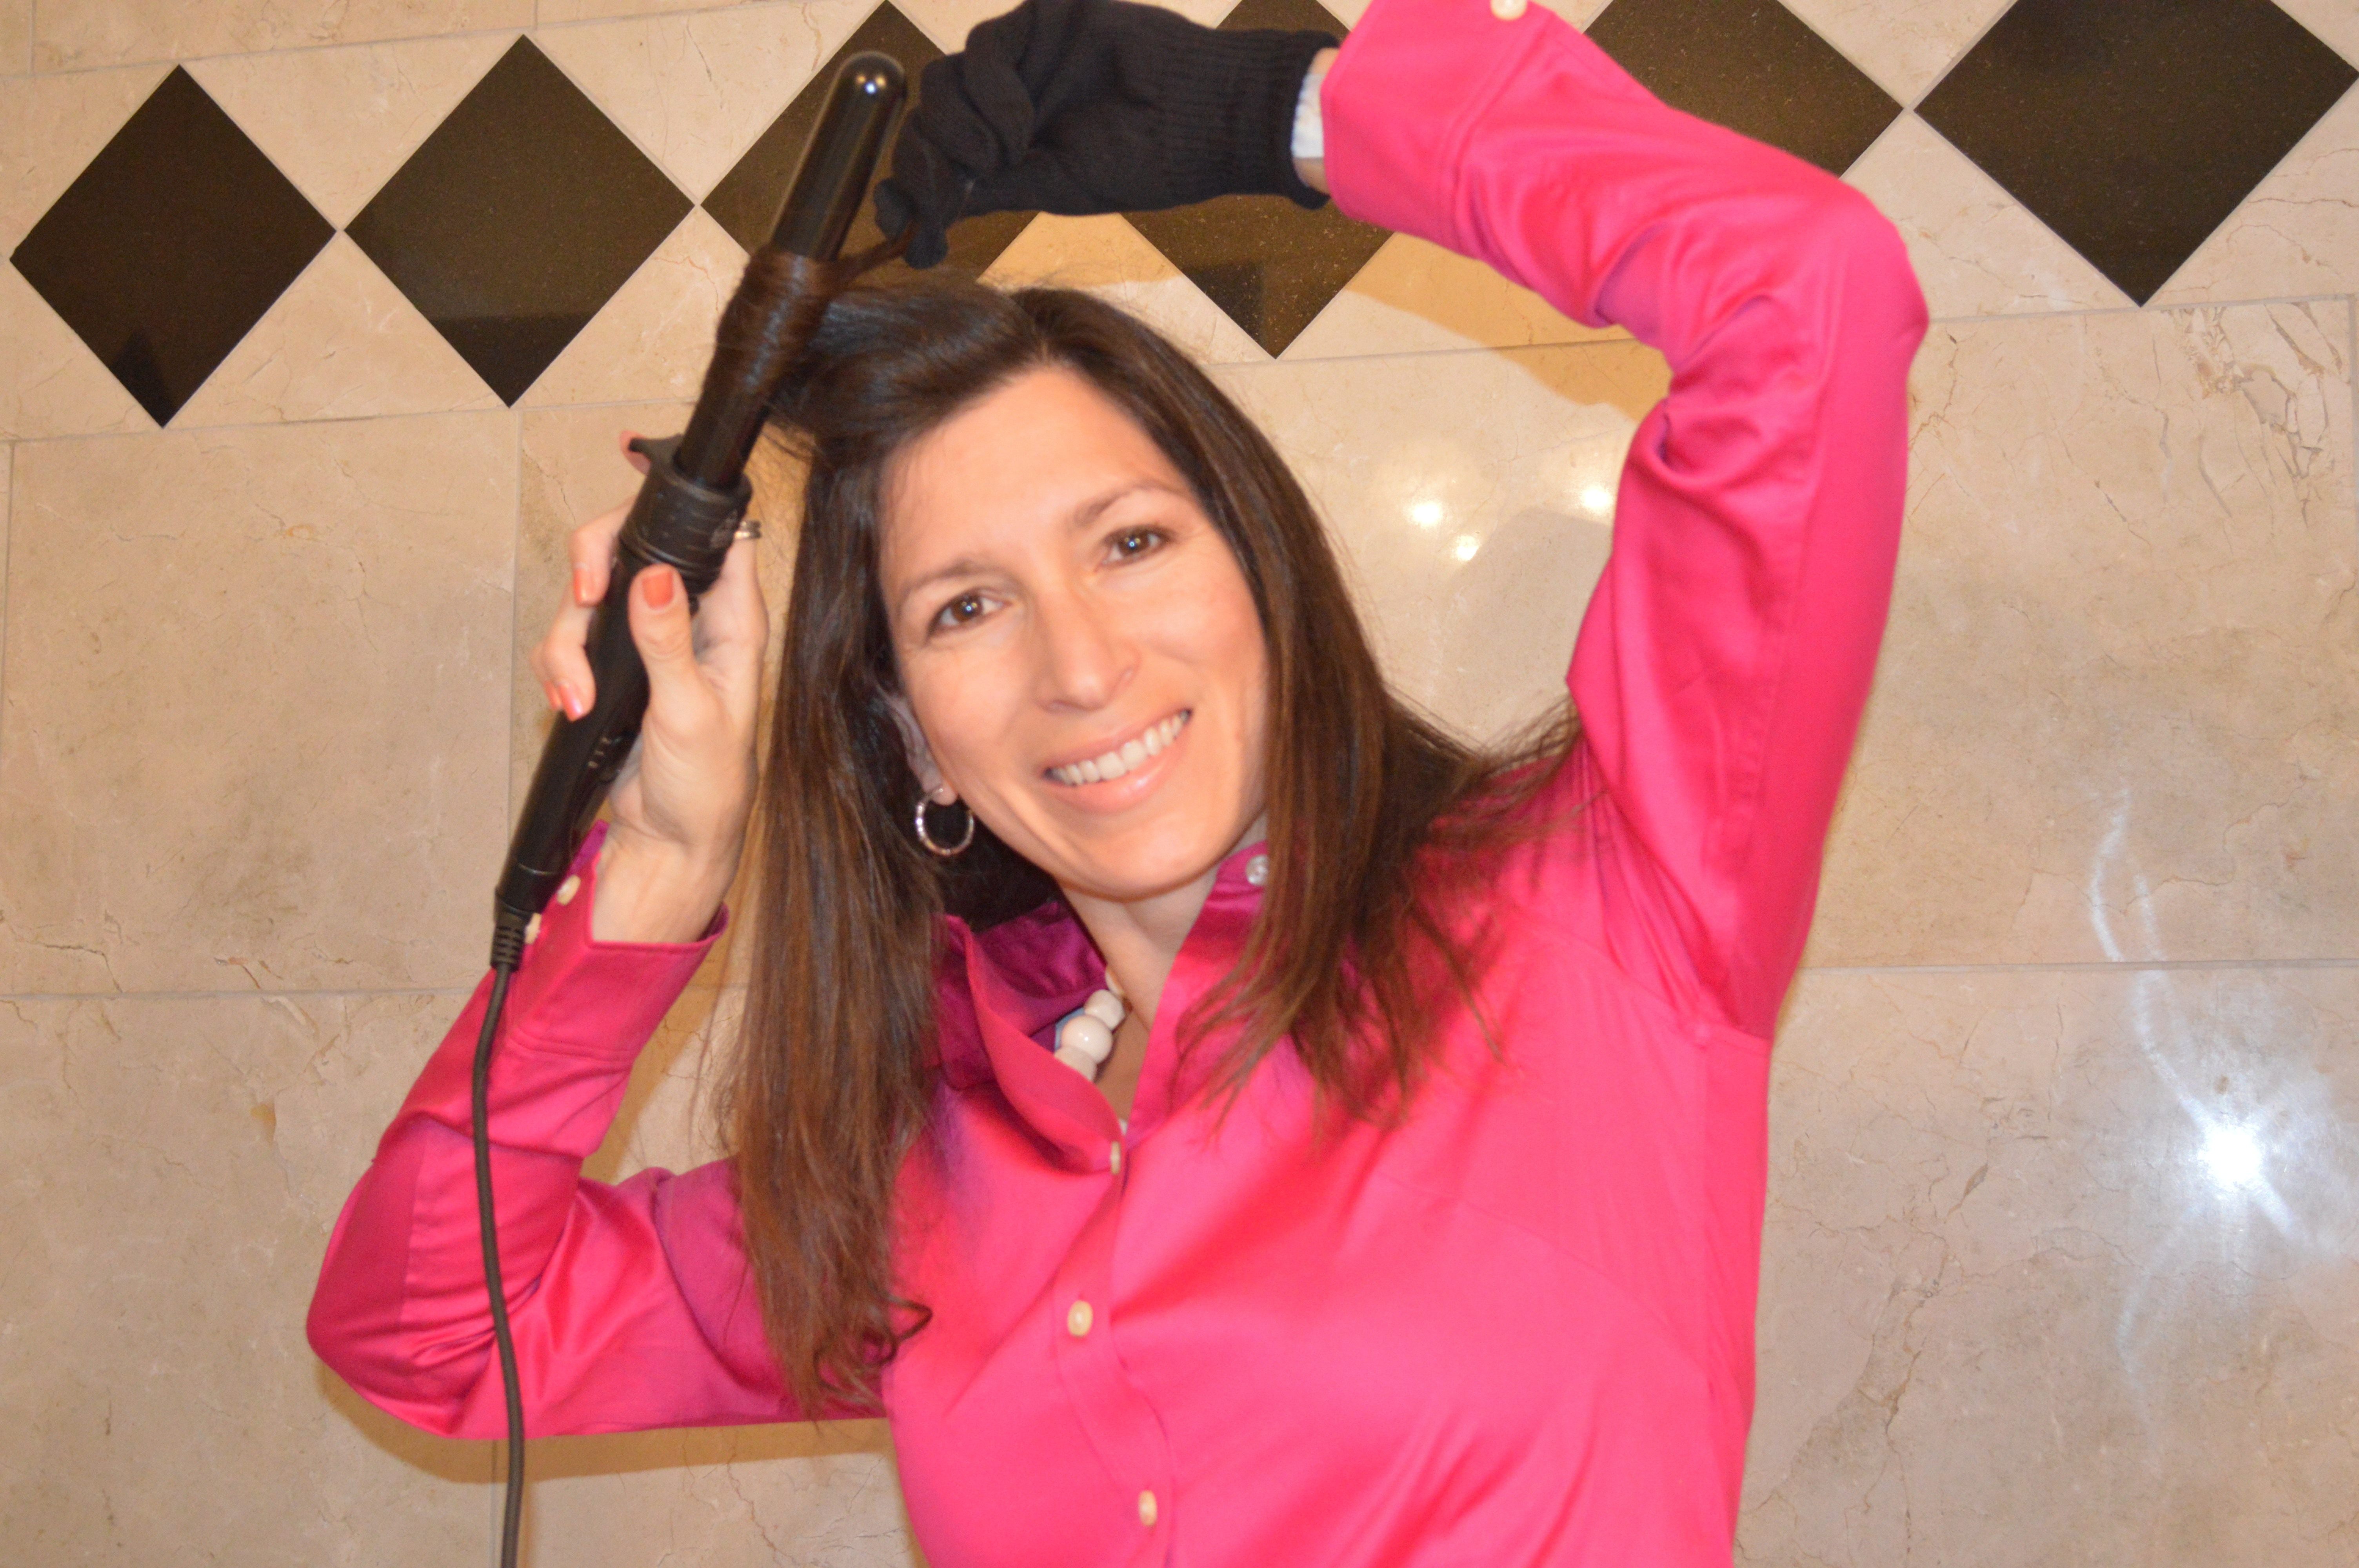
STEP 1: Before styling, slip headband on model (or yourself) and let it rest around the neck until use.

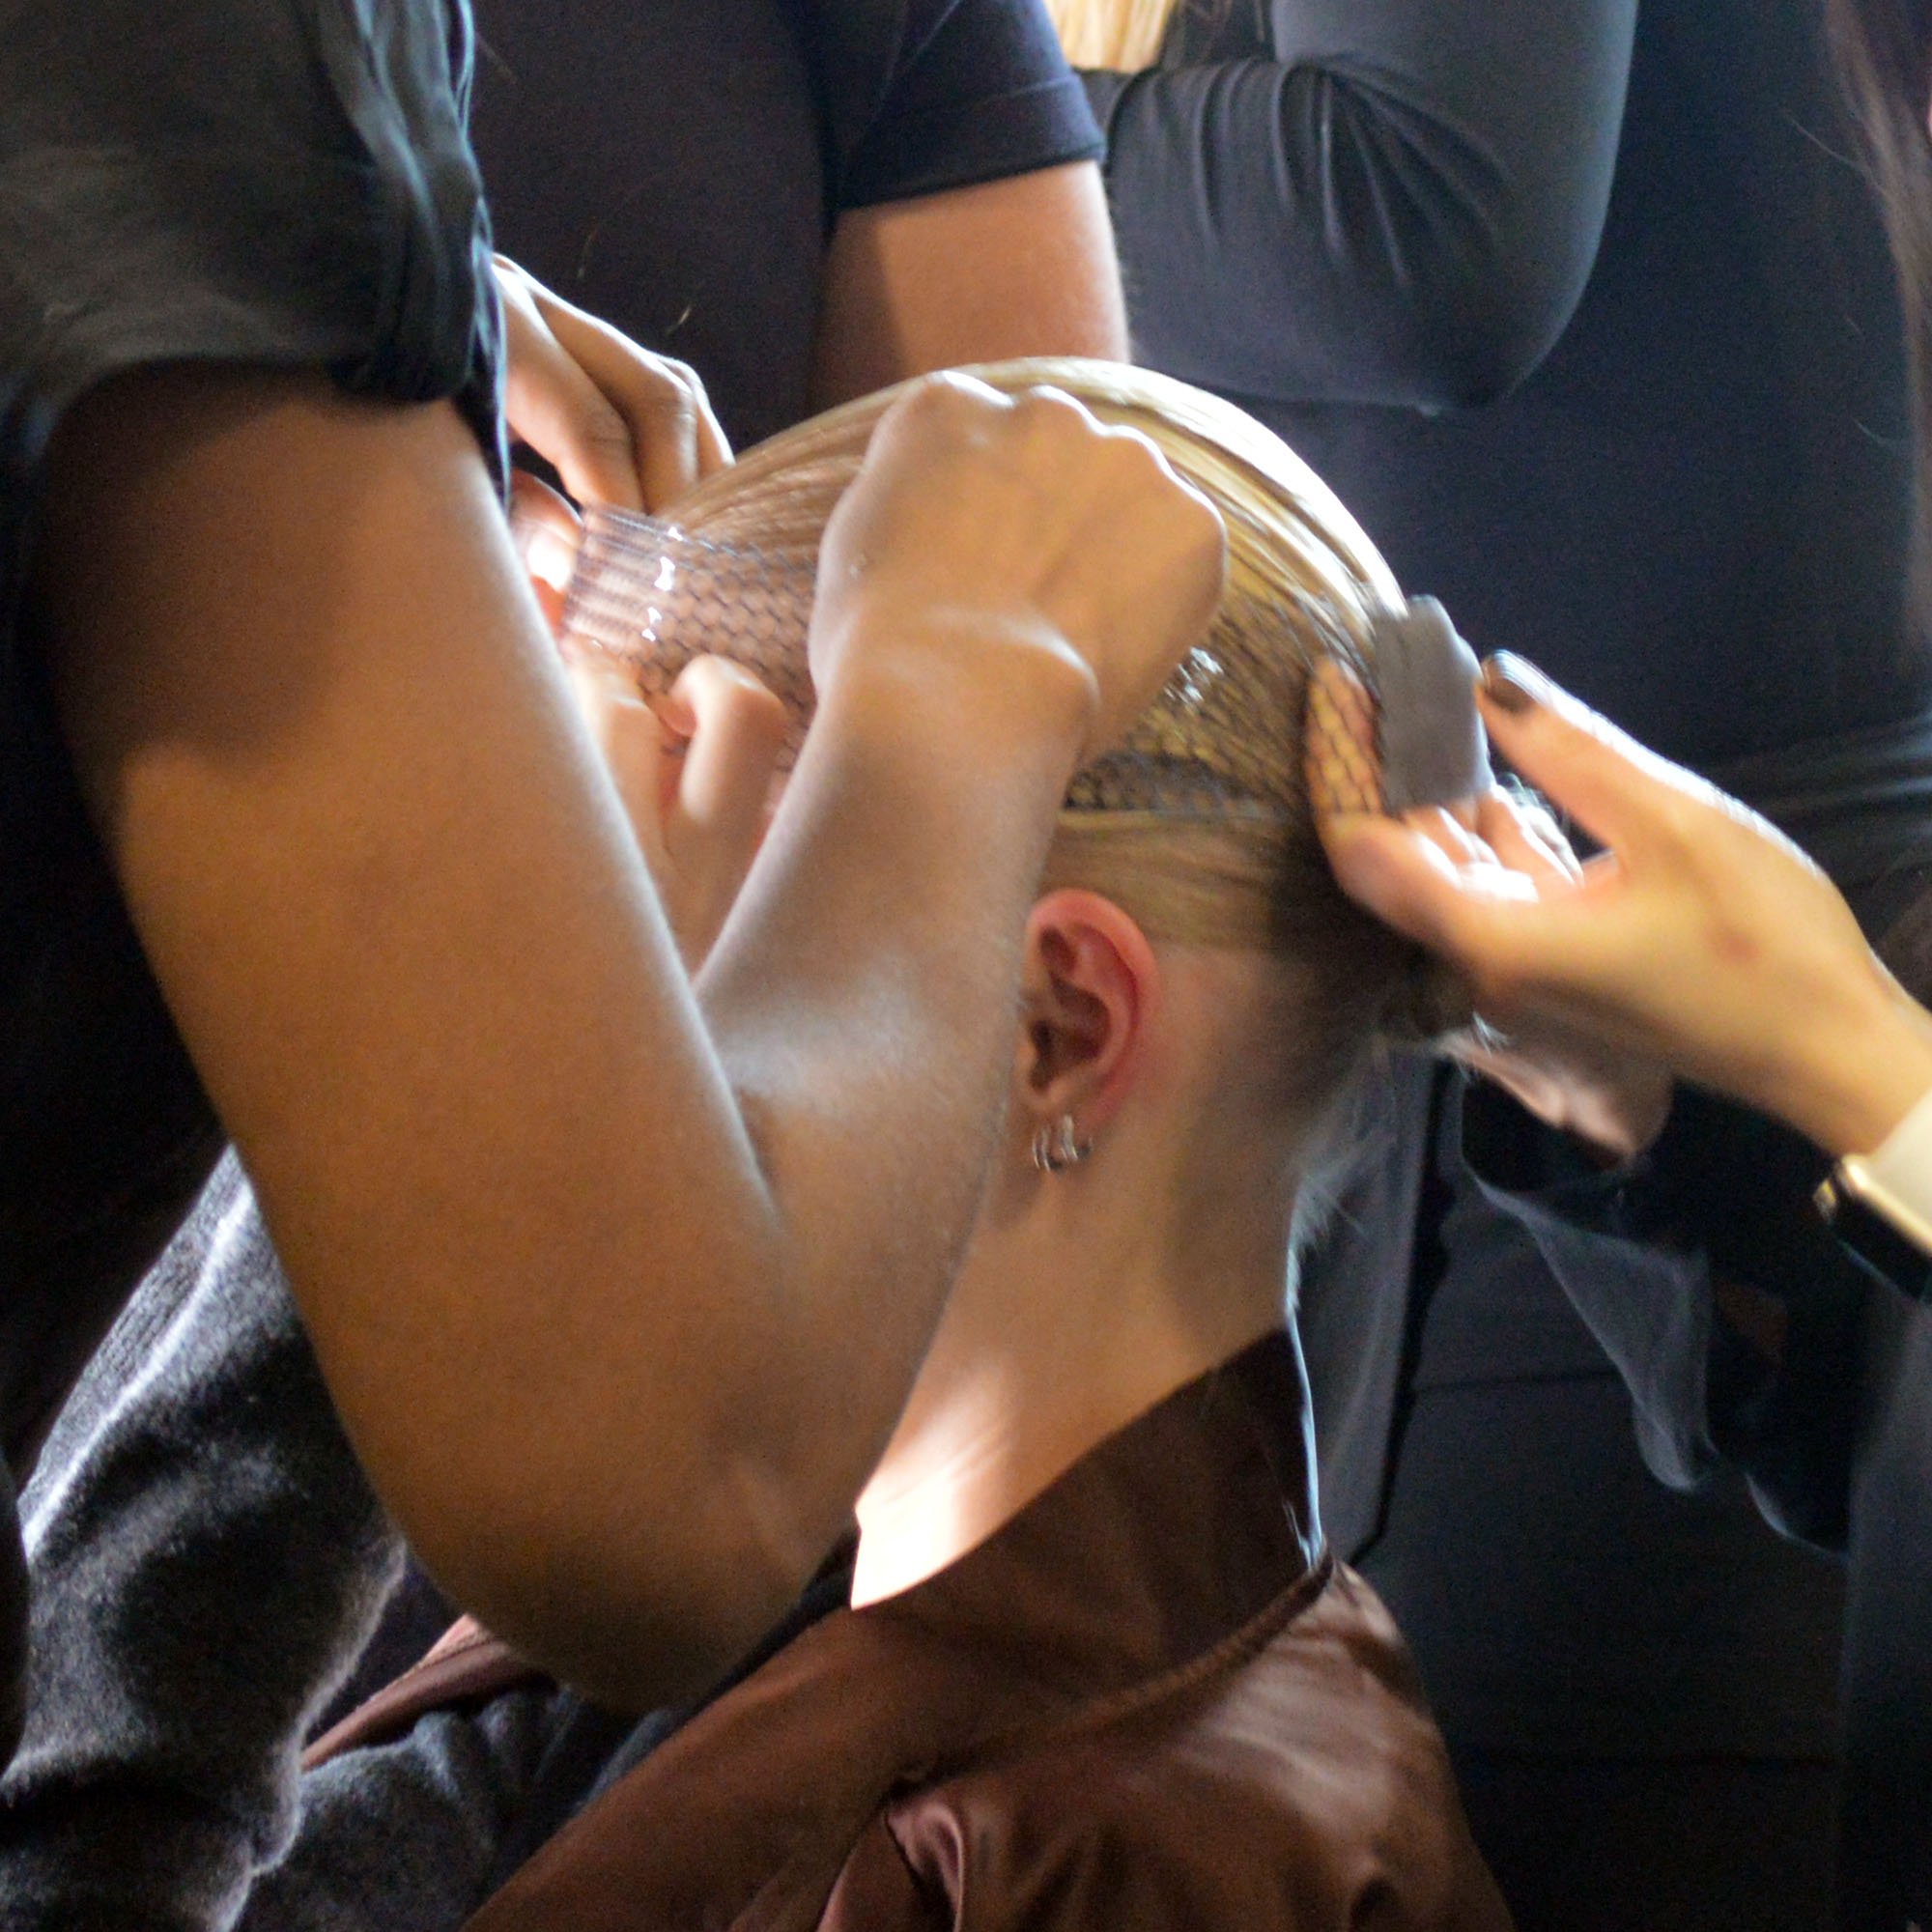
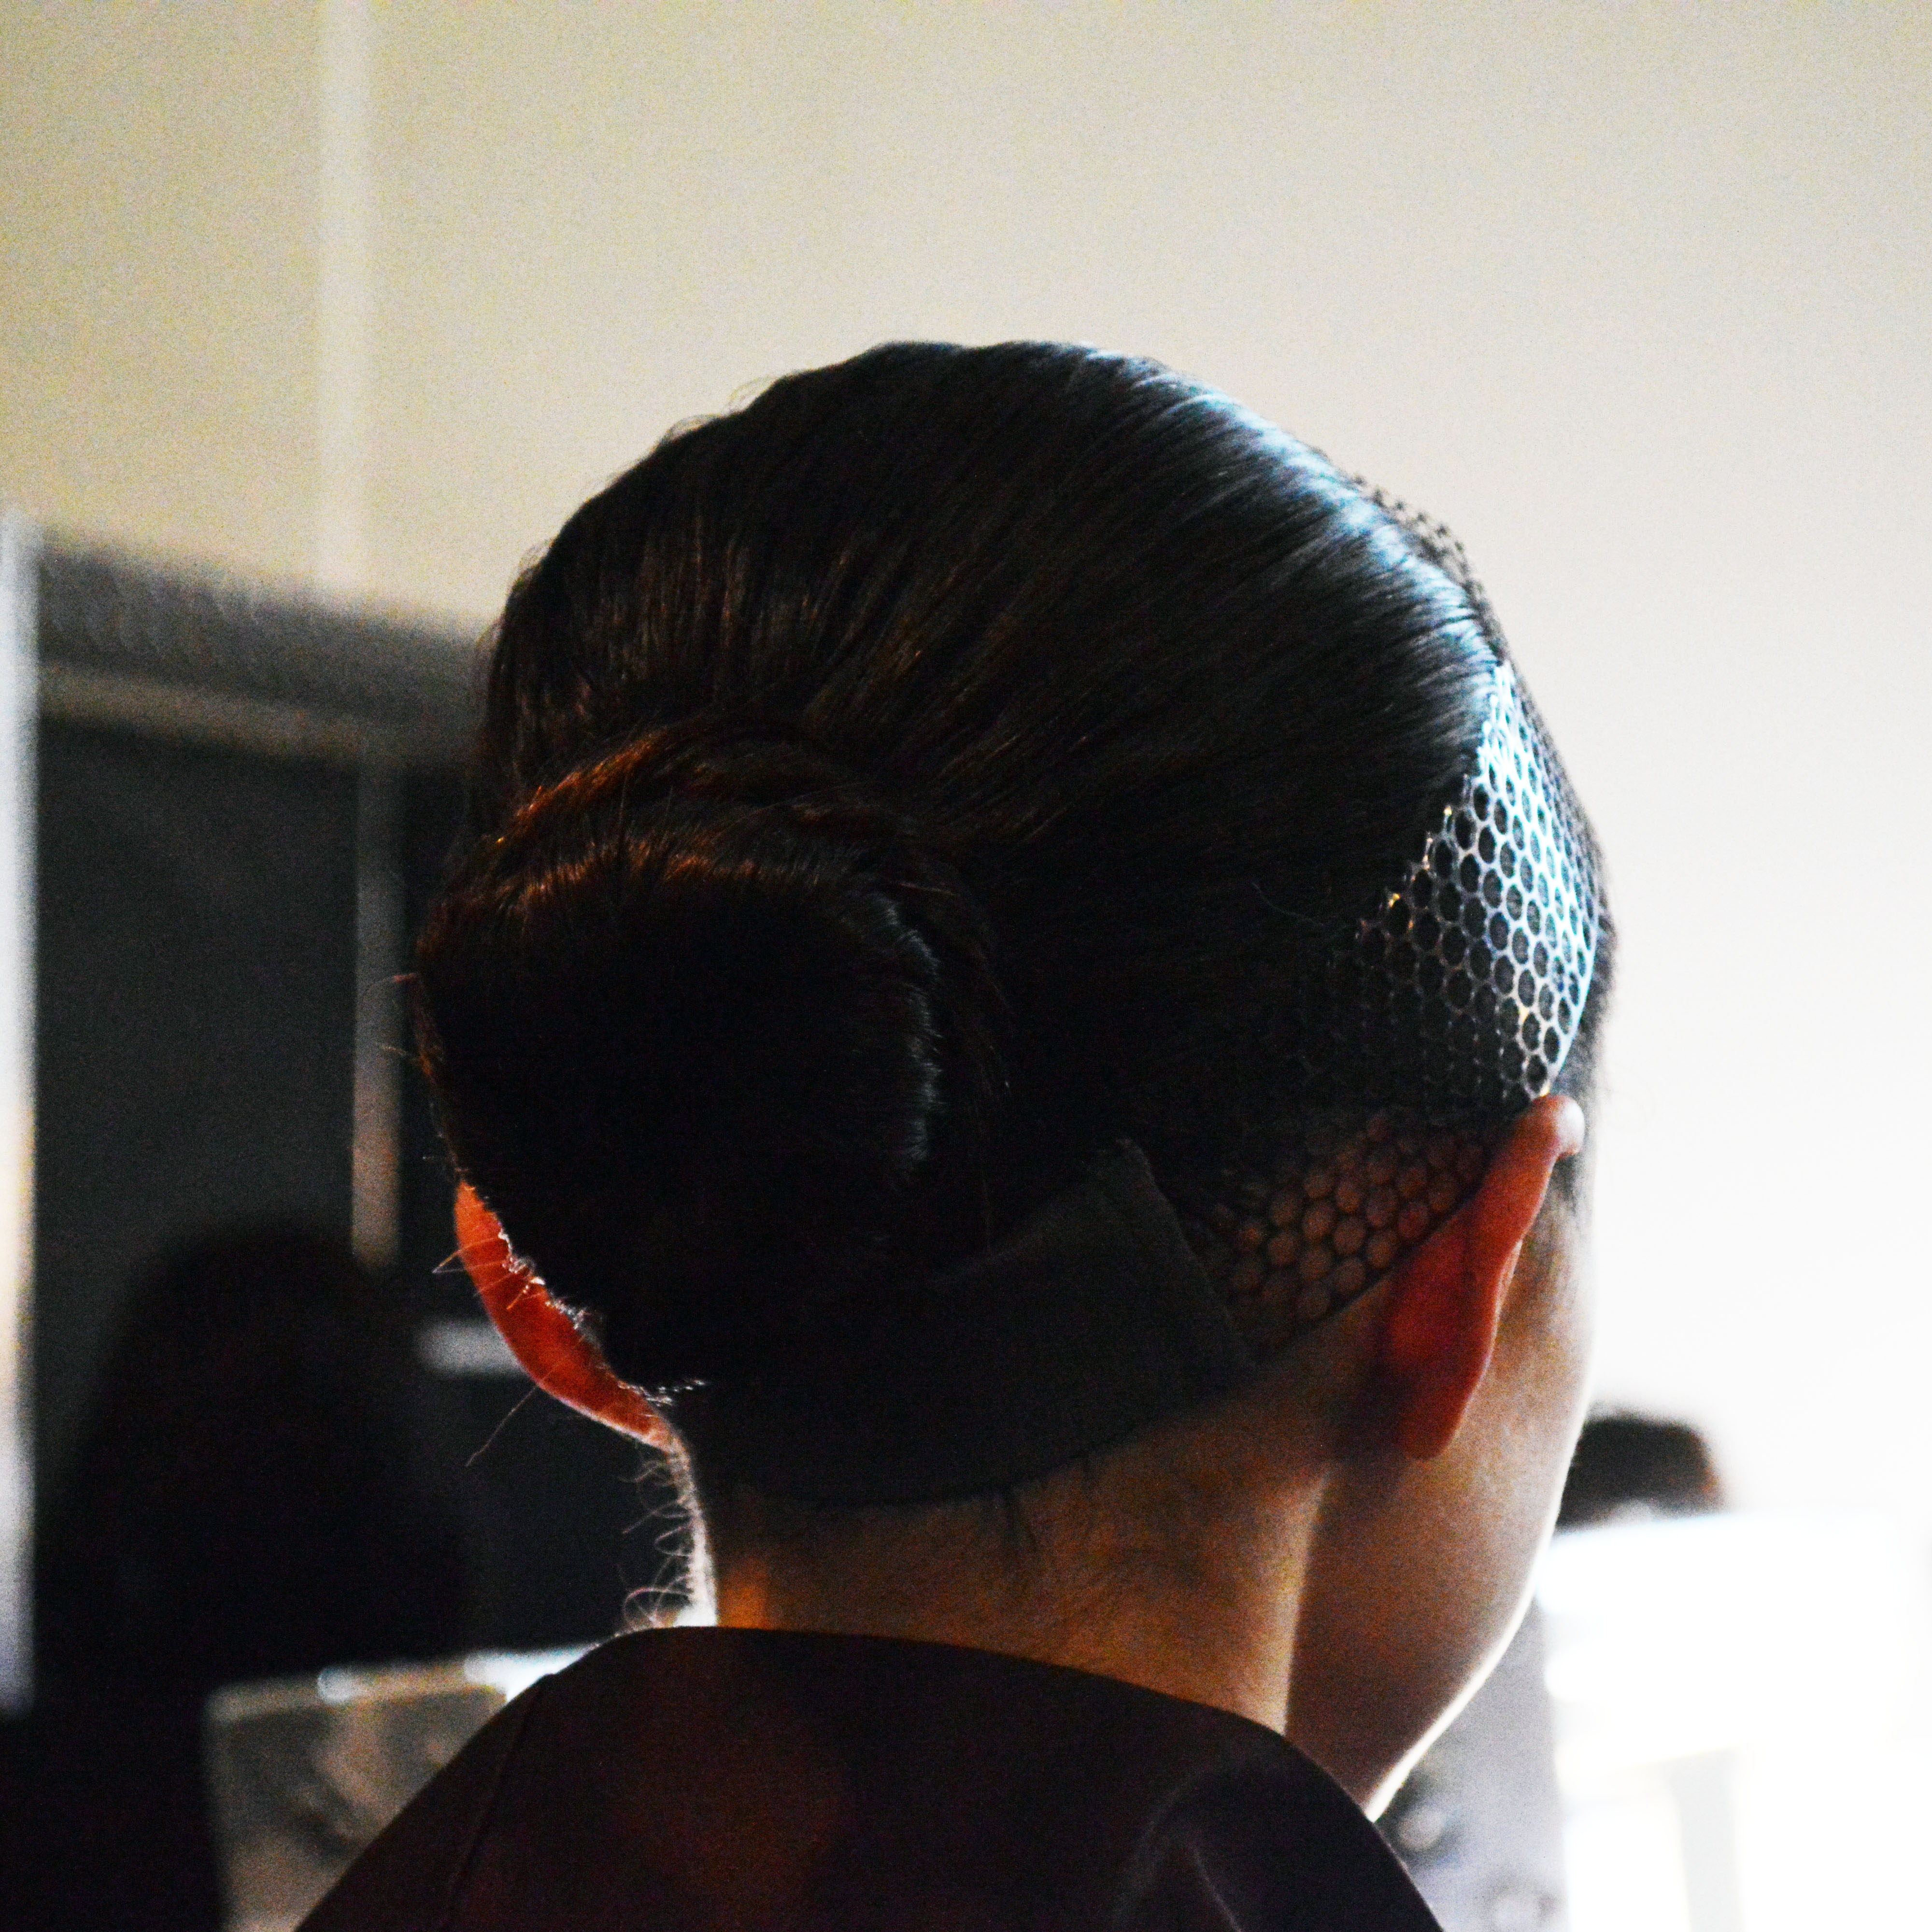
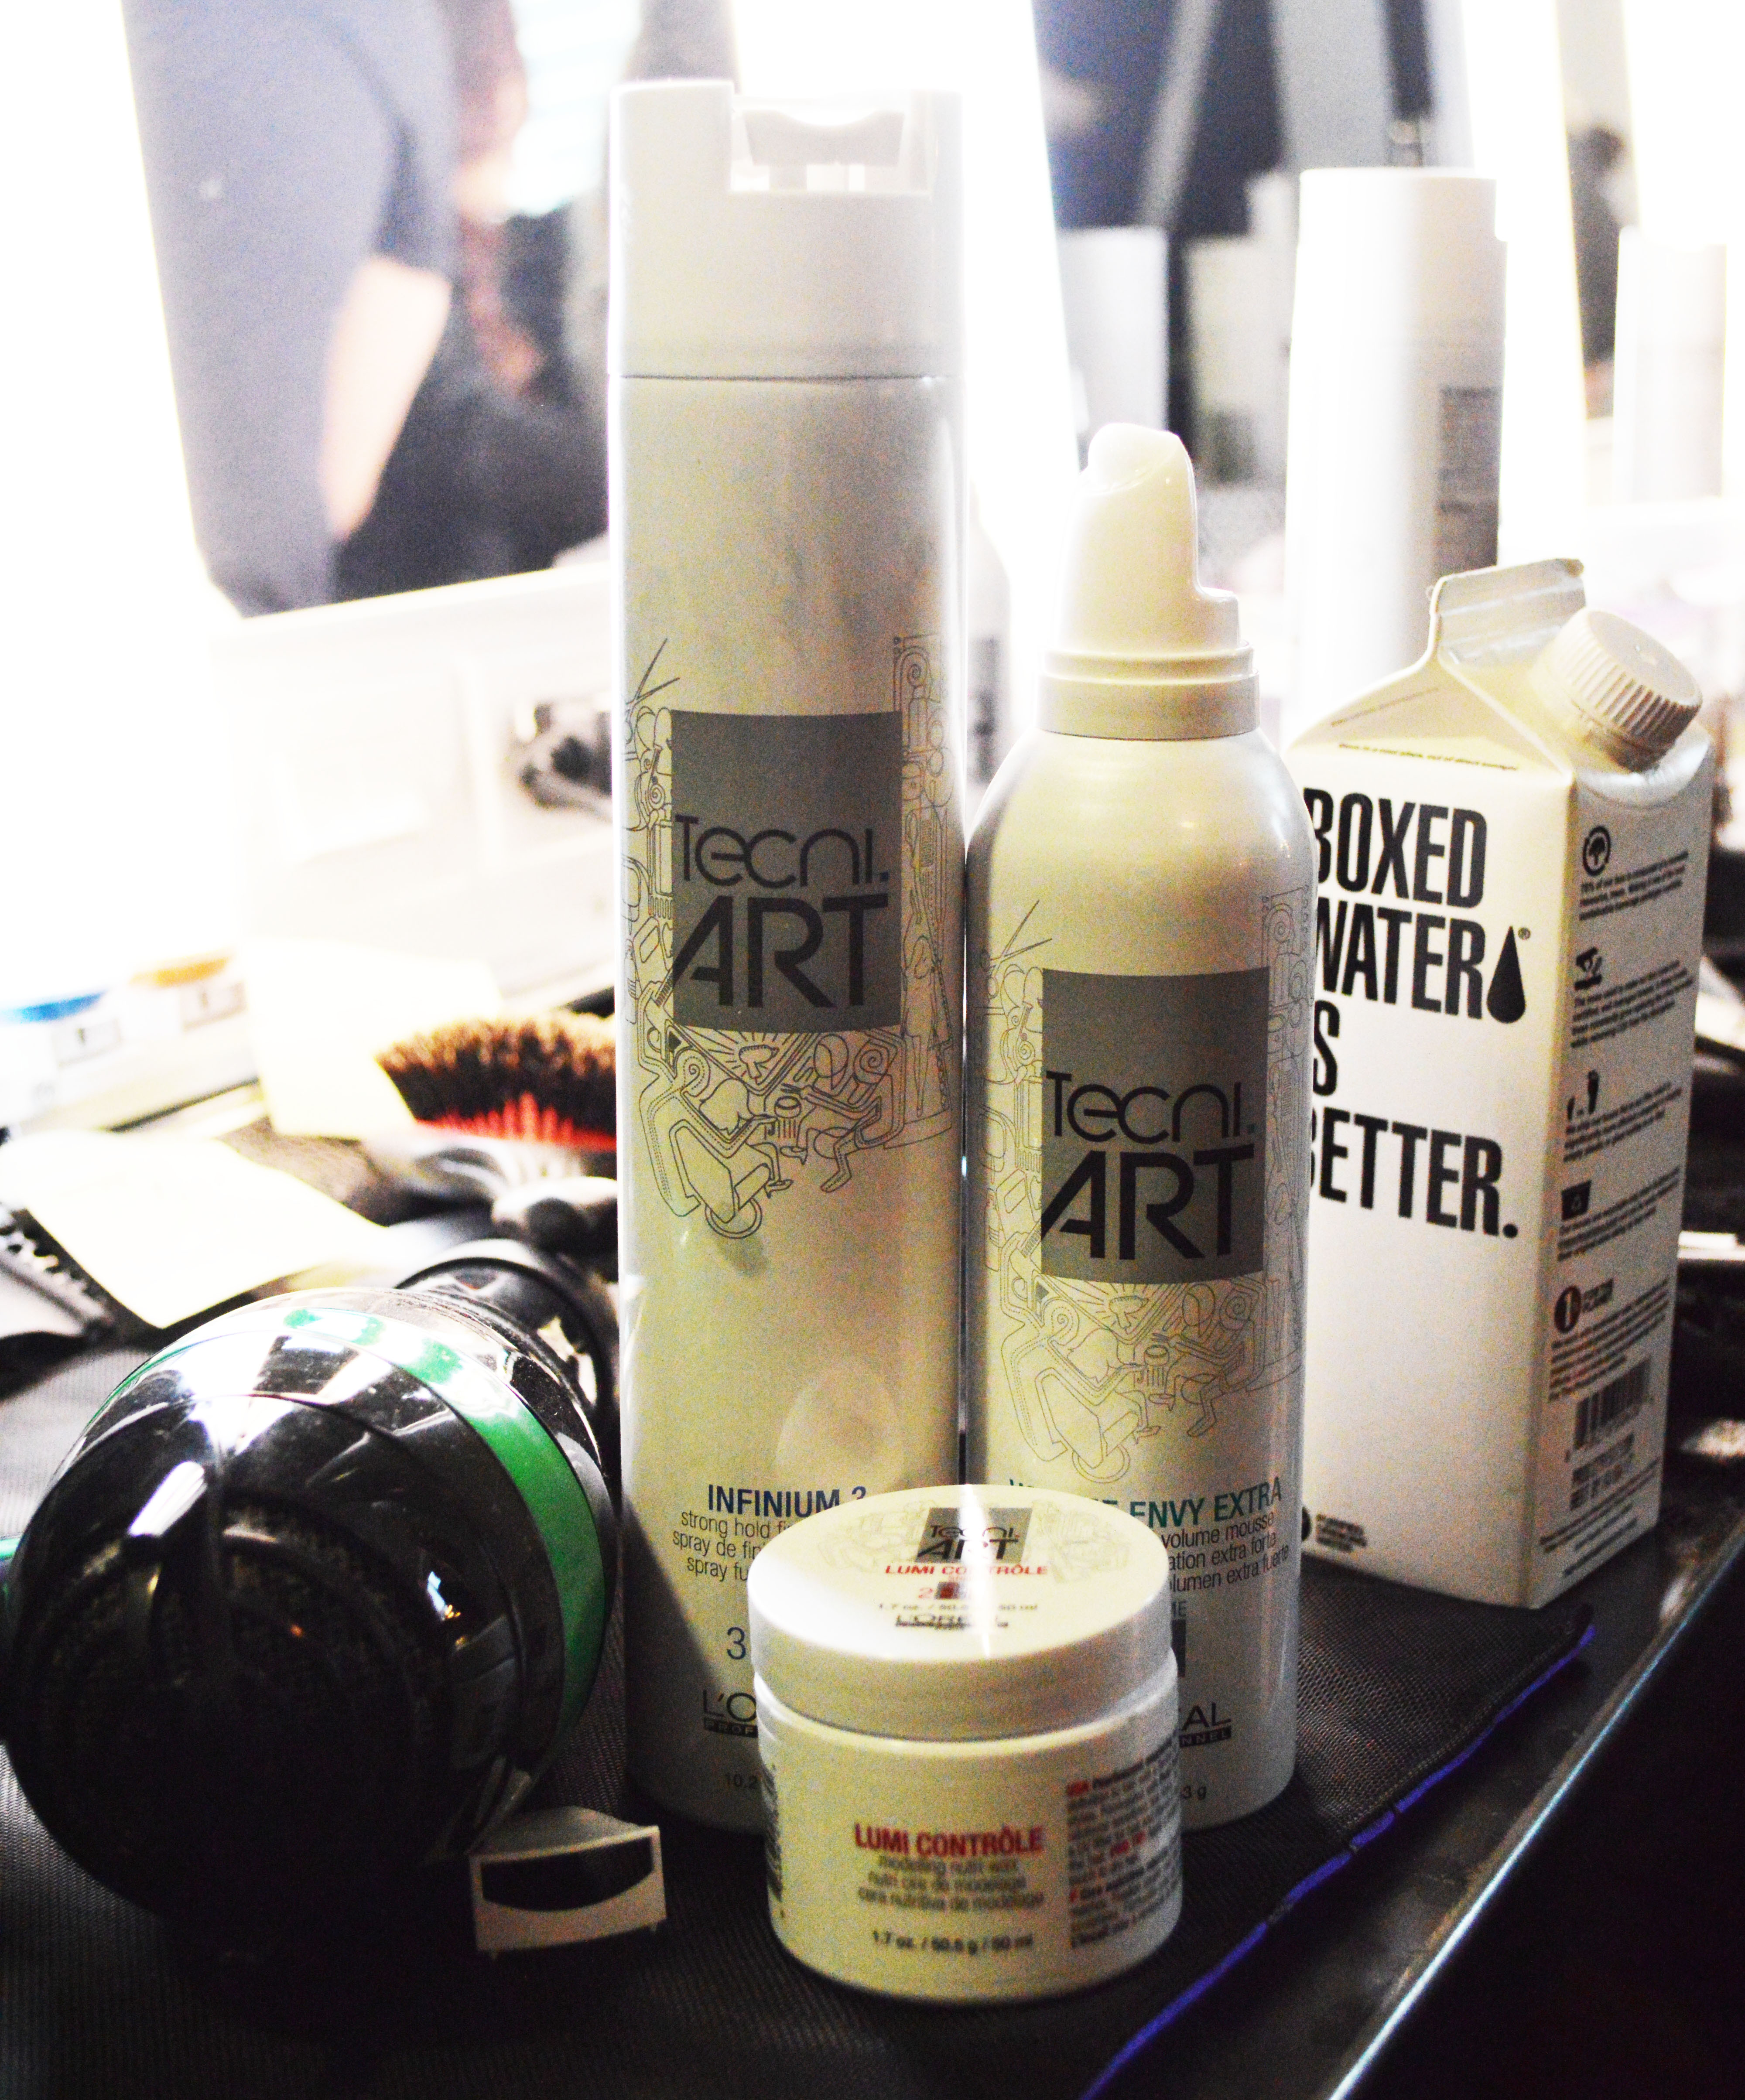
STEP 2: Use L’Oreal Professionnel Volume Envy extra mousse to dampen hair and begin to brush hair back into ponytail. Ponytail should sit on the occipital. Use bungee to secure.

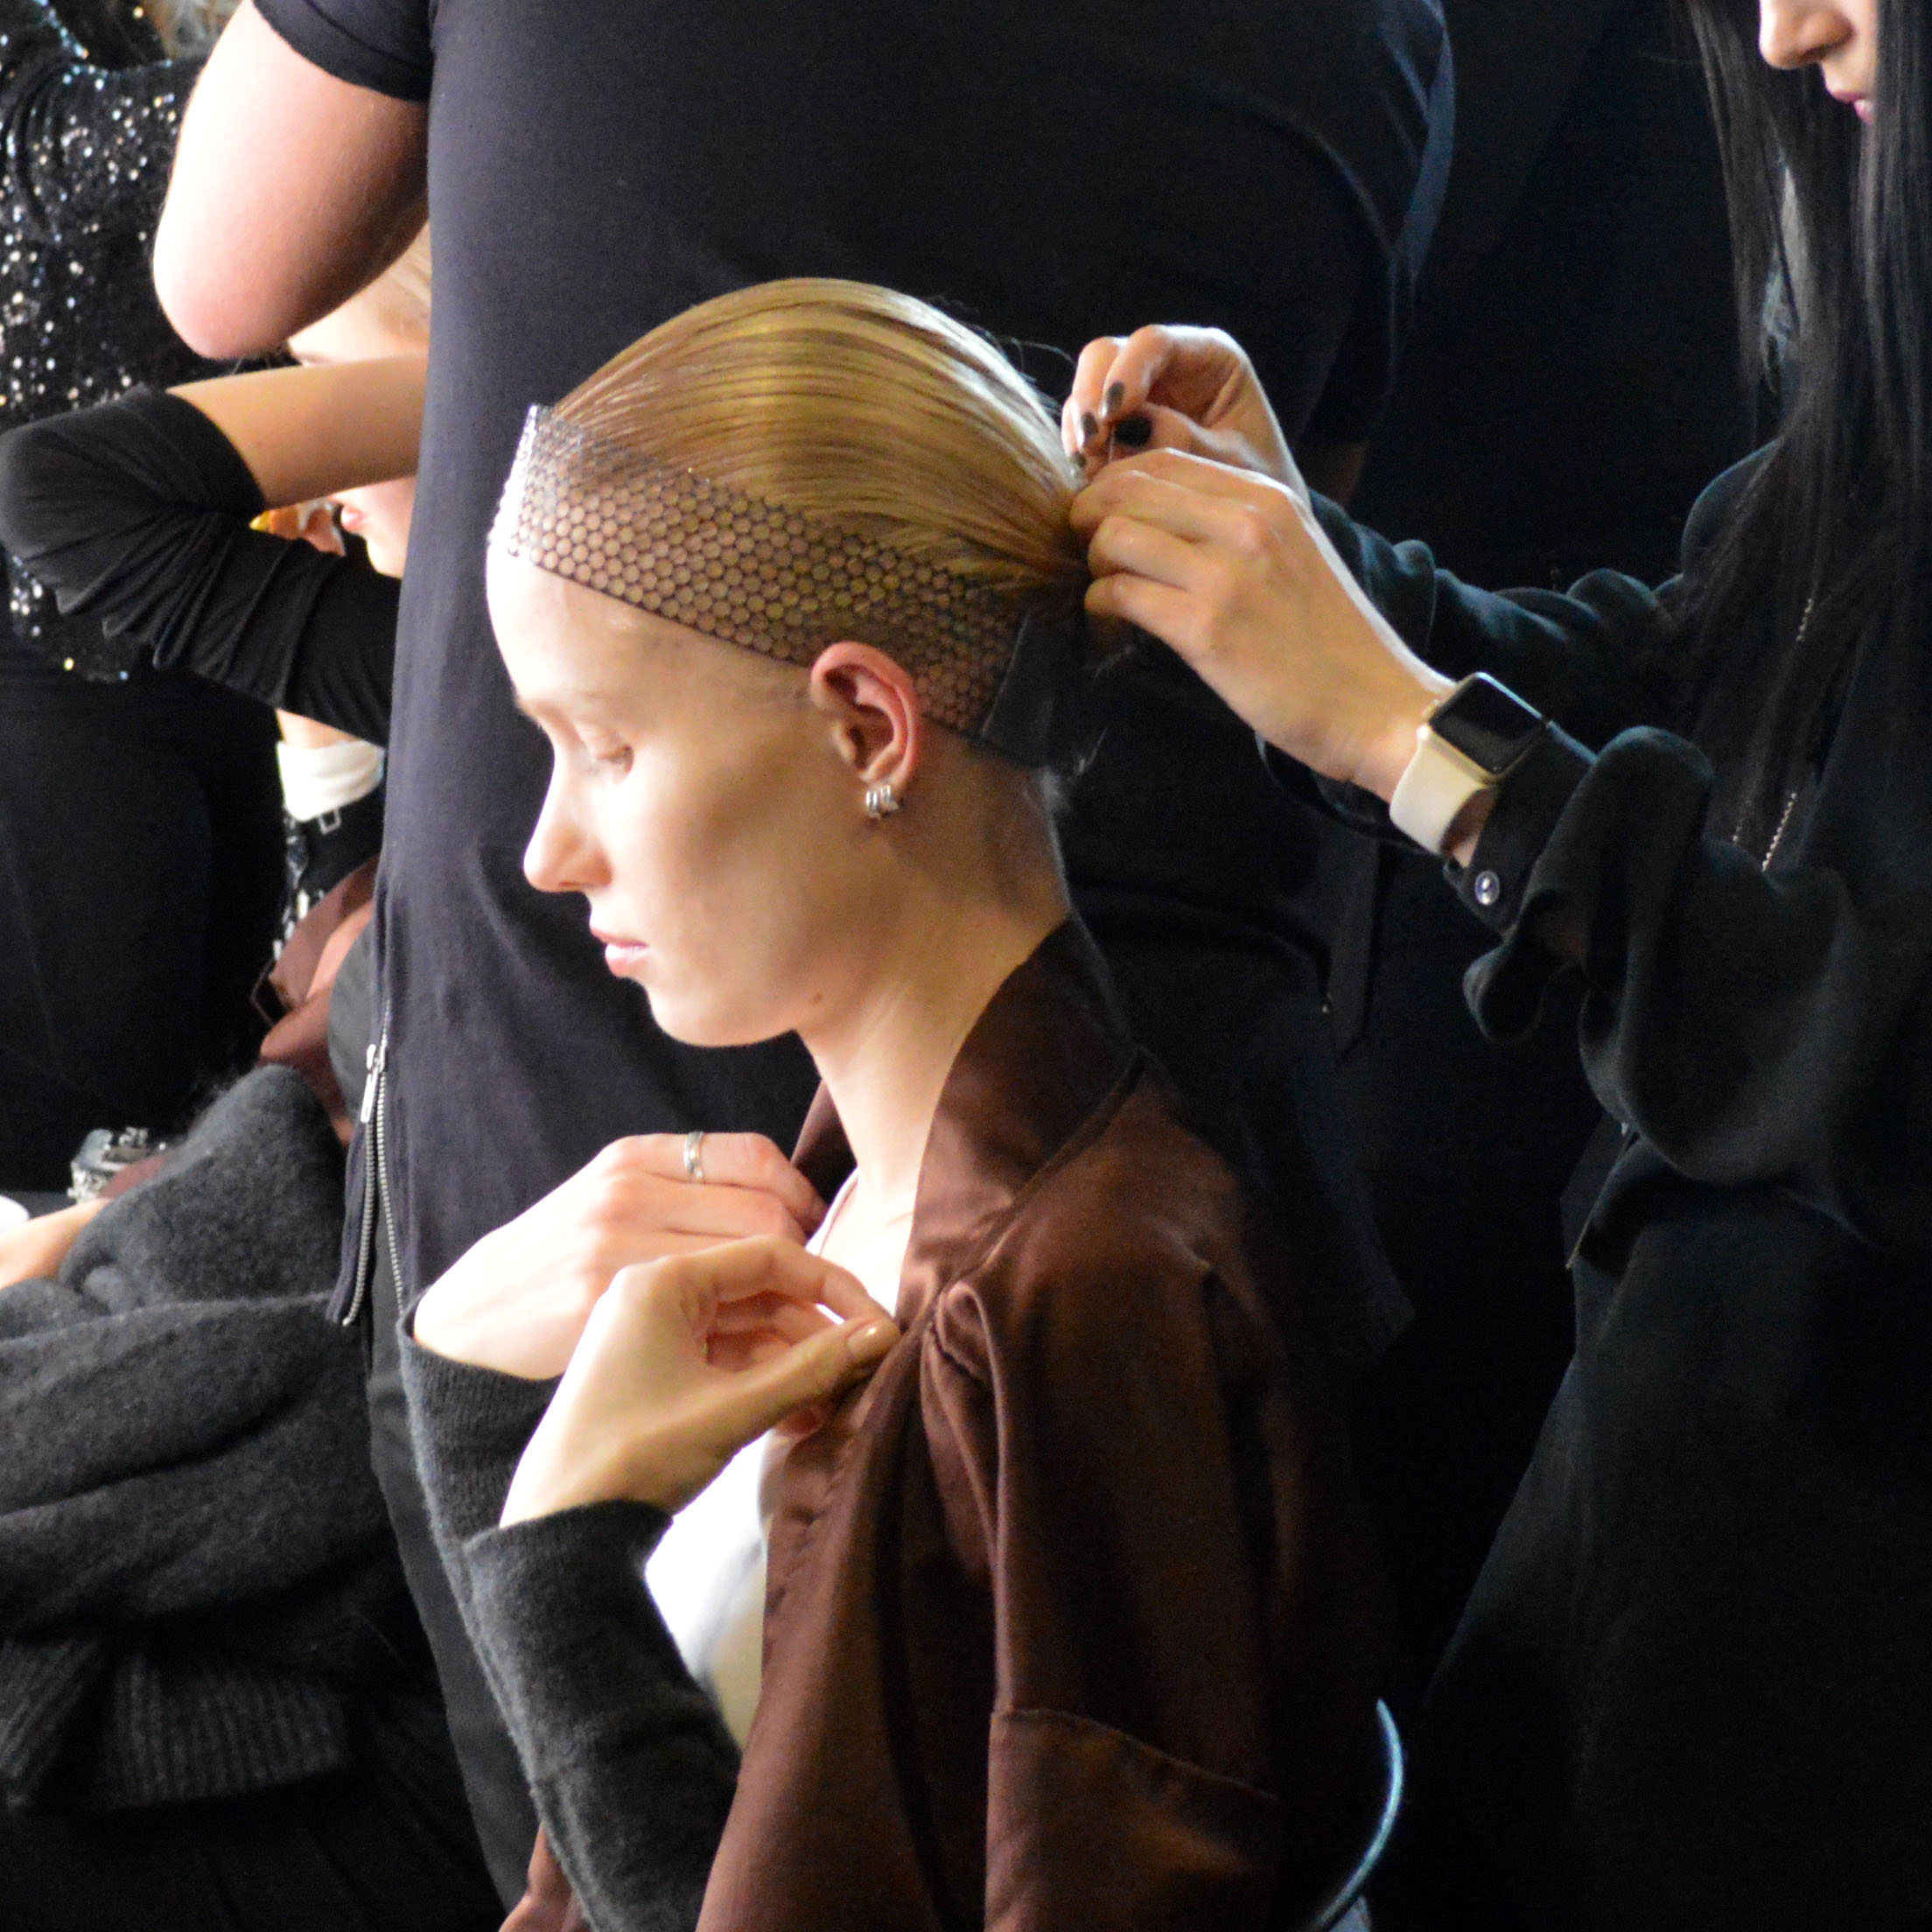
STEP 3: Please headband on the head.

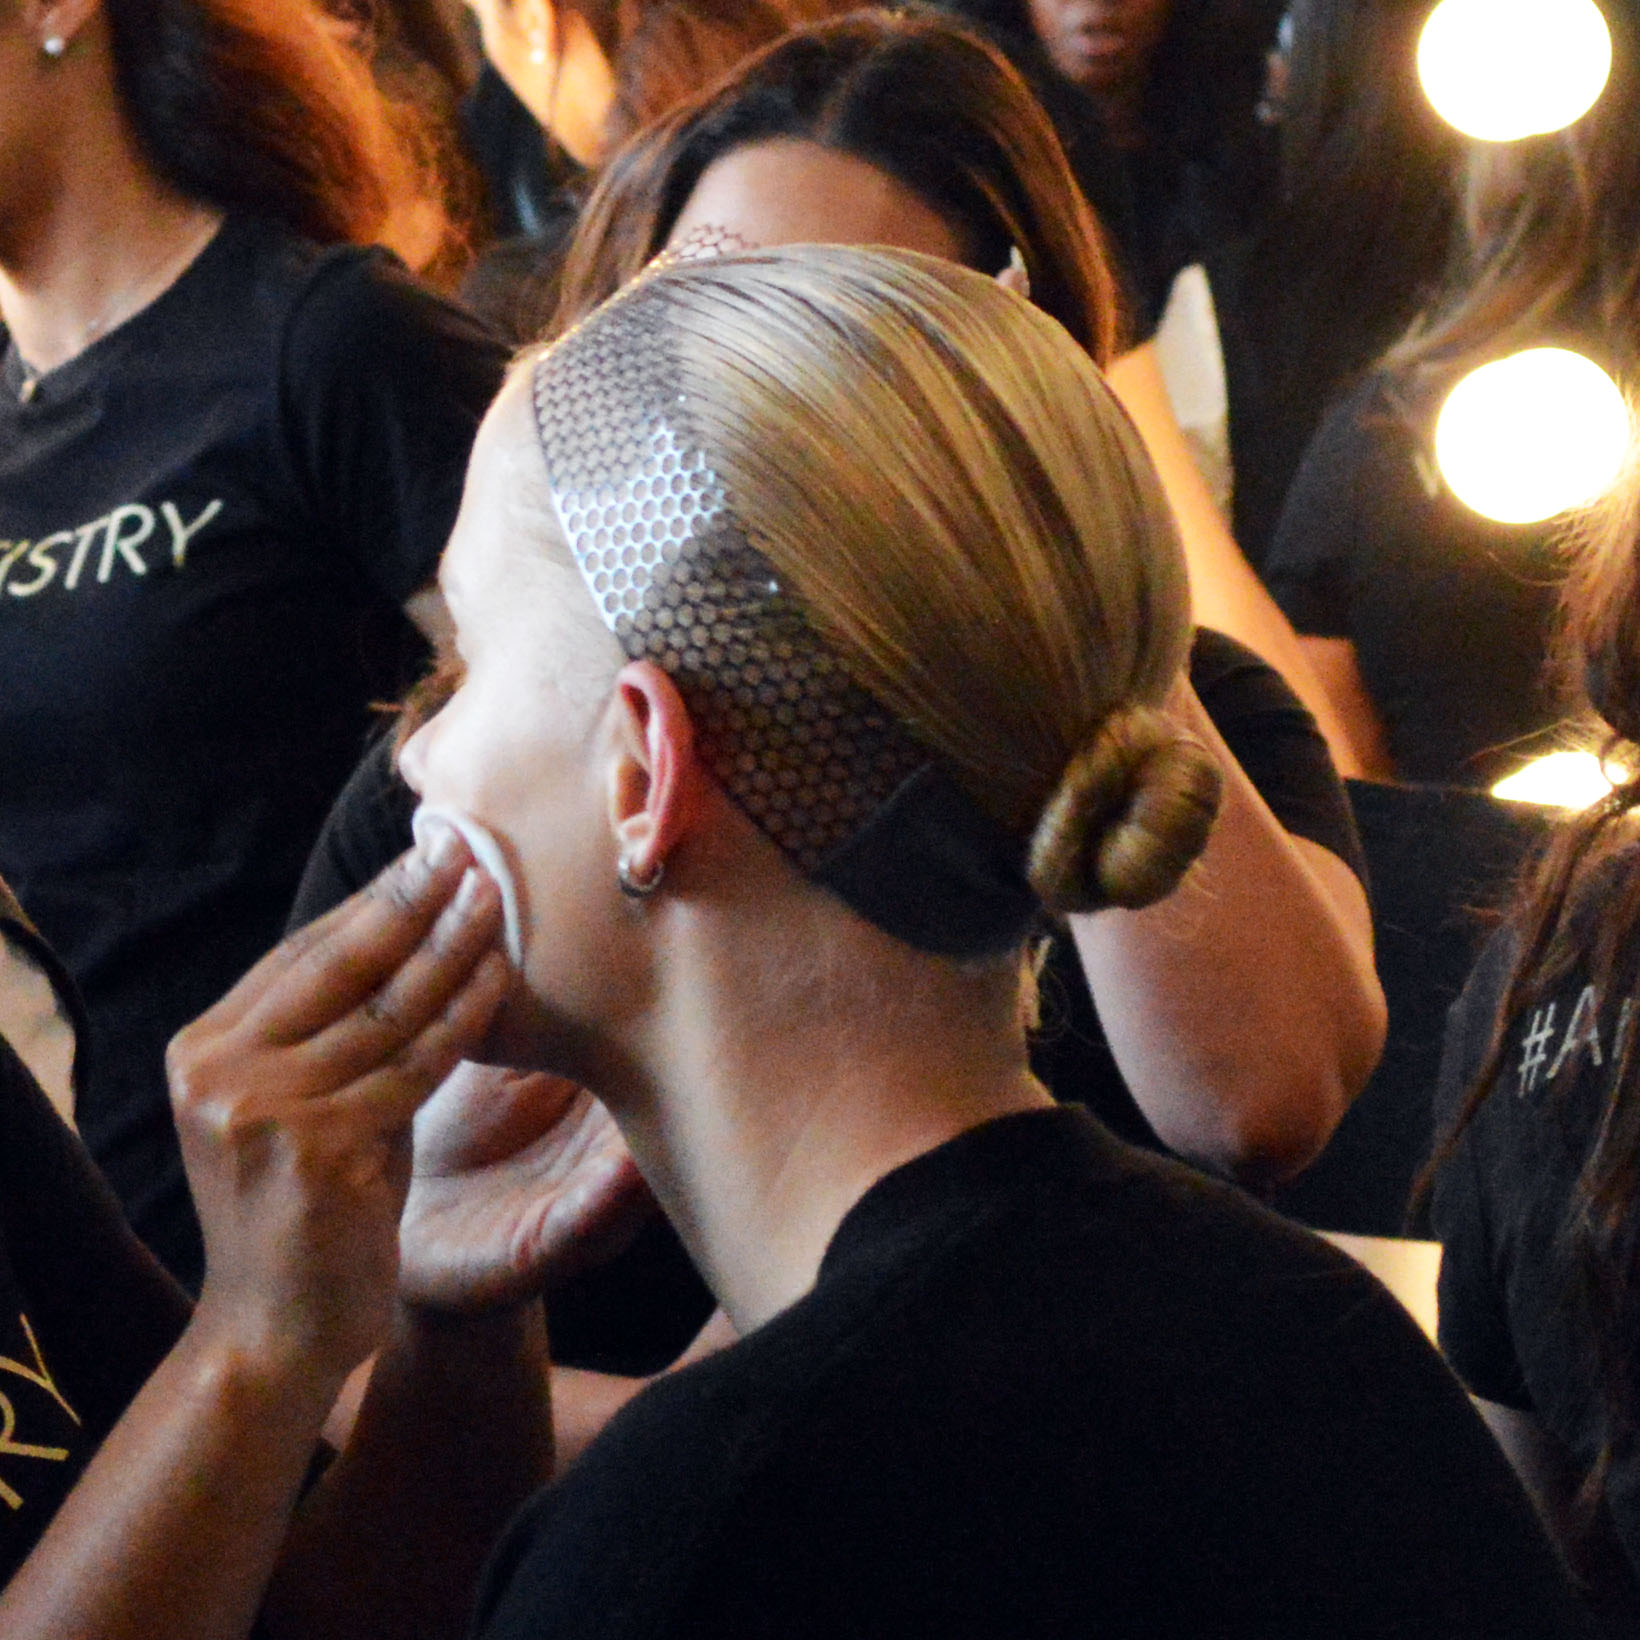
STEP 4: Apply L’Oreal Professionnel Volume Envy extra mousse to the tail of the ponytail and wrap hair into a bun. Secure with pins.

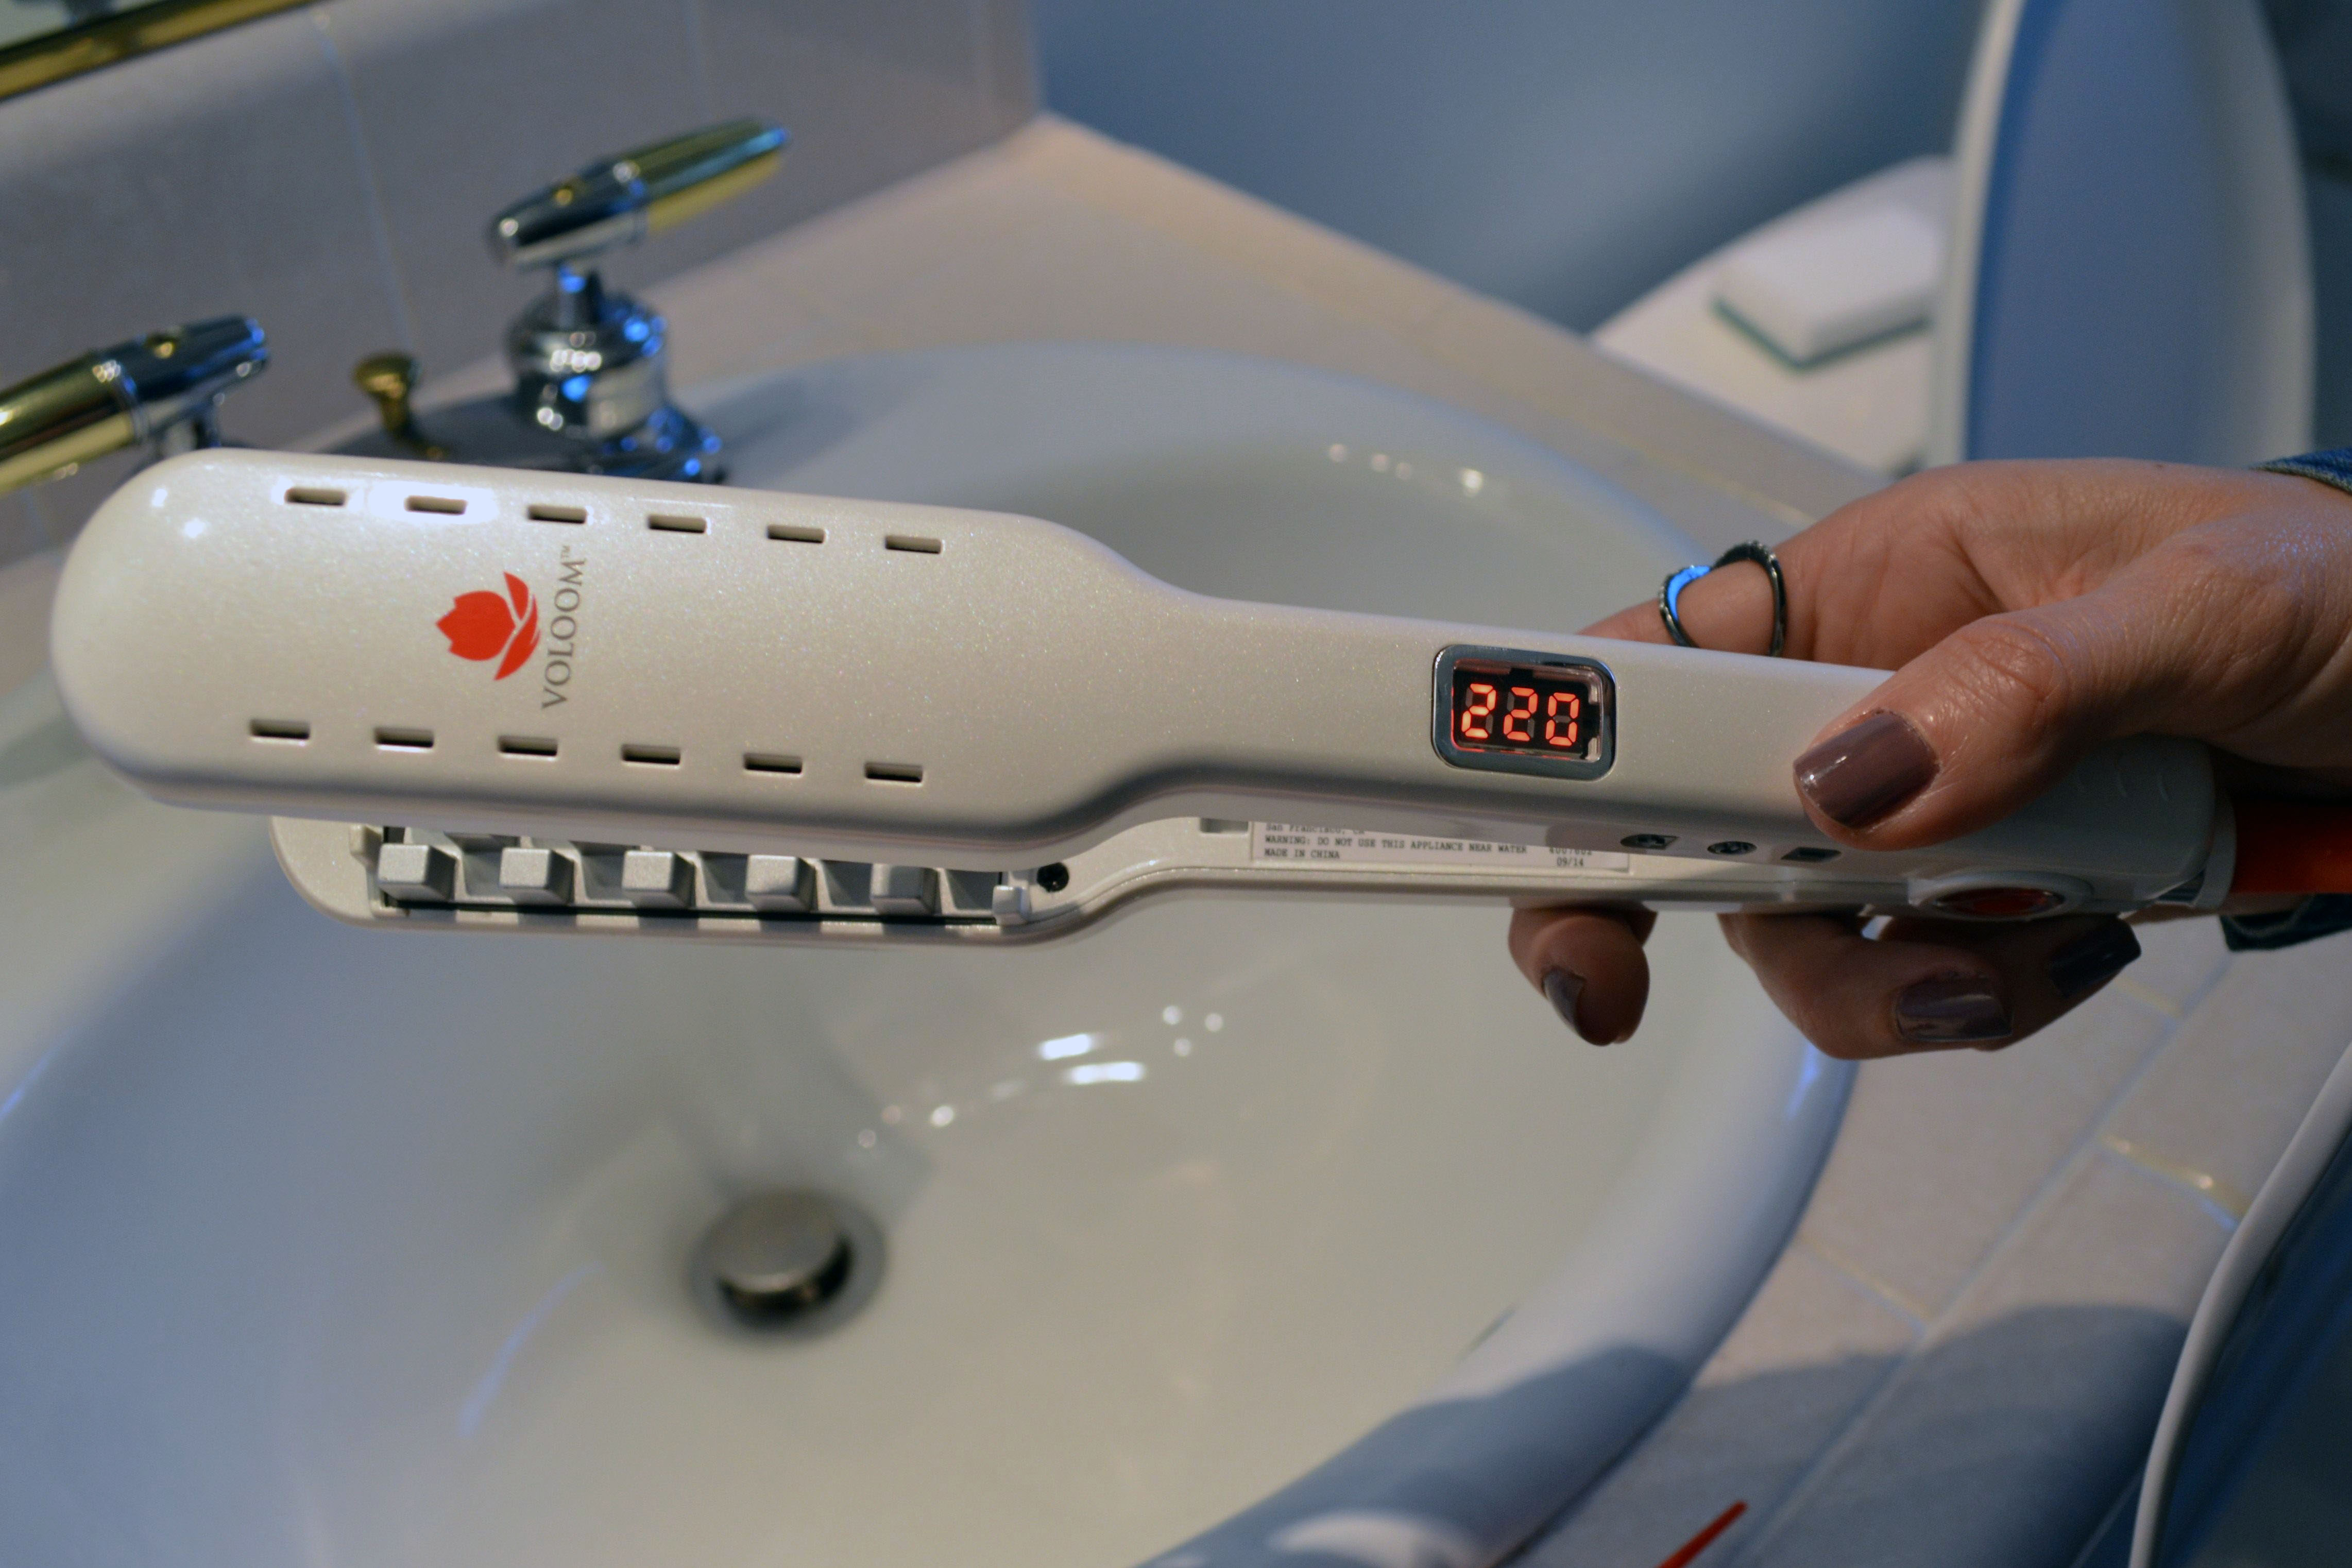
STEP 5: Complete style using L’Oreal Professionnel Lumi Controle wax and L’Oreal Professional Infinium 3 hairspray to control and polish hair.

KEY PRODUCTS

  1. L’Oreal Professionnel Volume Envy
  2. L’Oreal Professionnel Lumi Control
  3. L’Oreal Professionnel Infinium 3

That’s it! Five easy steps to fabulous, runway hair! All of these amazing products are available at L’Oreal Professionnel Salons, and online here.

Video courtesy of Fashion Show.


Voloom hair volumizing iron review

voloomvoloom reviewvoloom hair volumizingvoloom hair volumizing reviewhair checkerboardvoloom result

Pictured: Voloom Hair Volumizer c/o iFABBO / Earrings: Bauble Bar / Shirt: Gap (sold out, also love this one)

I have the type of hair that lays flat and also gets wavy. The one thing my hair does not have is natural volume. I was thrilled when iFABBO offered me the chance to test out Voloom’s Hair Volumizer. I was hoping this would be the device that gave me full hair.

I tested out Voloom’s Hair Volumizer on my hair. In order to use the device you have to pin up your top layer of hair. This is easy to do since Voloom provides you with clips. The idea is that you use Voloom’s Hair Volumizer on the hair under your top layer of hair. The volumizer works by separating your hairs in a checkerboard pattern which adds volume. After you add volume to your bottom and middle layers of hair, you release the clips and let your top layer of hair fall over your middle and bottom layers of hair. 

My hair is quite long and I am overdue for a haircut; so my hair has a lot of weight to it. I used Voloom as directed and did see an increase in volume I was surprised to see an increase in volume in my hair! I look forward to using Voloom every-time I want volume.

Voloom can be found online here.


Le Angelique Curling Star 3 in 1 Set review

DSC_0839

 Photo: Curling iron: c/o Le Angelique “Curling Star 3 in 1 Set.”

DSC_0842DSC_0851

Photo: 32mm barrel used to curl ends under.

DSC_0865DSC_0867

Photo: 25mm barrel used to create wavy hair.

I have dry hair, so using a curling iron is not always my first choice when I decide to style my hair. So, I was thrilled when Le Angelque contacted me to test out one of their products. The “Curling Star 3 in 1” curling iron set is fabulous because it contains three different sized, clipless barrels which use Ceramic technology. The curling iron itself also has two heat settings which is perfect for creating a loose or tight curl.

I tested out Le Angelique’s “Curling Star 3 in 1” curling iron set on the low heat setting. The curling iron was gentle and did not dry out my hair. The Ceramic technology kept the heat soft and gave me the exact curl I was looking for. I used the largest barrel which is  32mm, so that I could curl my ends under for a clean hairstyle. The heating process was extremely quick and easy. Normally when I use a curling iron with a clip, it can take ten minutes to get my ends curled under and perfect. With Le Angelique’s “Curling Star 3 in 1” set I was able to curl all my ends in three minutes! The curl also stayed without falling which is always a plus.

Next, I wanted to create soft waves. I used the medium sized , 25mm barrel holding each wrap for about six seconds before releasing. This gave my hair a wavy look which offers subtle movement. The waves also lasted without falling! Love that! I was able to make my whole head wavy in about five minutes. That is a record!

This was my first time using a clipless curling iron and I have to admit I was a little scared. Without the clip, the whole process looks like a burn accident waiting to happen! Thankfully Le Angelique makes it easy to use a clipless curling iron by providing a thermal protection glove. You can grab the curling iron with the glove and feel a little bit of heat, but you will not burn yourself. 

Unlike a curling iron with a clip, in order to make a ringlet or tight curl you start wrapping the hair close to your head and wrap your hair around the curling iron out to the ends. Then, when you let go of your ends, your hair falls out of the curling iron without needing to be unwrapped. This leaves the curls tight. 

I am really excited to have Le Angelique’s “Curling Star 3 in 1” curling iron set. I know the clipless style will help me do more with my hair than I was able to do with a clipped curling iron. This set is incredibly handy too since it has three sizes.

Le Angelque’s “Curling Star 3 in 1” set is on sale for $99.99 and can be found online at LeAngelque.com