How to keep your jeans from shrinking
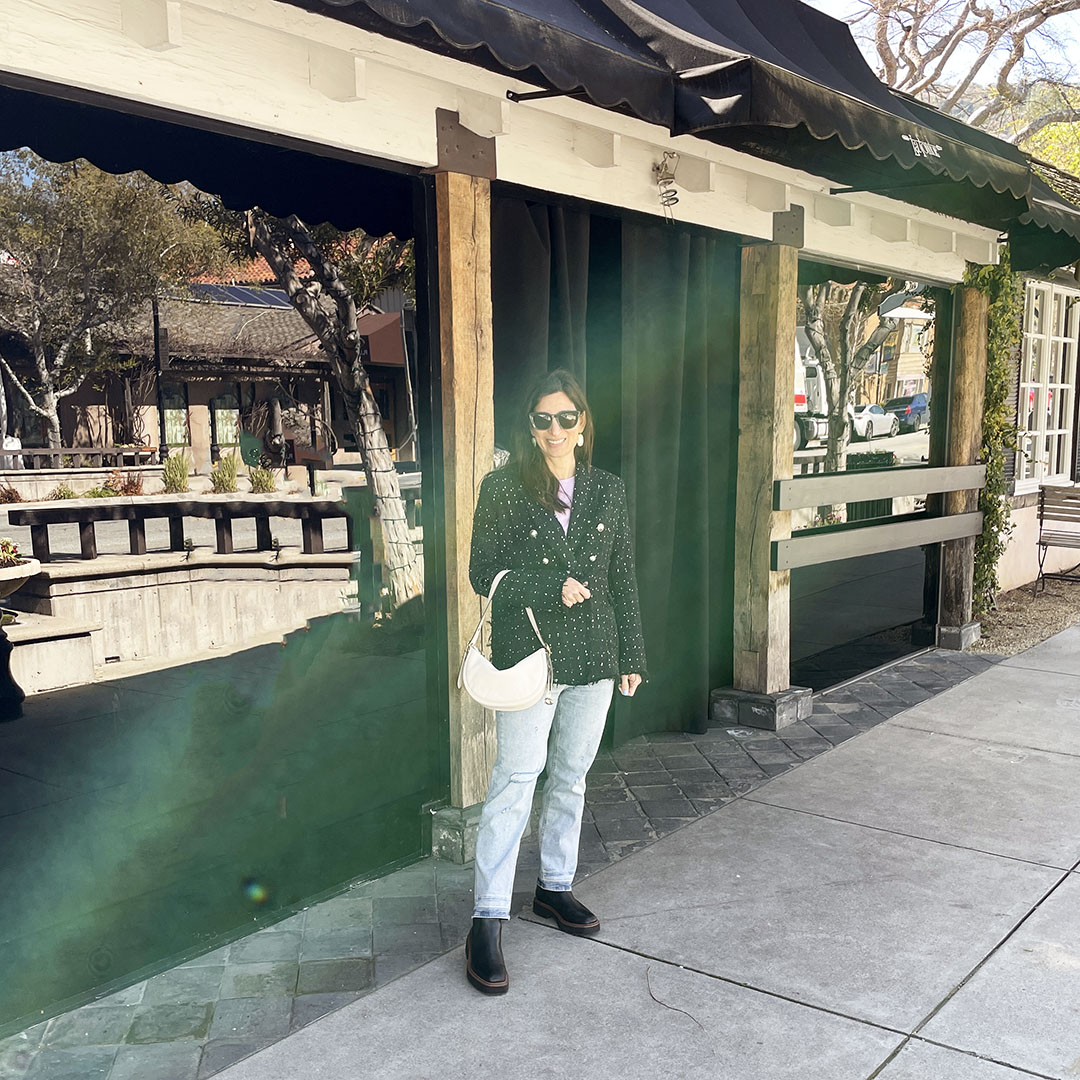
wearing: sunglasses / statement earrings / lilac top / tweed blazer (under $100) / spring nail polish / moon shaped bag / straight leg jeans / lug sole boots /
How many times have you purchased the perfect jeans, with the perfect fit, and the perfect length? Then, you go to wash them, and they shrink! My hand is way up! Thankfully, I have found a solution to the incredibly shrinking jeans; and it isn’t rocket science. Love that!
So, without further ado, here is how to keep your jeans from shrinking. It is quite simple. Although the instructions on the label of your jeans may say warm water is OK, or a low dryer temperature is OK, trust me, it is not. When it comes time to wash your jeans, you should always, without fail, wash them in cold water. The instructions on the jeans will lead you astray; unless they say dry clean only. If that is the case, you have some fancy fabric, and I would not mess with it; take them to the dry cleaners.
After washing your jeans in cold water, never ever, and I mean never ever, throw them in the dryer. Immediately flatten your jeans and hang them to dry. The best way to allow your jeans to dry is to hang them in a place where air can get around them. A shower curtain rod or door hook is typically ideal. You can also drape them over a towel rack; not the rack attached to the wall, the free-standing rack you can move around. I would place the towel rack in the bathtub so the jeans can drip and also get 360 degrees of air.
The downside to air drying your jeans, is that they will be stiff and possibly wrinkled. You can solve this by putting them on for a few minutes and walking around the house. Do a few shallow squats, and voila! Your jeans will be ready to wear.

Do you have any tips or tricks for keeping your jeans from shrinking when you wash them? Please share in the comments below!
Thanks for stopping by!
XOXO
Cathy