lifestyle


Crab Macaroni and Cheese recipe
homemade crab macarani and cheese recipe

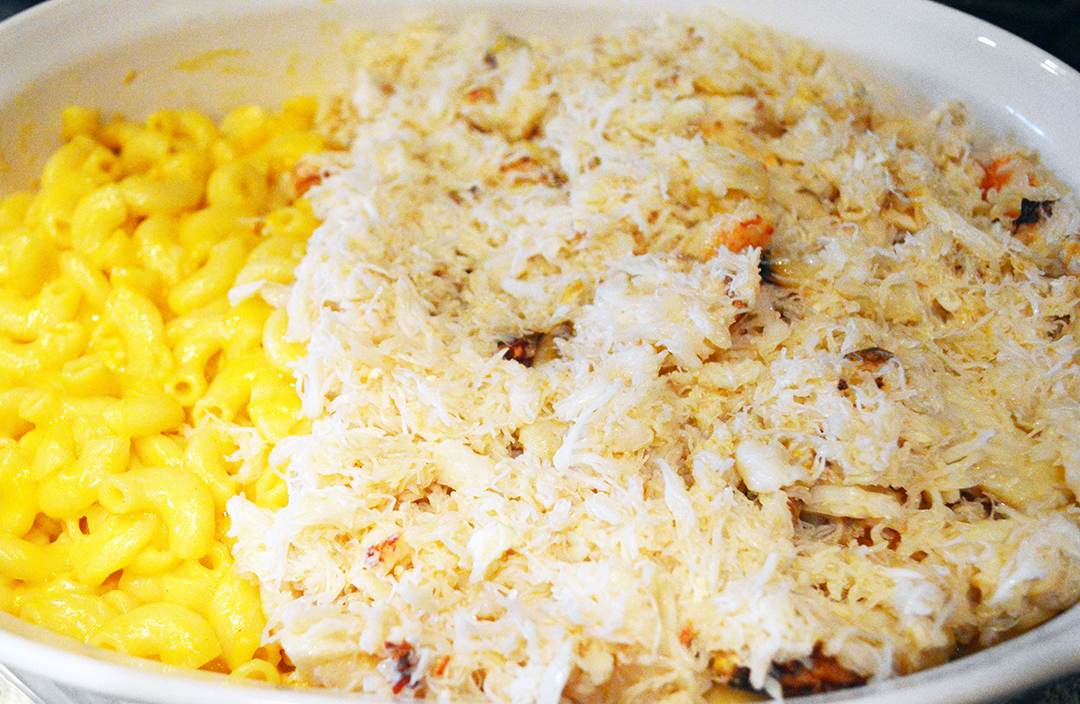
pictured: Cathy’s homemade Crab Macaroni and Cheese recipe

Have you ever wondered how to make crab macaroni and cheese? Well, it’s really easy! If you love comfort food, and you love shellfish, and you love mac and cheese, then this is the dish for you!

I love, love, love macaroni and cheese. I also love Crab! Together, they make a grown-up version of every kid’s favorite meal from a box; without the box, and using real cheese.

In order to make my Crab Macaroni and Cheese at home, I use my personal macaroni and cheese recipe, then I add crab. It’s really easy. If you prefer substituting something in lieu of the crab, you can switch out the crab for lobster or shrimp. They both result in really yummy, grown up versions of macaroni and cheese! Yum!
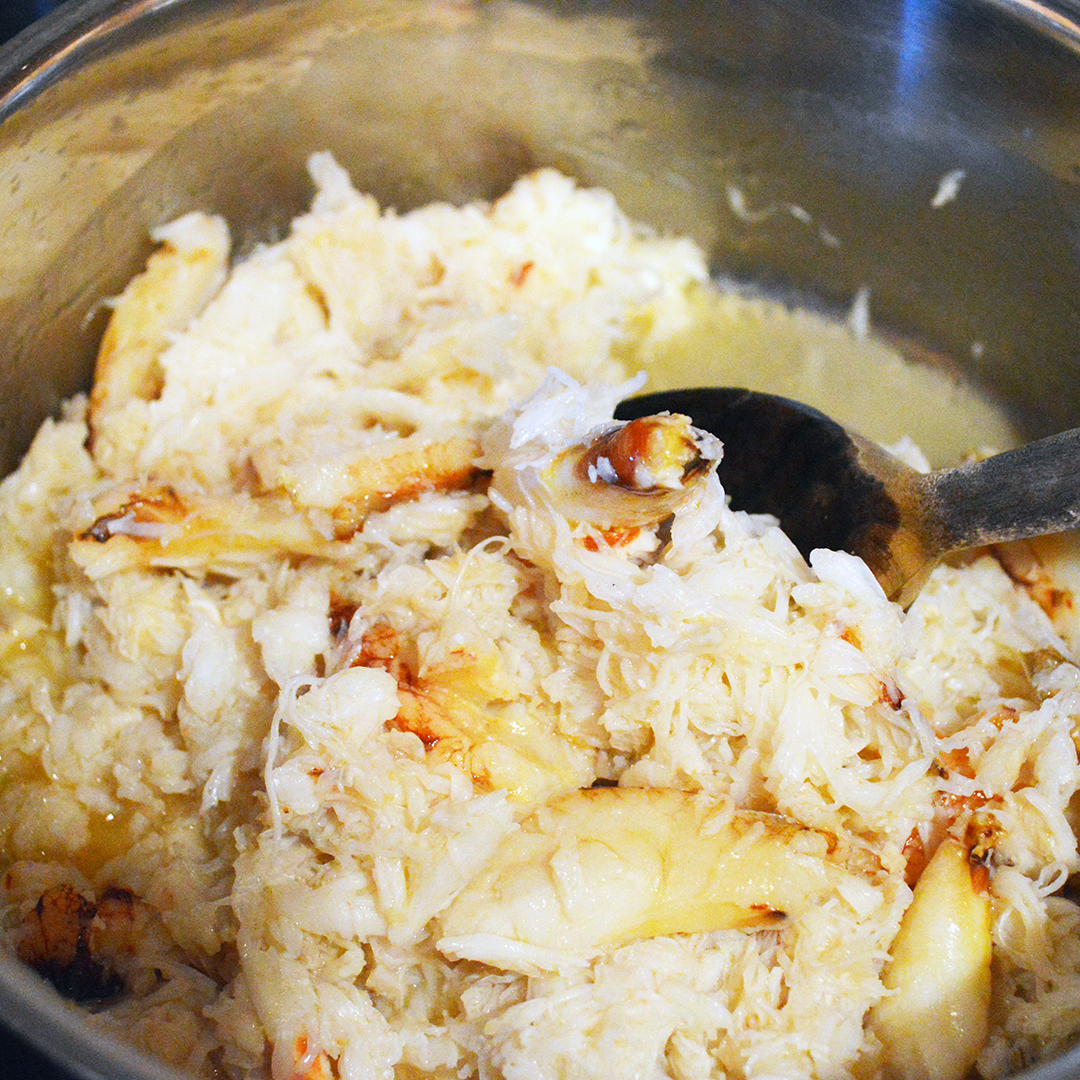
how to make crab macaroni and cheese

How to make Crab Macaroni and Cheese. Start off by making homemade macaroni and cheese. Here is my recipe:

Cathy’s homemade macaroni and cheese recipe:

  • 1 lb. box of Barilla Elbow pasta cooked (you can use any brand-this is my preferred brand)
  • 16 oz. shredded Kraft Extra Sharp Cheddar cheese.
  • 1 teaspoon Paprika

Mix together the cooked pasta, Paprika, and shredded cheese. Place mixture in a large casserole. Cover and bake at 375 degrees, non-convection, for 25 minutes.

While the macaroni and cheese is baking, you can cook your crab mixture. You will need:

  • 1 lb. crab (shelled) (I buy it pre-shelled from the butcher) (Sub: lobster or small shrimp if you prefer)
  • 1/3 cup unsalted butter
  • 1/4 cup pure virgin olive oil (the real stuff tastes best!)
  • 3 crushed garlic cloves
  • 1/4 cup chopped or diced onion (cut to your preference-I prefer diced)
  • 1 tablespoon Paprika

In a mixing bowl, mix all of these ingredients together until they are blended. Pour mixture into a medium saucepan and cook until the crab is done, and the butter is nicely melted.
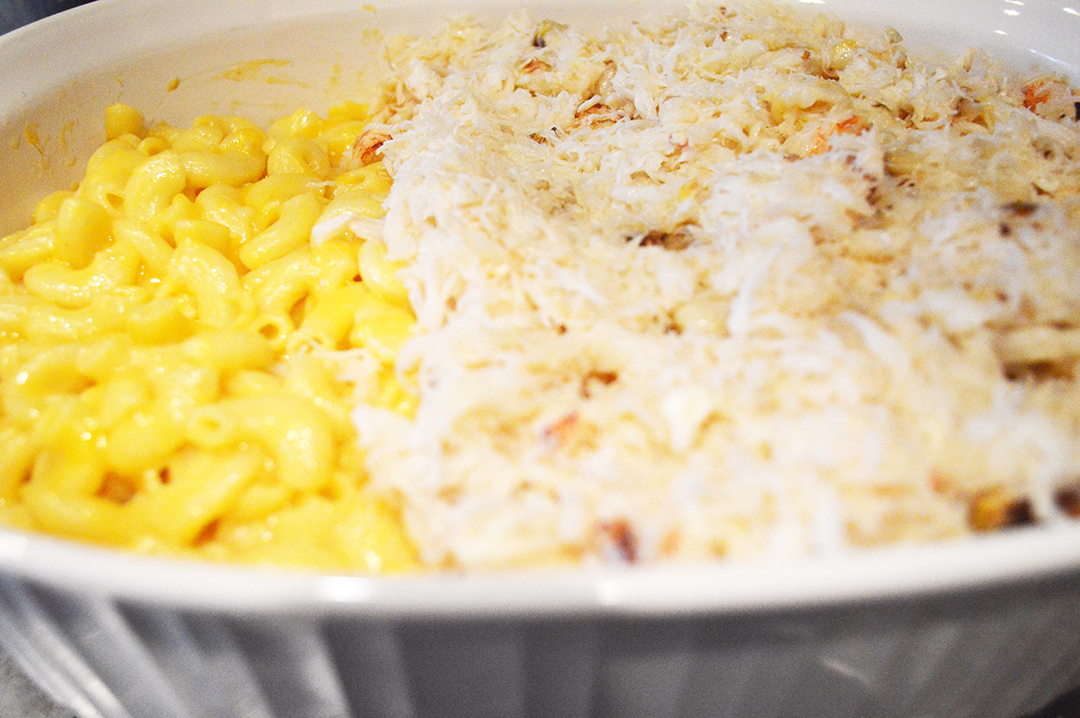
crab macaroni and cheese recipe

After 25 minutes in the oven, remove the macaroni and cheese casserole, but leave your oven on, and the door closed. Uncover the macaroni and cheese. Smooth your crab mixture over the top of the macaroni and cheese. I always leave a section bare because my oldest daughter doesn’t like fish, so she only eats the plain macaroni and cheese. You can cover half, like I do, or you can put shrimp on one side, and crab on the other. The mixture is large enough to cover the entire top if you decide to not leave a portion blank.

When the top of the macaroni and cheese is covered by the crab mixture, cover the casserole dish and bake at 375 for another 10 minutes.

Before you serve the Crab Macaroni and Cheese, please let it cool for 5-10 minutes in the covered casserole dish, outside the oven. I leave the casserole on my cooktop. Then, serve it up!

My kids love my homemade Crab Macaroni and Cheese, I hope you do too! It is a delicious comfort food which is perfect for cooler weather. ‘Tis the season for comfort food!

This is also a great dish to make for holiday pot luck parties, or if you are throwing a large party at home. Although I serve it as a main course to my family, for a large party, it can be a hearty side dish in a buffet.

I hope you enjoy it. If you have any questions, feel free to contact me.

Kitchen tools you might need to make this recipe:

Thanks for stopping by!

XOXO

Cathy
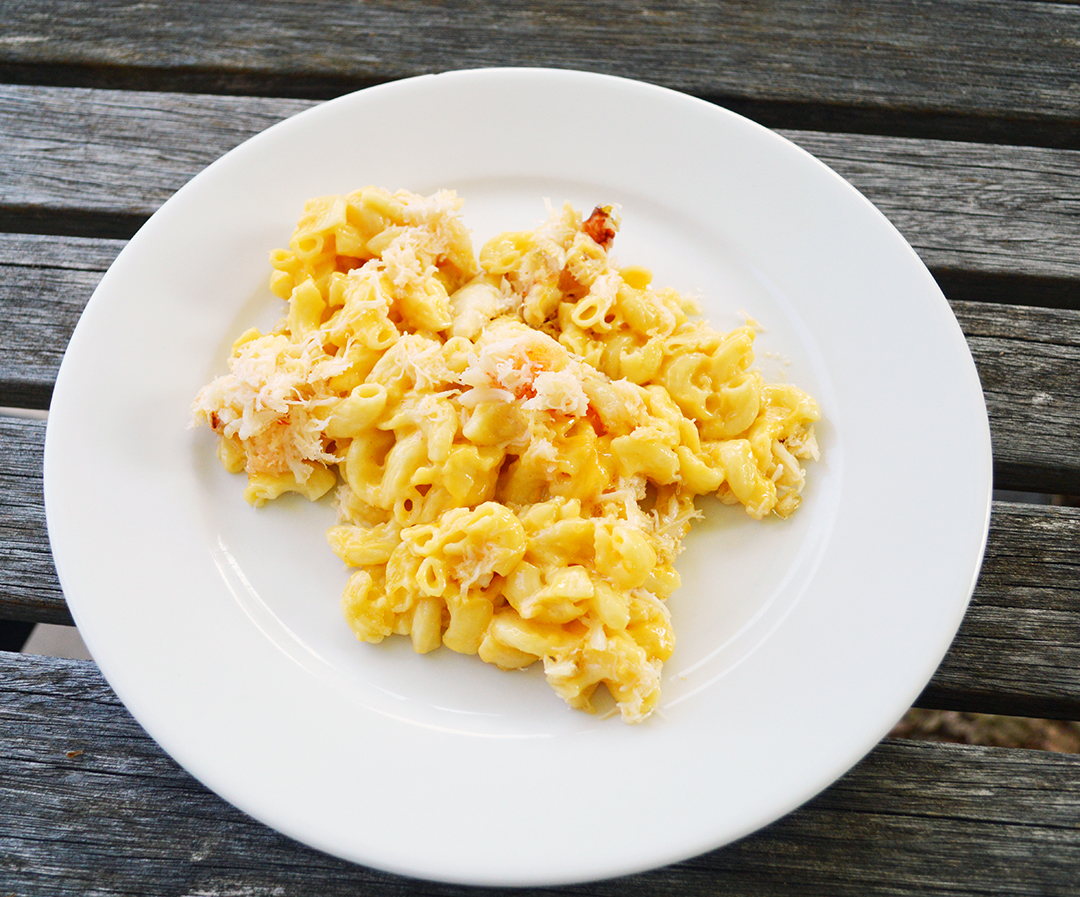
crab macaroni and cheese


How to Macrame | a beginners guide

how to macramehow to macrame

Have you ever wondered how to macrame a plant holder, keychain, or other home item? I used to macrame all the time when I was a child. It was a common project in art classes, and summer camps, when I was growing up in Marin. When rewardStyle announced they were going to host a How to Macrame workshop in San Francisco, I immediately RSVP-ed yes!

Macrame brings back fond childhood memories for me; and about year ago, those macrame projects from my childhood fell back into my hands. My Mom moved a couple of years ago, and she had boxed up some of my childhood memories which I forgot to box up and take with me into my adult life. I cleaned out my room at the home I grew up in before she moved, but there were art projects, and other odds and ends that had ended up with my Mom’s things, and in kitchen cabinets; who knew! So, she boxed them up and they moved with her to her new home.

One year ago, my Mom sorted out these odds and ends she had found when unpacking in her new home. She gave me a box filled with them. Inside the box were a few of my old macrame projects I had made for our house. My middle child thought these macrame projects were “pretty” and she snapped them up, immediately asking if she could keep them. I said yes of course, and they now decorate her room.

She is extremely artistic, and asked me how to macrame so she could make more macrame items to decorate her room with. I was stumped! How could I have forgotten how to macrame when it was such an integral part of my childhood?! So, when this class popped up, I was beyond thrilled to take a refresher course in how to macrame; now I can teach my daughter how to make her own macrame decorations!

how to macrame

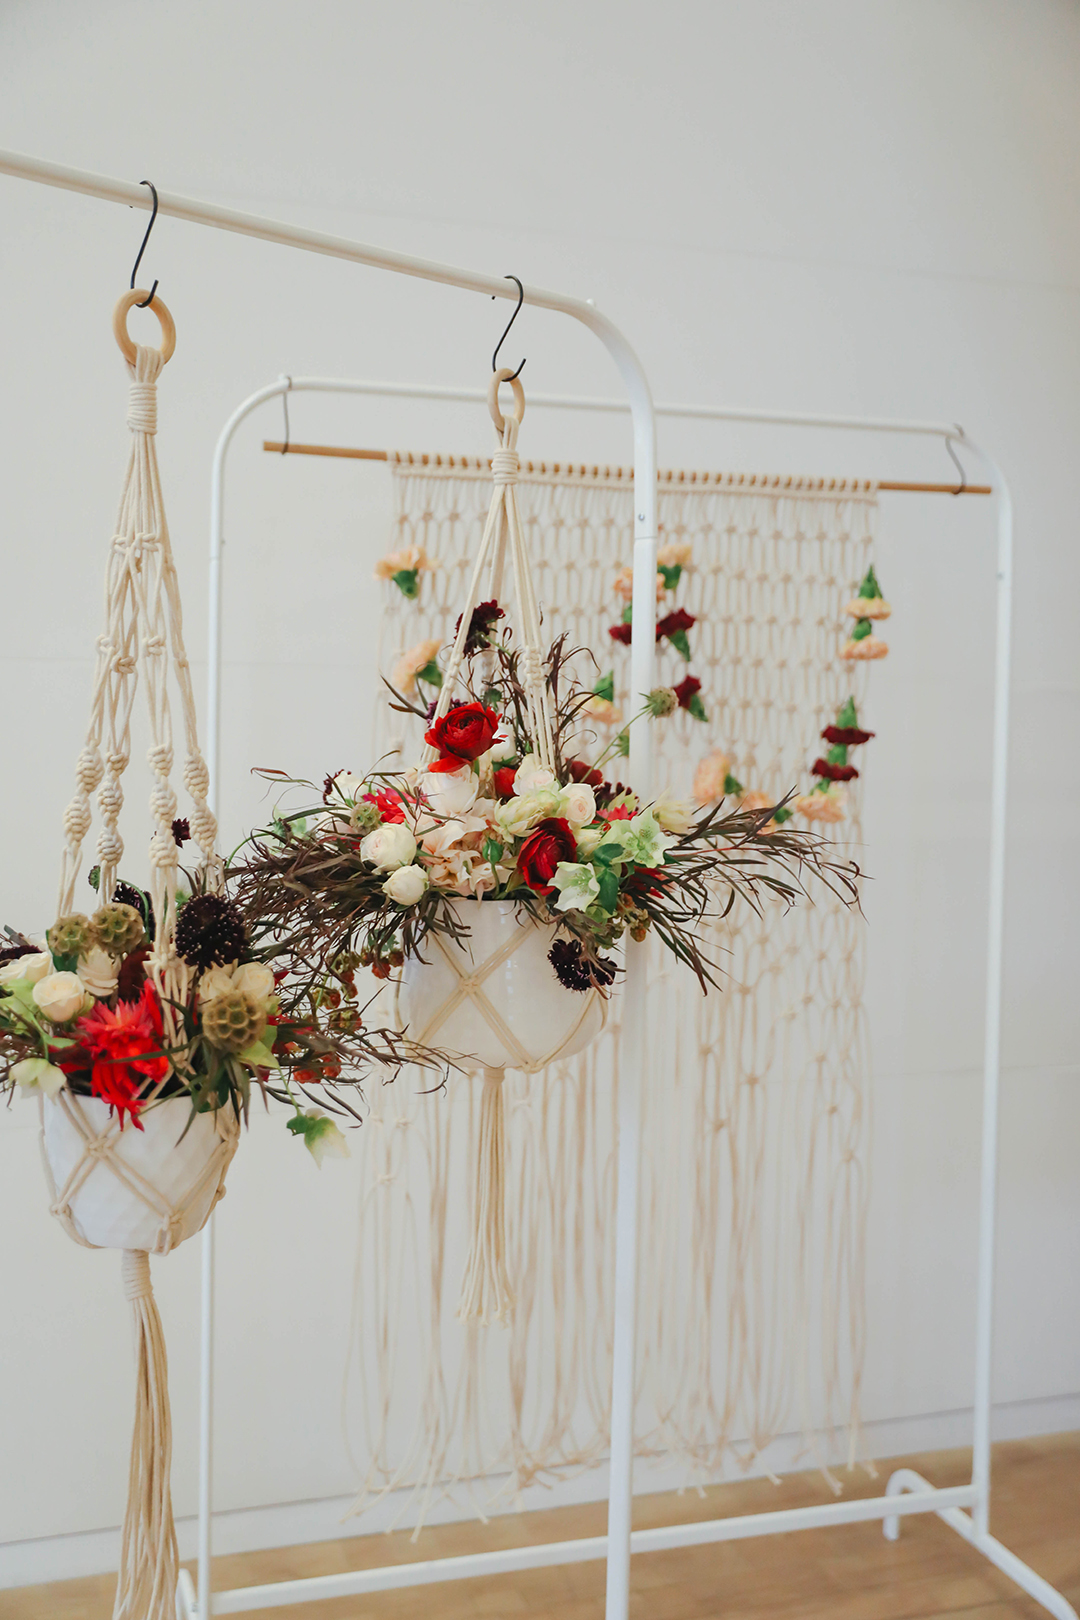
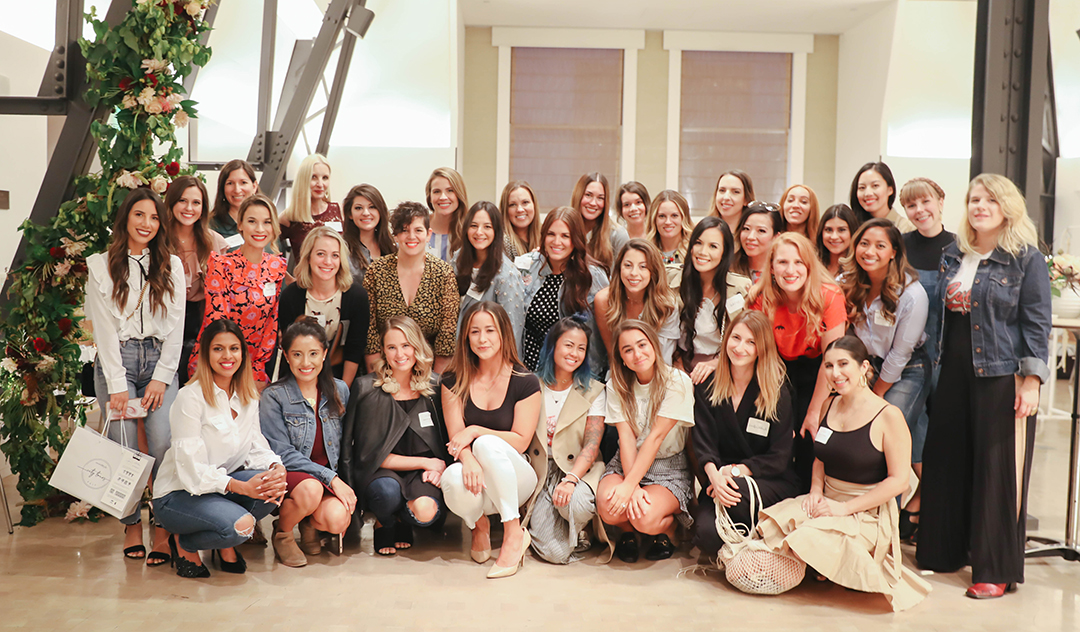
The How to Macrame class was held at One Kearny Club on Geary Street in San Francisco. It was so much fun to attend and see all the local bloggers I mostly interact with online. rewardStyle planned a fabulous and fun event. The event space was decorated with macrame and so many pretty flowers. There were passed appetizers, which were absolutely delicious, as well as an open bar.

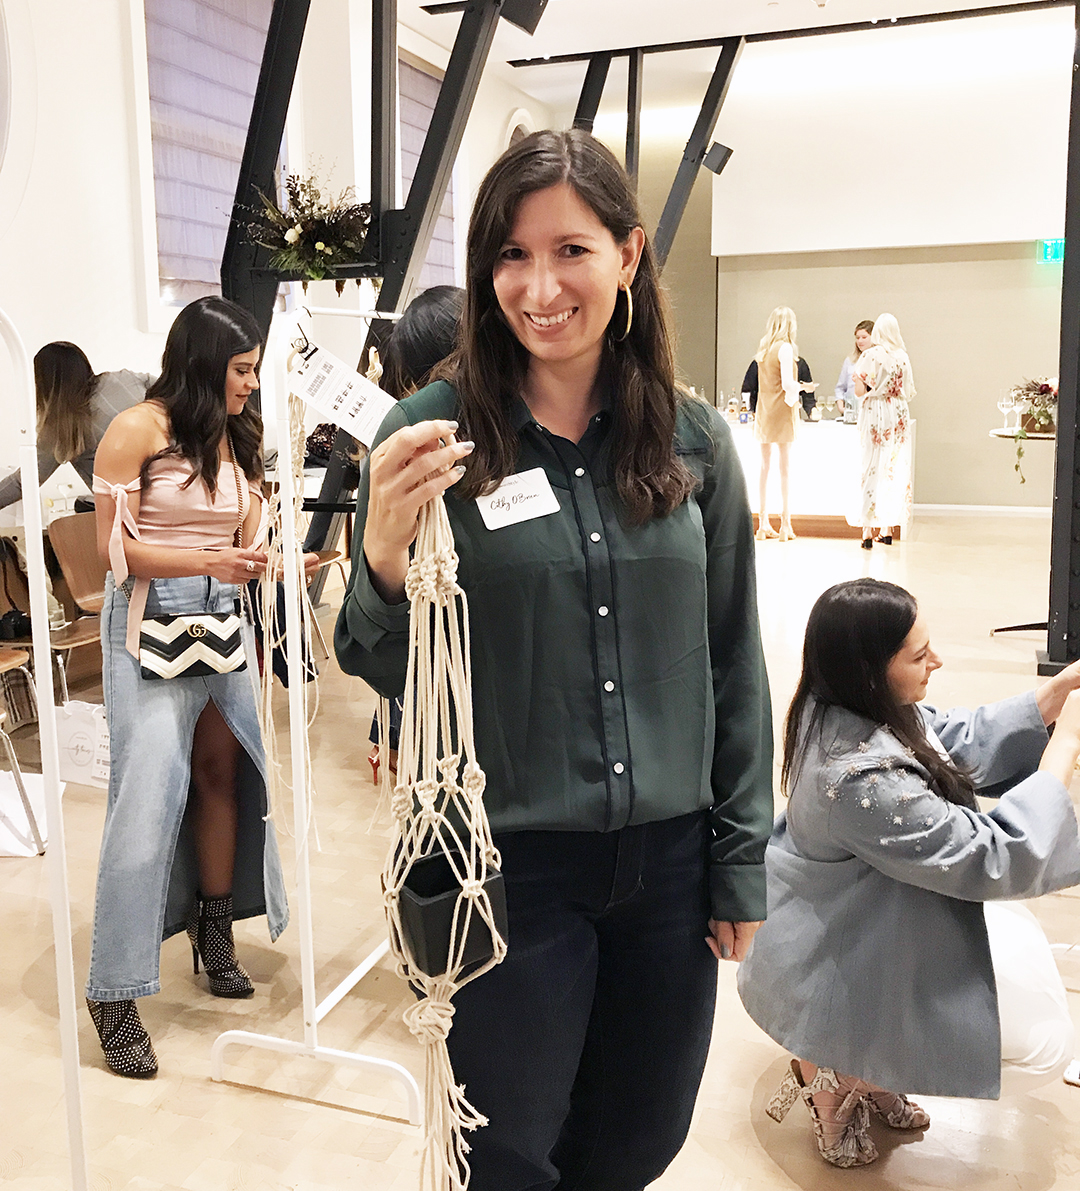
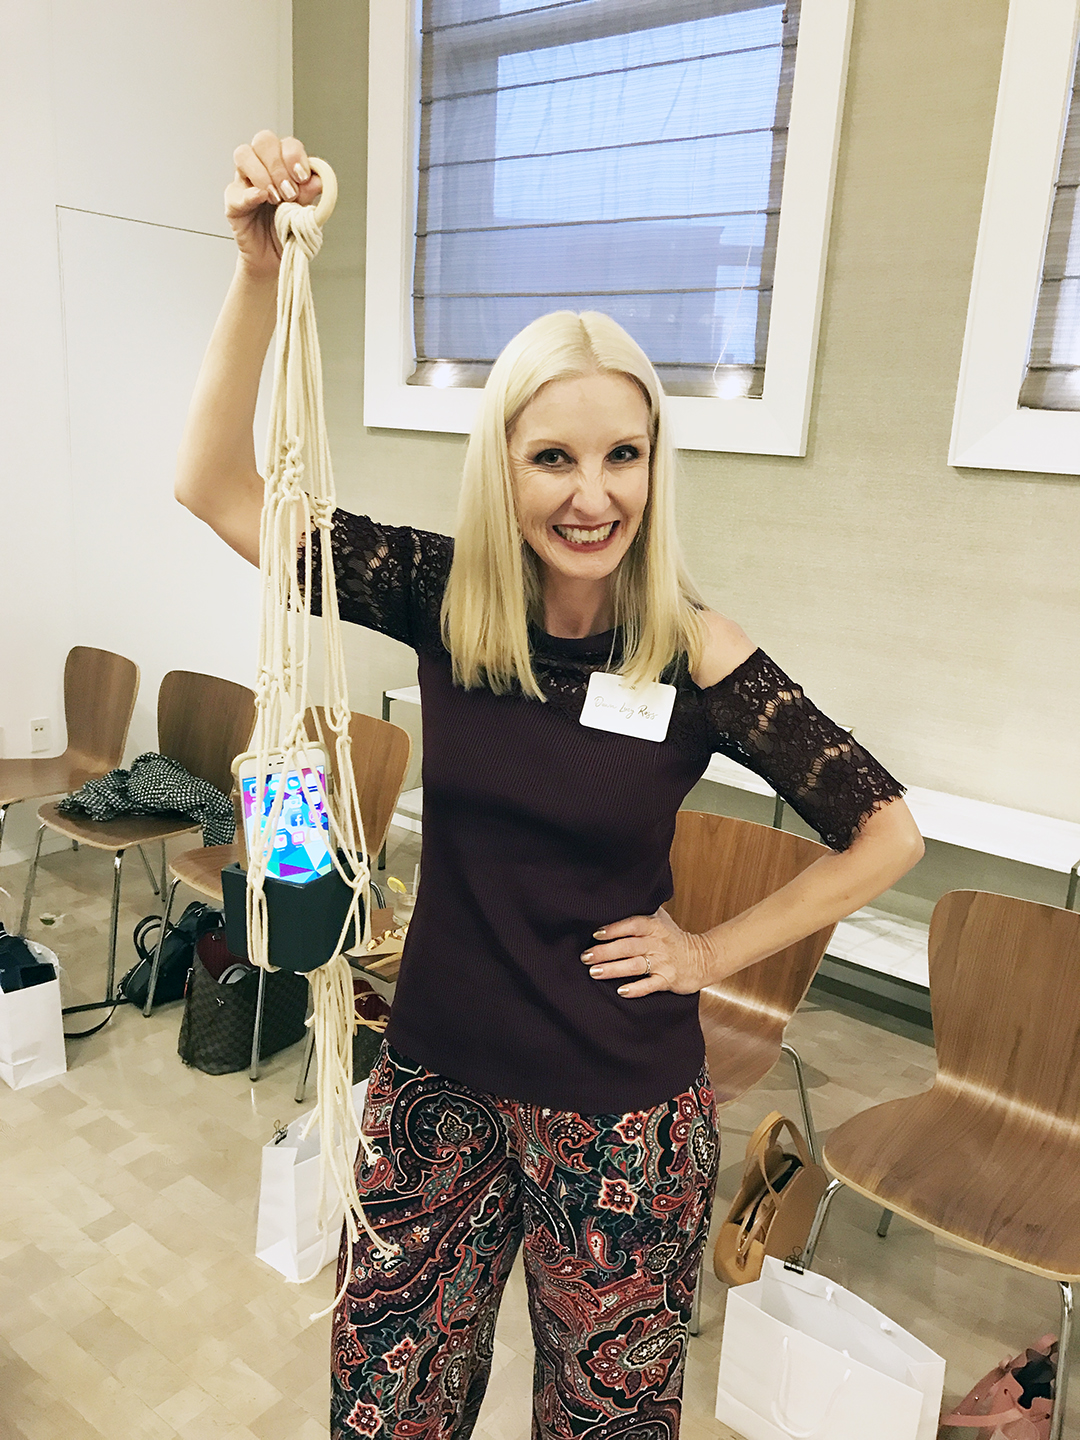
After we socialized for a bit, our macrame class began! We all grabbed a chair, and then stood up in front of a wooden ring with sixteen ropes; ready to be turned into a macrame design. Out teacher, Jenny Lemons, gave us step-by-step instructions on how to macrame, and she walked around the room helping us with our knots, and our overall design. Our mission was to macrame a plant hanger. Later on, Dawn from Fashion Should Be Fun and I decided our plant hangers could double as iPhone carriers. More about that later on in this post.

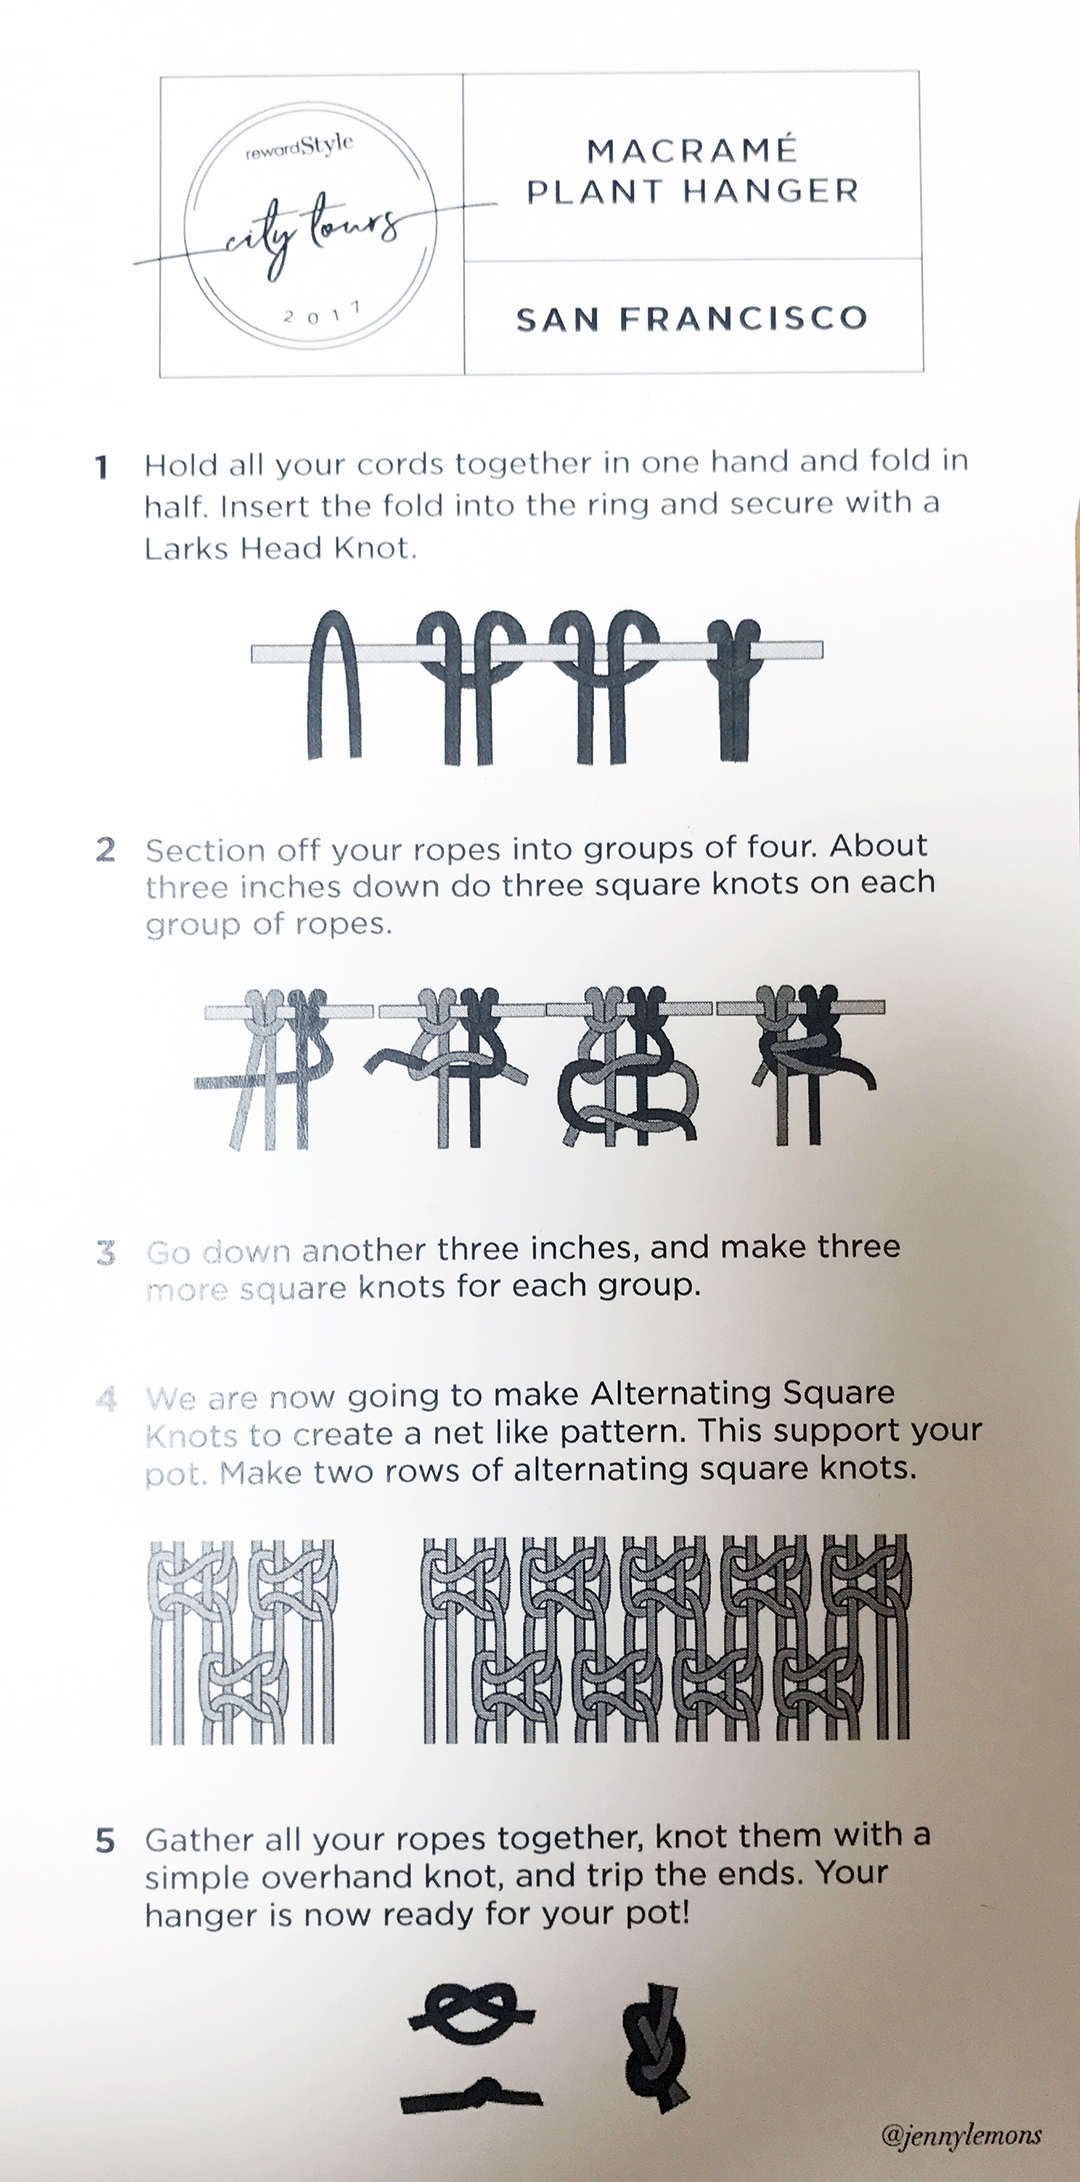
Here are the steps for our macrame project:

how to macrame steps

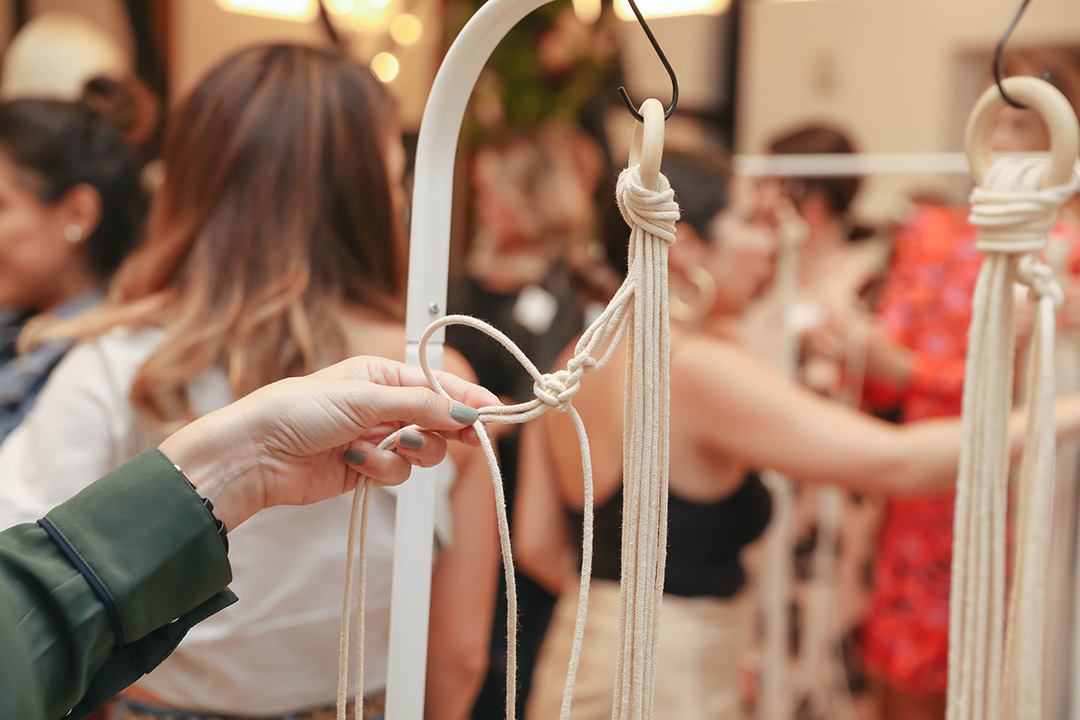
Here is a little photo journal of the steps for making a macrame knot so you can see the steps in action. They are in order, steps one, two, then three.

how to macrame

When you get to this point, step three, pull the knot tight and wiggle it with your fingers to make sure it is symmetrical. I ended up making single knots on the top half of my plant holder, and then I went to alternating doubles knots on the bottom half of my plant holder. I think I defaulted to the single knot at first because it is the one I did most often when I was growing up. The single knot turns while the alternating double knot stays flat.

Below you can see my finished plant holder, and Dawn’s; which we found also makes a great iPhone case! Who knew?

how to macramehow to macrame

It was a fun event, and it was great to take a refresher course on how to macrame. Now, I can show my daughter how to macrame, and she can create her own home decor! I also plan to show her how to integrate beads into macrame. Love that!

Shop macrame supplies:

Do you know how to macrame? If so, what types of items do you like to make?

Thanks for stopping by!

XOXO

Cathy
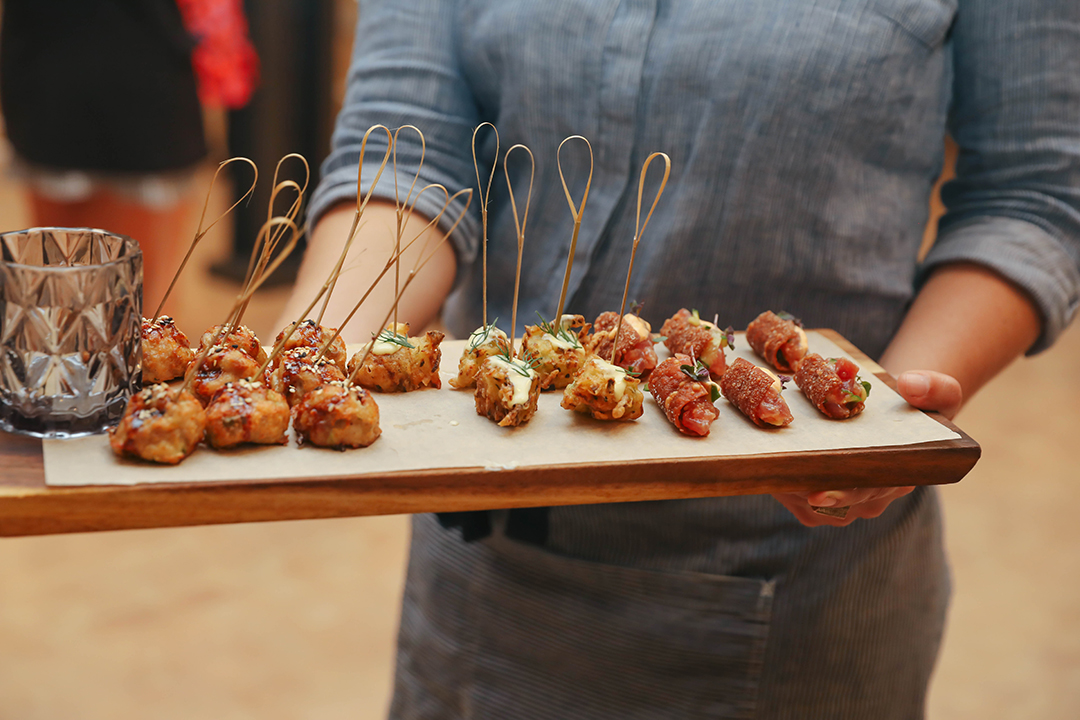
*photo credits: some photos taken with my iPhone, some were taken by Andrea Posadas (hers are the good ones!!)

how to macrame


How to make Butterbeer recipe

how to make butterbeer recipe

How to make butterbeer recipe for the all of the Harry Potter fans out there! OK quick, which house are you? Although we are a Gryffindor family, Hufflepuff, Ravenclaw, and even Slytherins, are welcome here. After all, a love for butterbeer is something we all have in common!

Last month, I took my family to Universal Studios. One thing on our agenda was to taste butterbeer! Harry Potter loved it, and it sounded like a fun, non-alcoholic drink the whole family could enjoy. So, we made grabbing a glass our priority. After we tasted our first butterbeer, we realized it was the most delicious drink! A butterbeer is part soft drink, part dessert; now doesn’t that sound amazing?! It really is; and you don’t have to be a Harry Potter fan to enjoy a yummy glass of my butterbeer recipe. If you are counting calories, never fear, I have a low calorie butterbeer recipe option for you here!

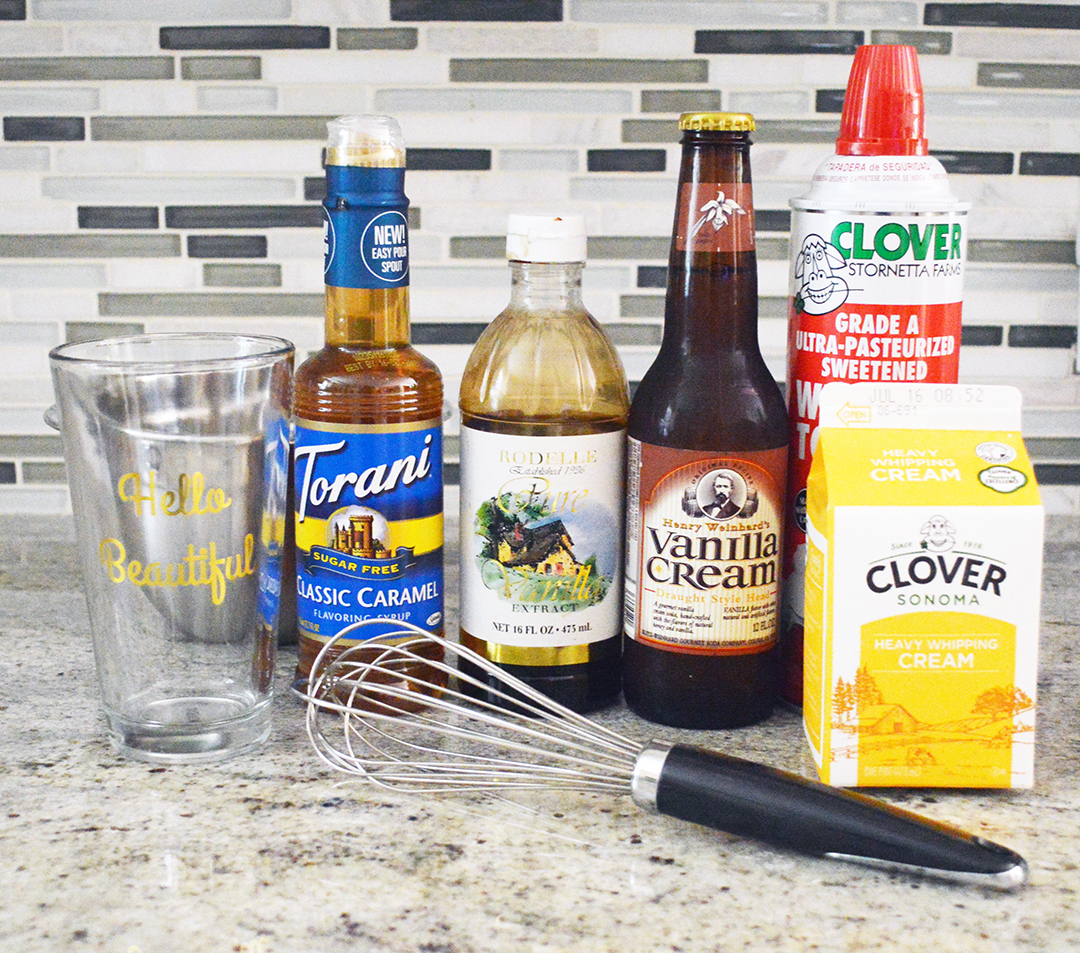
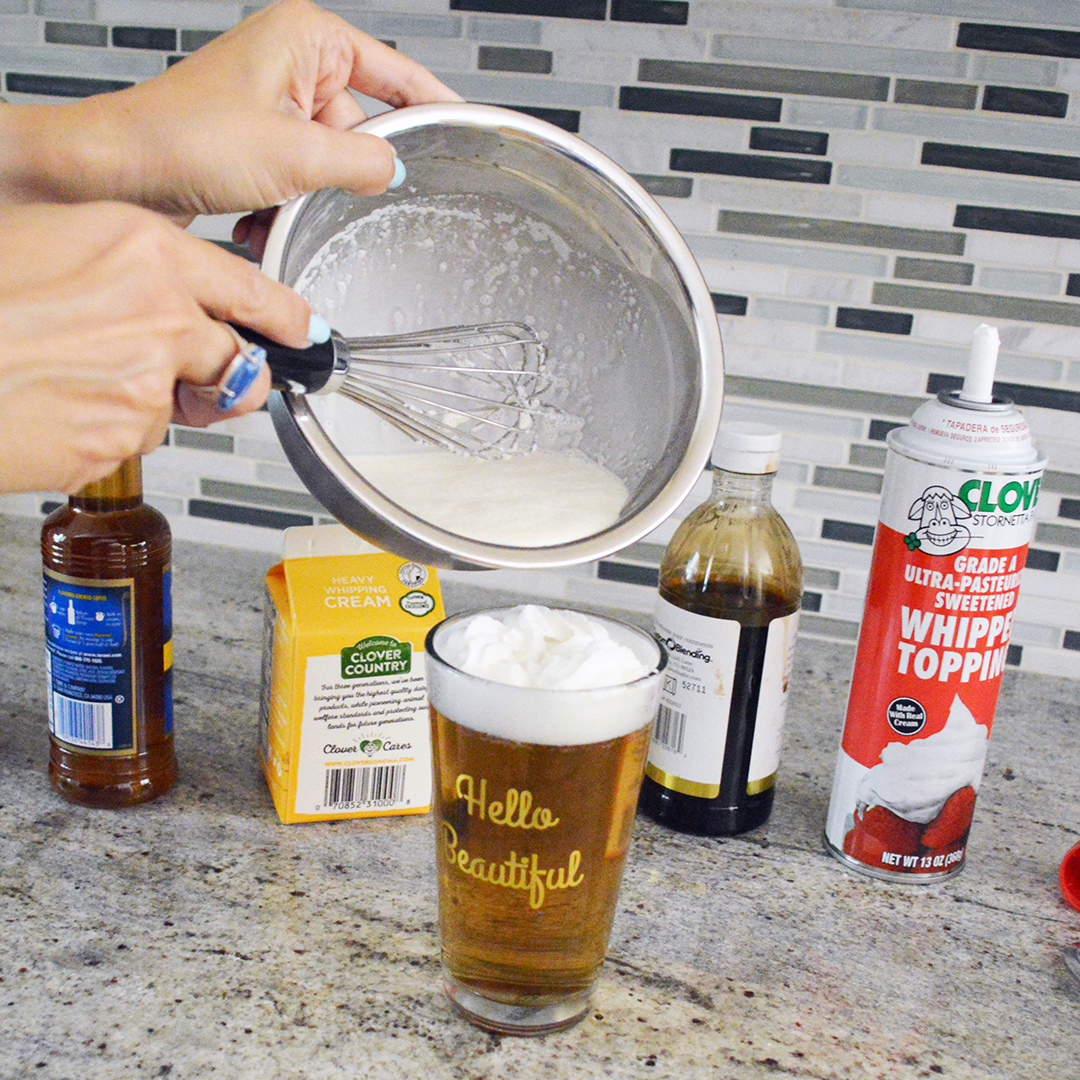
ingredients for making butterbeer at home like universal

First off, let’s talk about the tools and ingredients you will need to make butterbeer at home.

Ingredients:

  • Cream Soda: I recommend Henry Weinhard’s Vanilla Cream Soda for the most authentic taste. For a low calorie option which is quite delicious, I recommend Virgil’s Zero Cream Soda.
  • Torani Syrup: Classic Caramel or Butterscotch will do.
  • Heavy Whipping Cream: This needs to be heavy in order to stay afloat. It is a crucial part of the froth.
  • Vanilla extract: My favorite is Rodelle, but any vanilla extract will work.
  • Whipped Cream: My favorite canned whipped cream is Clover.

Tools 

  • Mixing bowl: Use a small mixing bowl
  • Hand-held whisk: This one by Kitchenaid has been in my kitchen for fifteen years and they still make it. Best whisk ever!
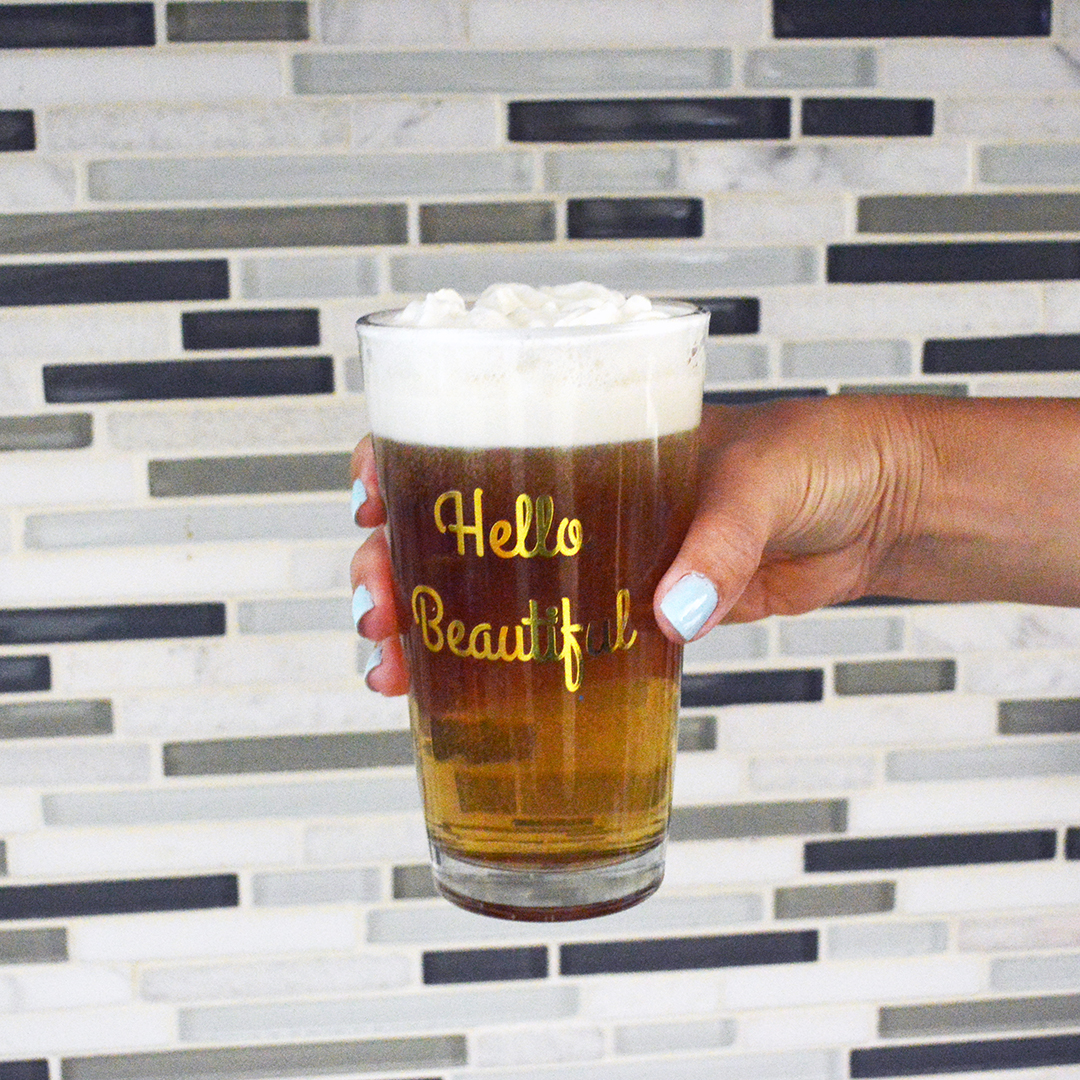
  • 12 oz. glass or pint glass: How cute is this “Hello Beautiful” glass! Yes, Hello there beautiful butterbeer, you are delicious!

When we returned home from our vacation, I looked online to see if I could find a butterbeer recipe. Unfortunately, the recipes I found used odd ingredients, were too complicated, or flat out didn’t work. So, I decided to come up with my own special recipe for butterbeer. I hope you like it as much as my family does! Here are a few simple steps for making butterbeer.

non alcoholic butterbeer recipehow to make harry potters favorite drink

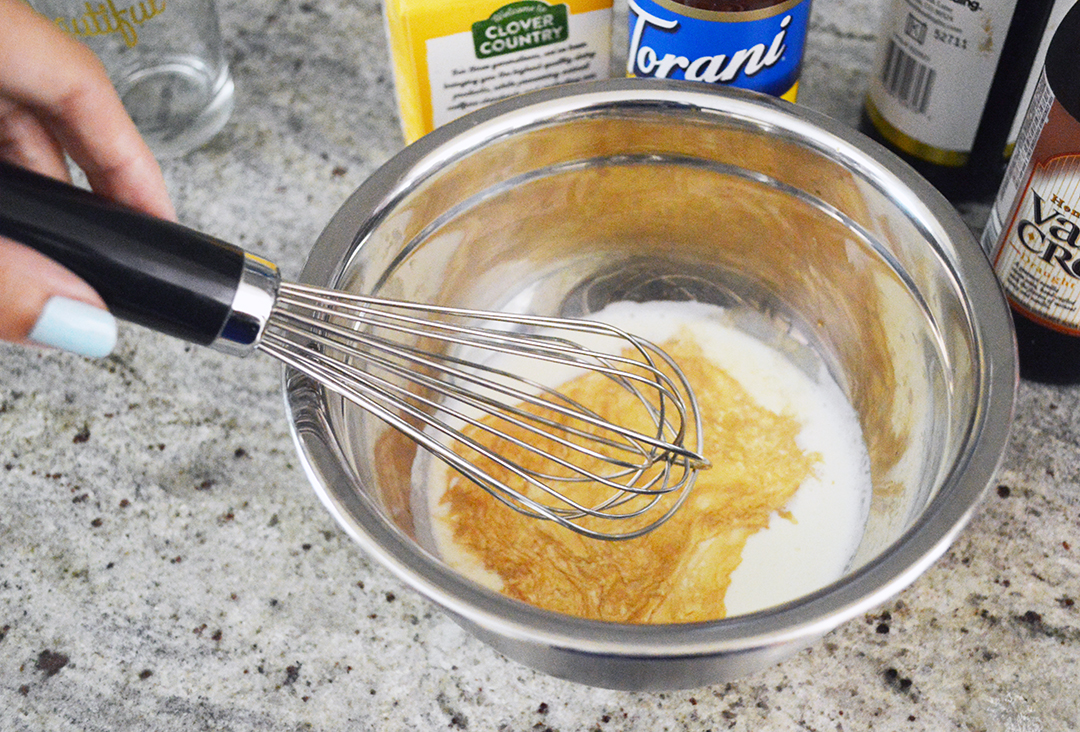
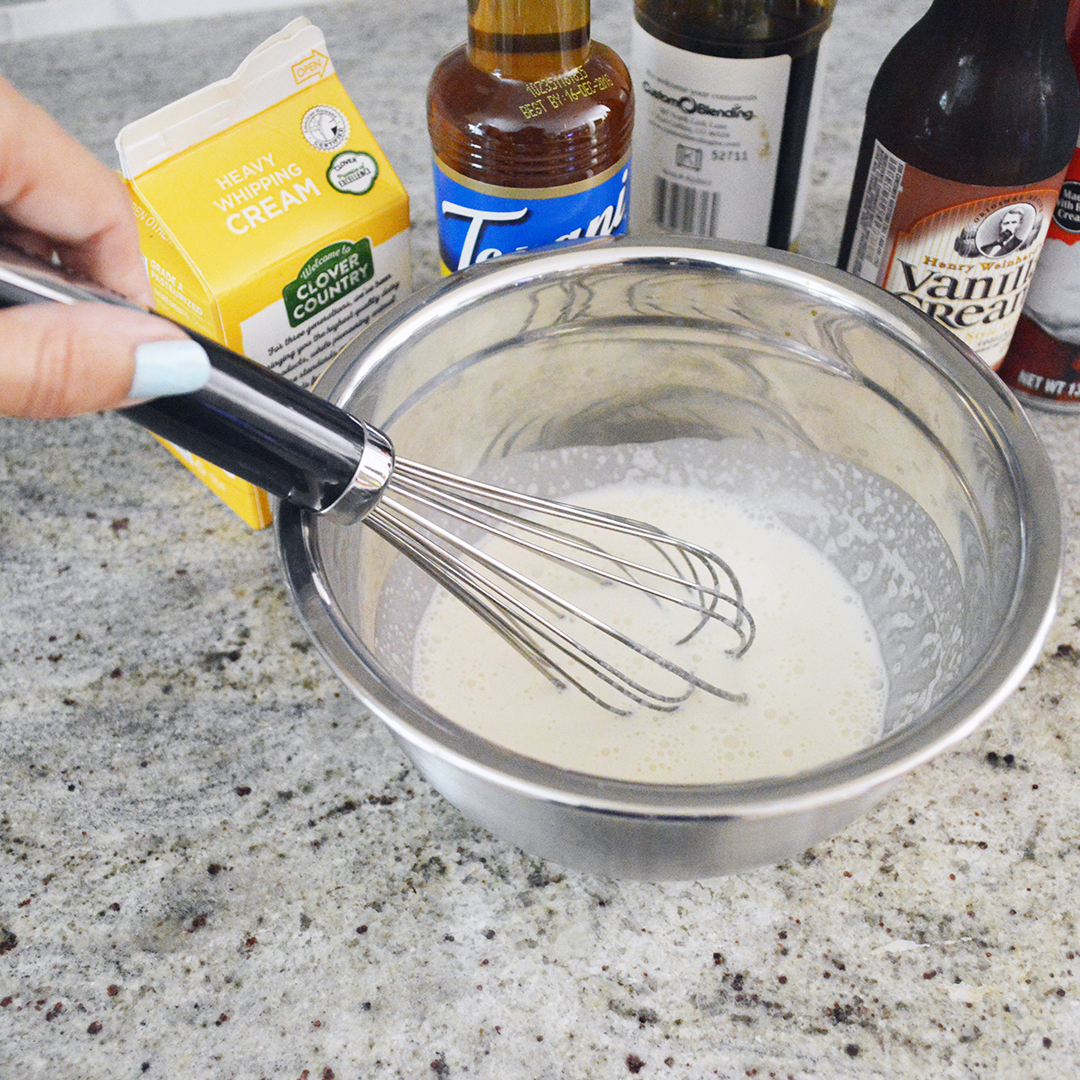
I always start off my glass of butterbeer by prepping the froth first. Measure 1/4 heavy whipping cream and put it into the mixing bowl. Then, add one tablespoon vanilla extract. Whip the two ingredients together using a whisk until they are well mixed and you start seeing bubbles in the liquid. (see above for example)

low calorie butter recipe

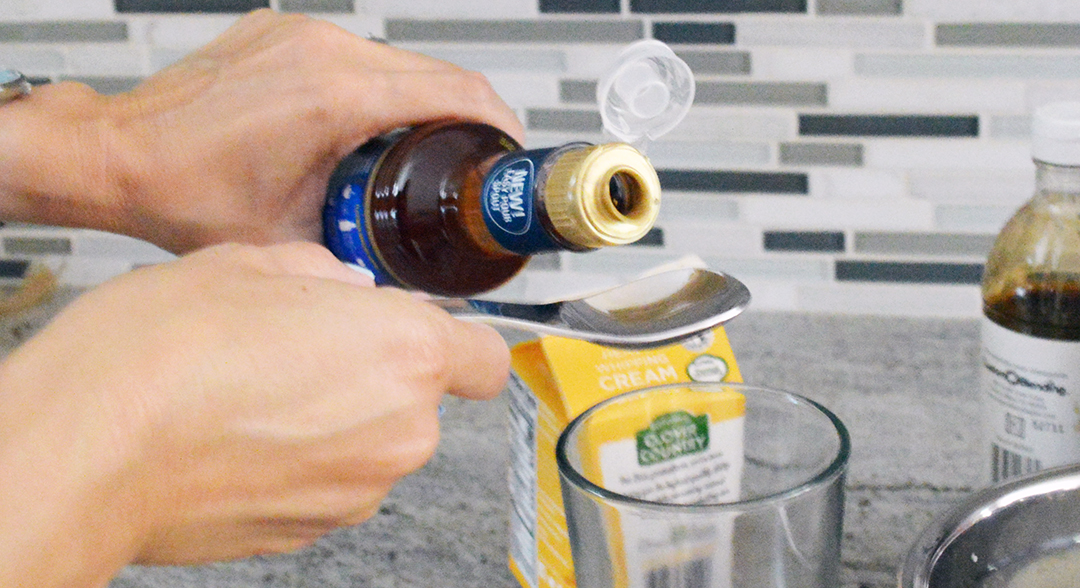
Set aside your froth mixture and measure one tablespoon of Torani Classic Caramel syrup. After you measure it, pour the syrup into the glass or pint you plan to drink from.

easy butterbeer recipe

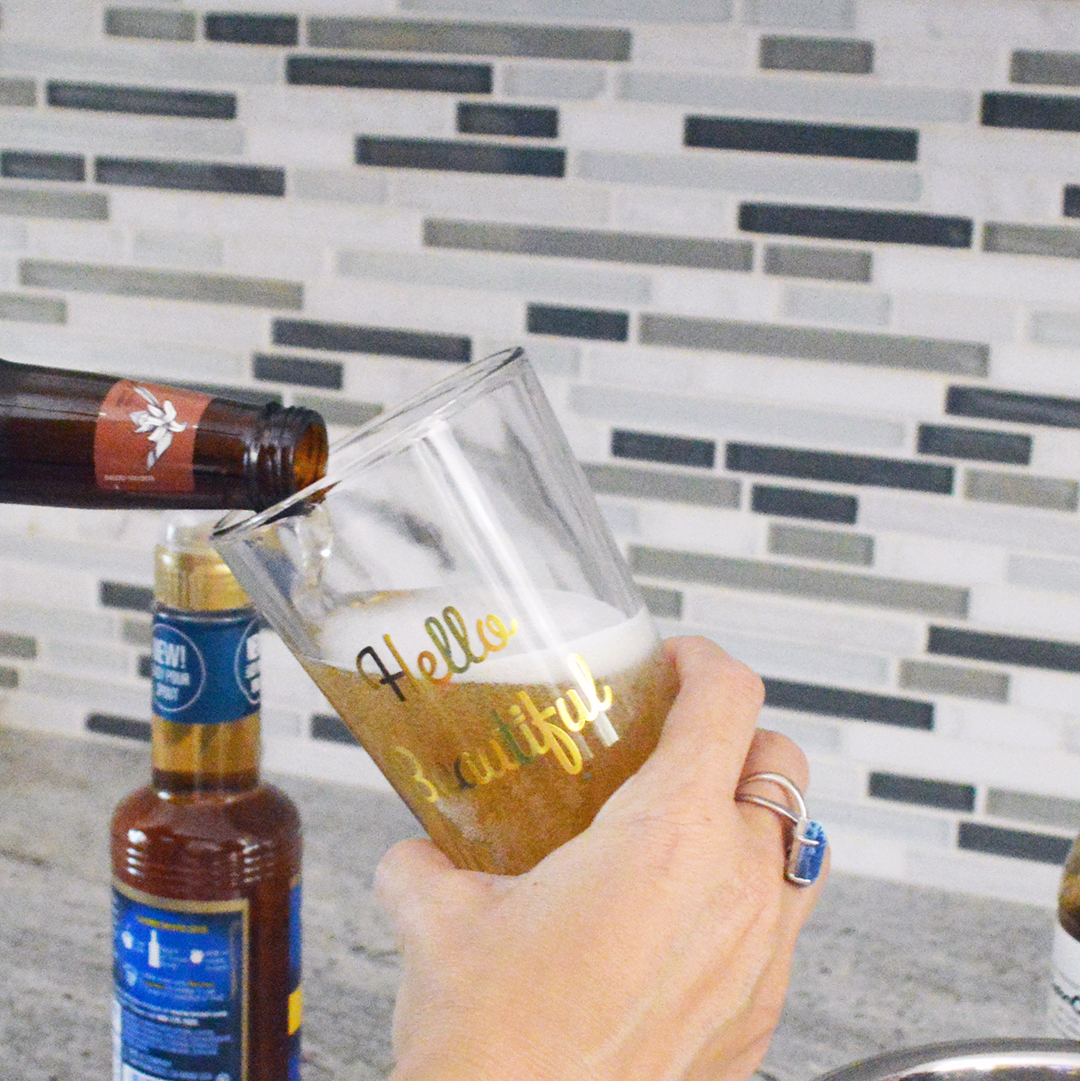
After you have added your Torani syrup to your glass, tilt your glass to a forty-five degree angle and slowly pour the cream soda into the glass. It is important to tilt your glass because good cream soda (like good beer) will create a large head if you don’t pour it into the glass at an angle. If you have a head on your soda, it might spill over the sides and you will not have enough room for your froth. If you do get a head on your soda, let it sit for a minute so that the froth can settle in, or you can sip the froth from the head off the top.

If you are wondering what “head” means, it is the name for the white fluffy foam which ends up on top of soda or beer that is not poured into a tilted glass; or is poured too quickly.

butterbeer recipe

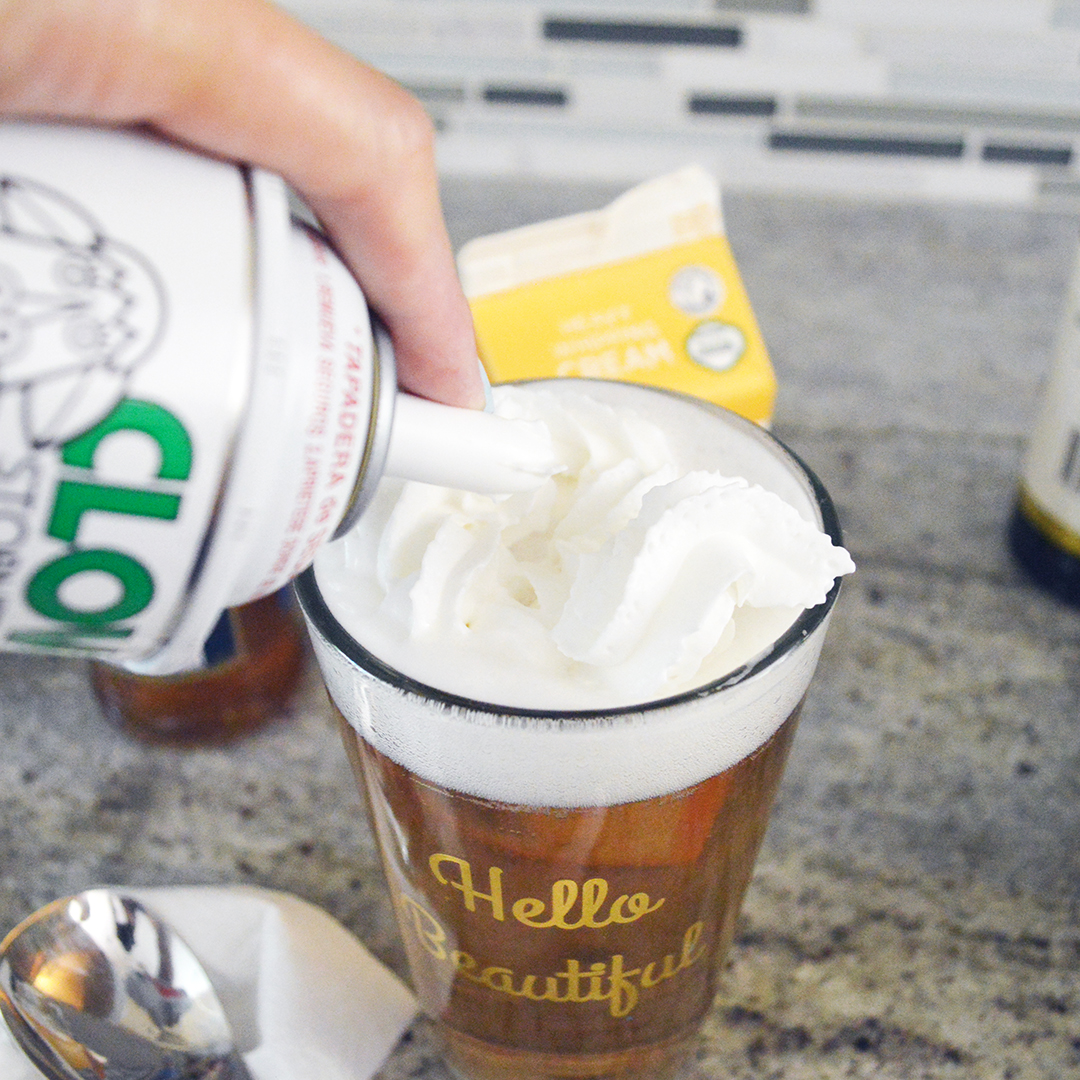
The froth mixture will pour into your soda too quickly without a barrier. This is where the canned whipped cream comes in handy. Put a small layer of whipped cream over the top of your butterbeer to create a floor for your froth. Be careful not to add too much or you won’t have room for your froth, and you might spill.

how to make butterbeer at home

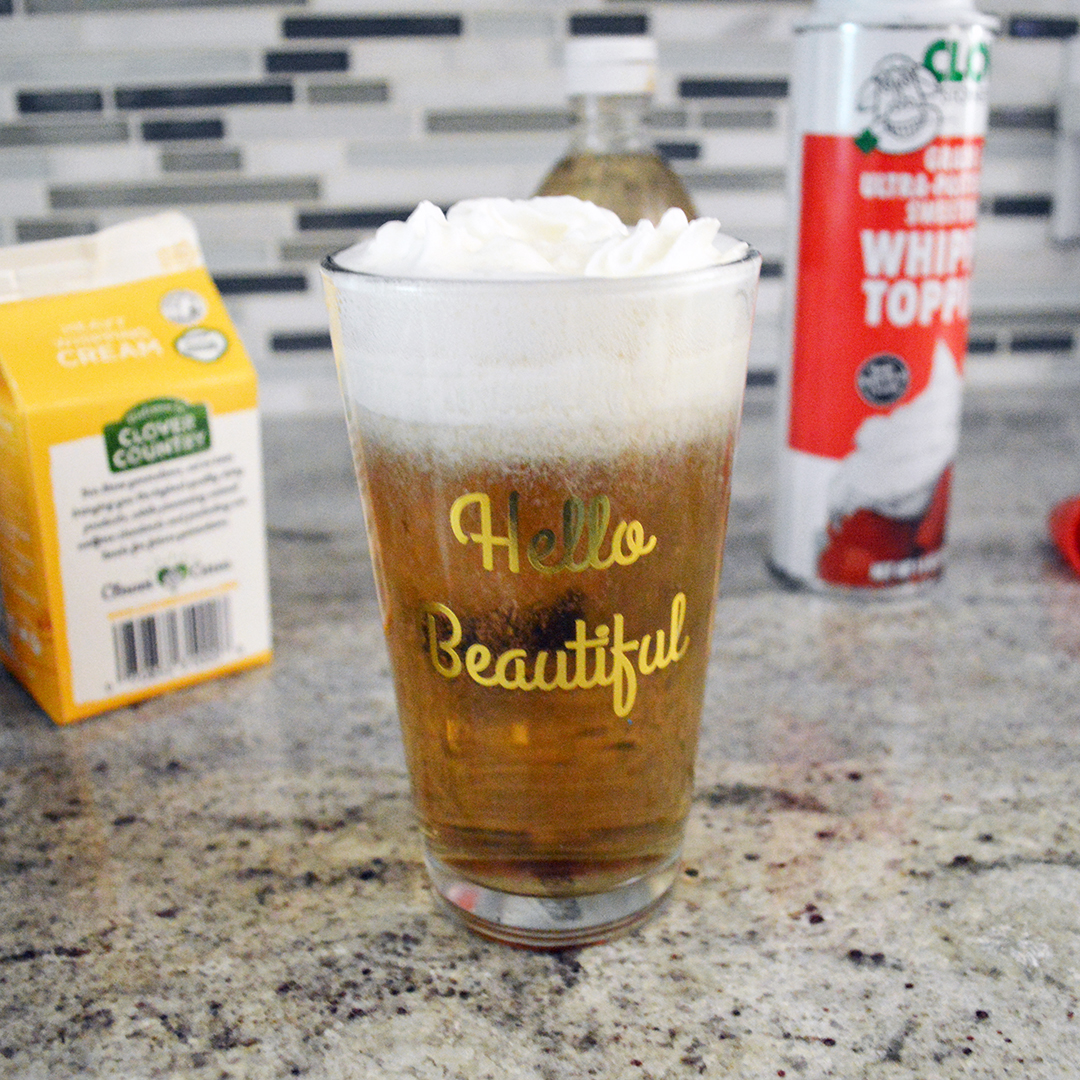
Now that your butterbeer is mixed together, and you have a whipped cream floor, slowly pour in your froth on top of the whipped cream. The froth will sink into the soda, but that is part of the flavor and fun. I recommend adding a straw for easier drinking. 🙂

Voila! There you have it! If you have been wondering how to make butterbeer, this is my version of Butterbeer. I hope you try this recipe and enjoy it!

Calorie Count with Henry Weinhard’s Vanilla Cream Soda: 285

Calorie count with Virgil’s Zero Cream Soda: 105

Thank you for stopping by!

XOXO

Cathy
how to make butterbeer recipe